From Cramped & Dated to Luxury Scandinavian — The Full Transformation Story
Small living rooms don’t have to feel small. With the right design strategy, intentional furniture choices, and a phased renovation approach, even the most compact space can become a stunning, magazine-worthy retreat. This guide walks through every stage of a real small living room transformation — from the very first demolition swing to the final luxury reveal.
Whether working with a studio apartment, a starter home, or just a room that’s never felt quite right, these small living room transformation ideas will provide a clear roadmap, real product recommendations, and the inspiration to finally make the change.
Stage 1: The Before — Honest Starting Point
Every great transformation starts with an honest look at what exists to work with. The before room was a rectangular small living room with a single window on the far wall, worn laminate floors, dated furniture pushed against every wall, and beige walls that hadn’t seen fresh paint in years. Functional — barely — but zero personality.
The bones were good: a decent-sized window for natural light, a workable rectangular footprint, and flat ceilings. That’s all that’s needed. The rest is strategy.
Stage 2: Demolition — Clearing the Canvas
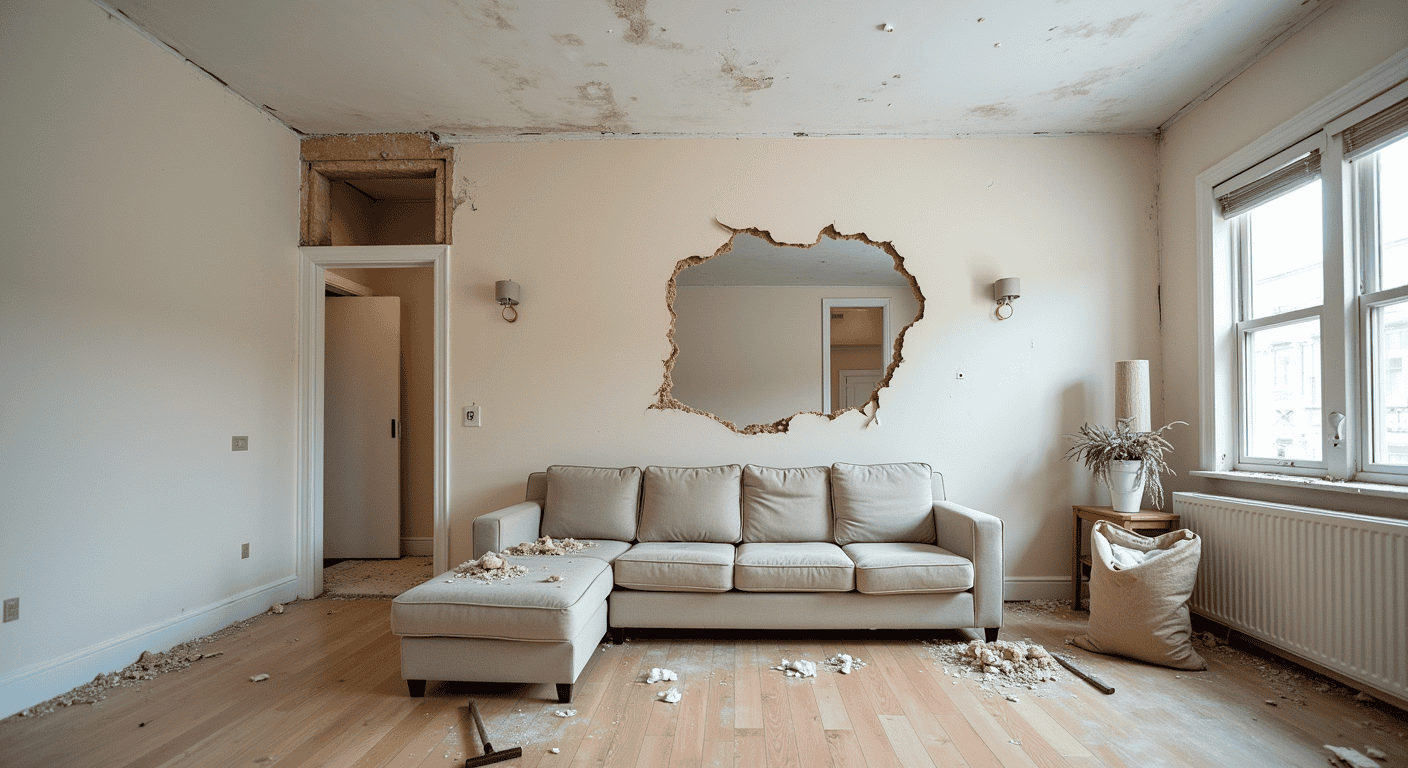
Demo day involved ripping up the old laminate flooring, tearing out dated built-ins, stripping walls, and exposing the raw structure underneath. It looks chaotic — and it is — but this is where possibilities open up.
Pro tip: Before demo, mark where all electrical outlets and switches are located. This will be helpful during rough-in work.
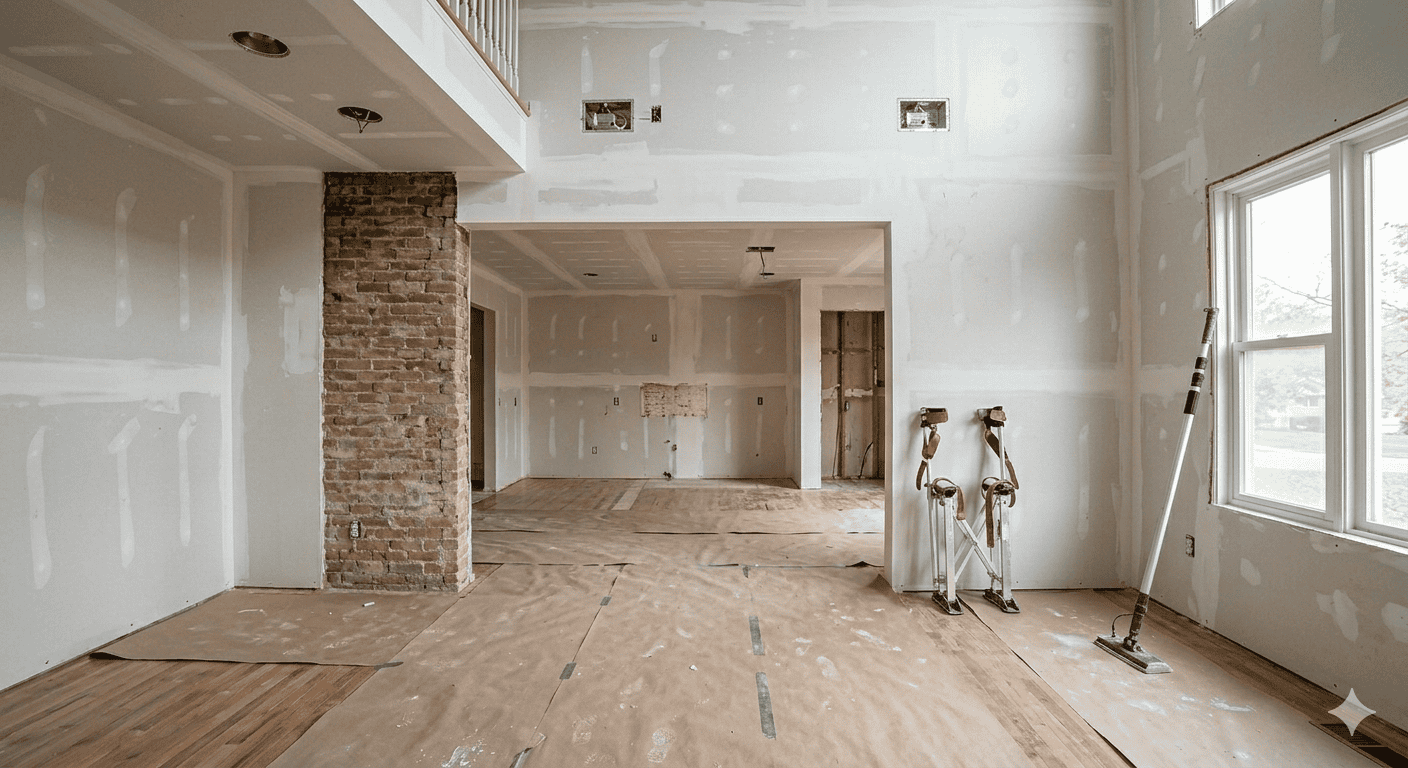
Stage 3: Rough Work — The Structure Takes Shape

New electrical conduit was run for recessed lighting, fresh drywall went up, and new hardwood flooring planks started going down. This stage is unglamorous but absolutely critical. Getting it right here makes everything else easier.
Key decisions at this stage: recessed lighting in a triangle layout, hardwood running lengthwise to make the room feel longer, and wall layout locked in.
Stage 4: Finishing — 90% There
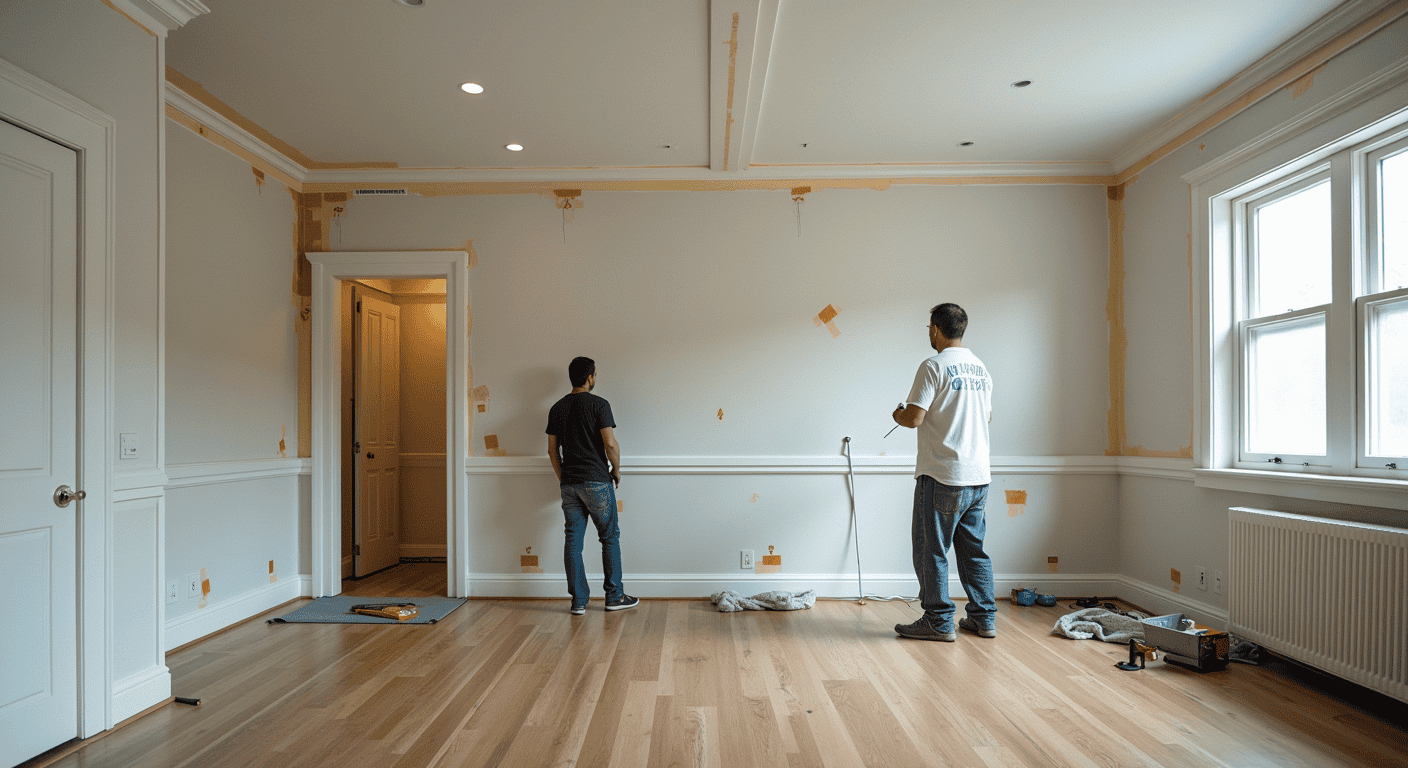
Fresh warm-white paint was applied to the walls, hardwood floors gleamed, recessed lighting was installed, and clean new baseboards went in. Painter’s tape still on everything — but the room’s direction is absolutely clear.
Allow the paint to cure fully (at least 48 hours) and caulk all baseboards before moving any furniture in.
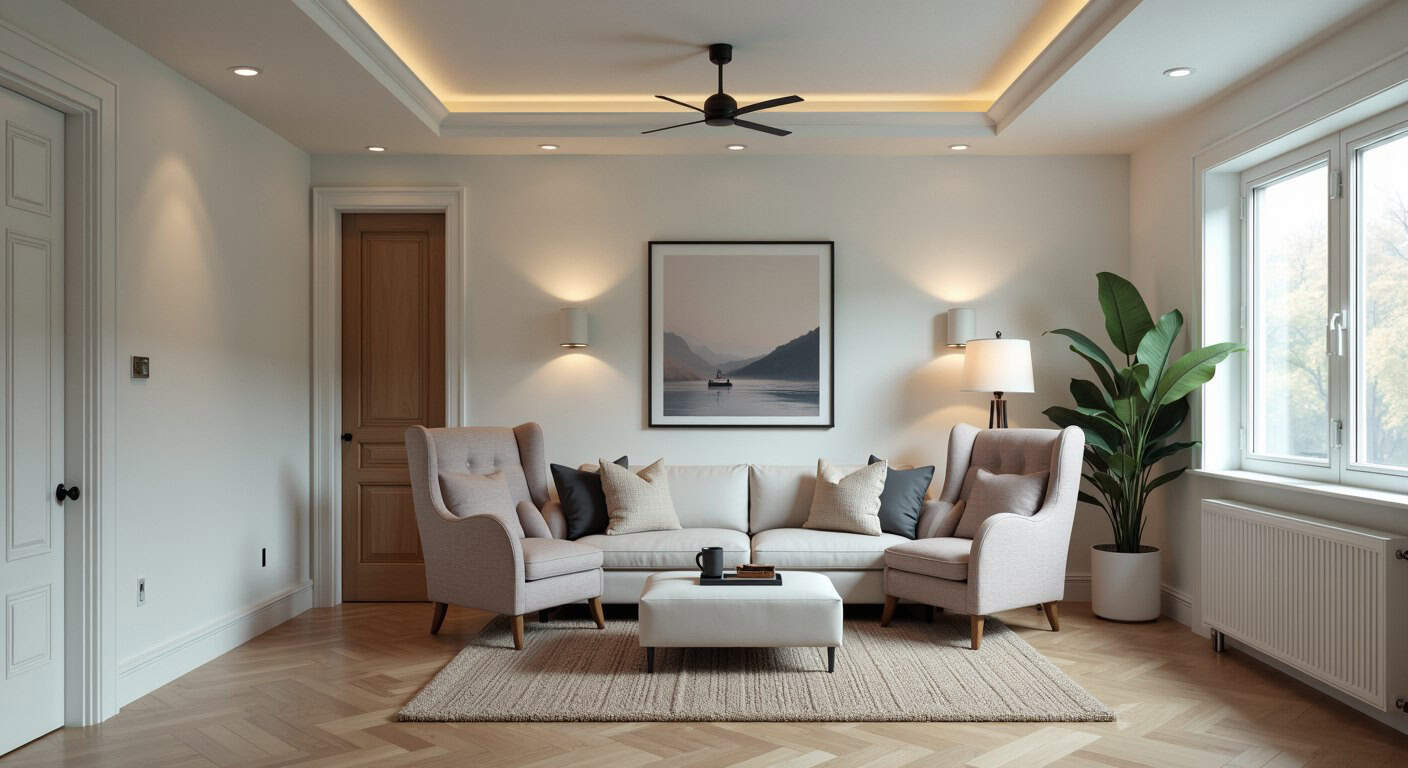
Stage 5: The Luxury Reveal — Final Result
The small living room has been completely reborn as a bright, modern Scandinavian haven. Warm hardwood floors. Crisp white walls. Recessed golden lighting. Every furniture piece chosen for purpose, proportion, and style. The result feels twice as large — and a hundred times more intentional.
🛍️ Shop the Look — All Products Used
| Product | Category | Price | Link |
|---|---|---|---|
| VEDBO High Back Armchair — Gunnared light brown-pink | Armchair | $449.00 | Shop Now → |
| LACK Coffee Table — black-brown, 46½ × 30¾” | Coffee Table | $49.99 | Shop Now → |
| MORUM Rug Flatwoven — dark gray, 2’7″ × 6’7″ | Rug | $49.99 | Shop Now → |
| GAMLEHULT Ottoman with Storage — rattan/anthracite | Ottoman | $99.99 | Shop Now → |
| IKEA PS LÖMSK Swivel Armchair — white/red | Accent Chair | $99.99 | Shop Now → |
| Total Look Investment | $748.96 | ||
💡 Small Living Room Design Tips That Made the Biggest Difference
1. Run Flooring Lengthwise
Installing hardwood planks running the length of the room creates a visual trick that makes the space feel significantly longer and more expansive.
2. Keep the Palette Tight: Warm White + Wood + One Accent
Small rooms punish busy color schemes. Warm white walls, natural hardwood floors, and a single warm accent through the VEDBO armchair create cohesion without clutter.
3. Go Vertical with Accessories
A gallery wall of vertically-oriented frames draws the eye upward and makes ceilings feel higher. A tall plant in a corner reinforces the same effect.
4. Multi-Function Every Piece
The GAMLEHULT Ottoman doubles as extra seating AND hidden storage. The IKEA PS LÖMSK swivel chair rotates to face the TV or the window. In a small room, every piece must earn its place.
5. Recessed Lighting Changes Everything
Replacing a single central ceiling light with three recessed cans in a triangle layout eliminates harsh shadows, makes the room feel taller, and creates that warm ambient glow found in luxury interiors.
❓ Frequently Asked Questions
How much does a small living room transformation like this cost?
For a DIY-friendly renovation, budget roughly $2,000–$4,500 depending on flooring choice, lighting plan, and furniture selections. Using IKEA products strategically keeps the furniture investment under $750 while delivering a high-end look.
How long does a small living room renovation take?
Plan for 2–3 weekends of active work if DIY, or 5–7 working days with a contractor for rough work and finishing. Demo and finishing move quickly; drywall, electrical, and flooring take the most time.
Can this transformation be completed without full demolition?
Absolutely. If walls and floors are in decent condition, skip to the finishing approach — fresh paint, new flooring, complete furniture refresh. This can be done in a single weekend at a fraction of the cost.
What IKEA furniture works best for small living rooms?
Focus on pieces with clean lines, multi-function utility, and proportions designed for smaller footprints. The LACK series offers minimal visual weight. The VEDBO armchair adds drama without bulk. Oversized sectionals should be avoided — they overwhelm small spaces.
How can a small living room feel bigger without renovating?
Four high-impact changes deliver results: (1) warm white paint to reflect light; (2) a properly-sized area rug that anchors the seating area; (3) removal of at least one piece of furniture — small rooms are almost always over-furnished; (4) addition of a large mirror to double perceived depth.

Leave a Reply