
The Kitchen Renovation Dream — And the Budget Reality
Tired tiles, chipped cabinet doors, and worn countertops have been staring back for far too long. A kitchen that actually makes cooking enjoyable is within reach. The question everyone searches at 11pm: how much does a kitchen renovation cost at Bunnings? And more importantly — is there a smarter way to get the luxury result without the luxury price tag?
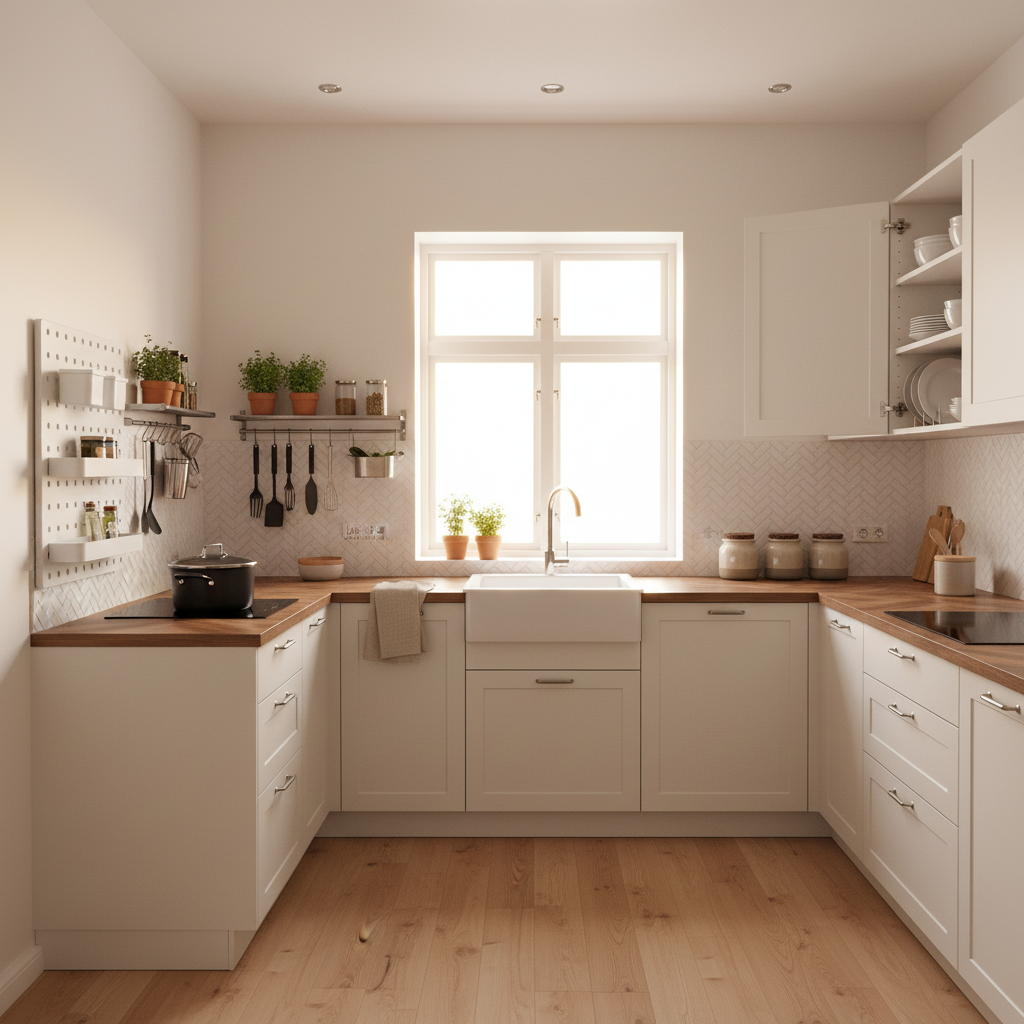
This kitchen transformation showcases an exact renovation from an abandoned shell to a stunning Scandinavian-inspired space using IKEA products — with every single cost broken down so the same approach can be replicated. Spoiler: the results will surprise you.
Shop the Look
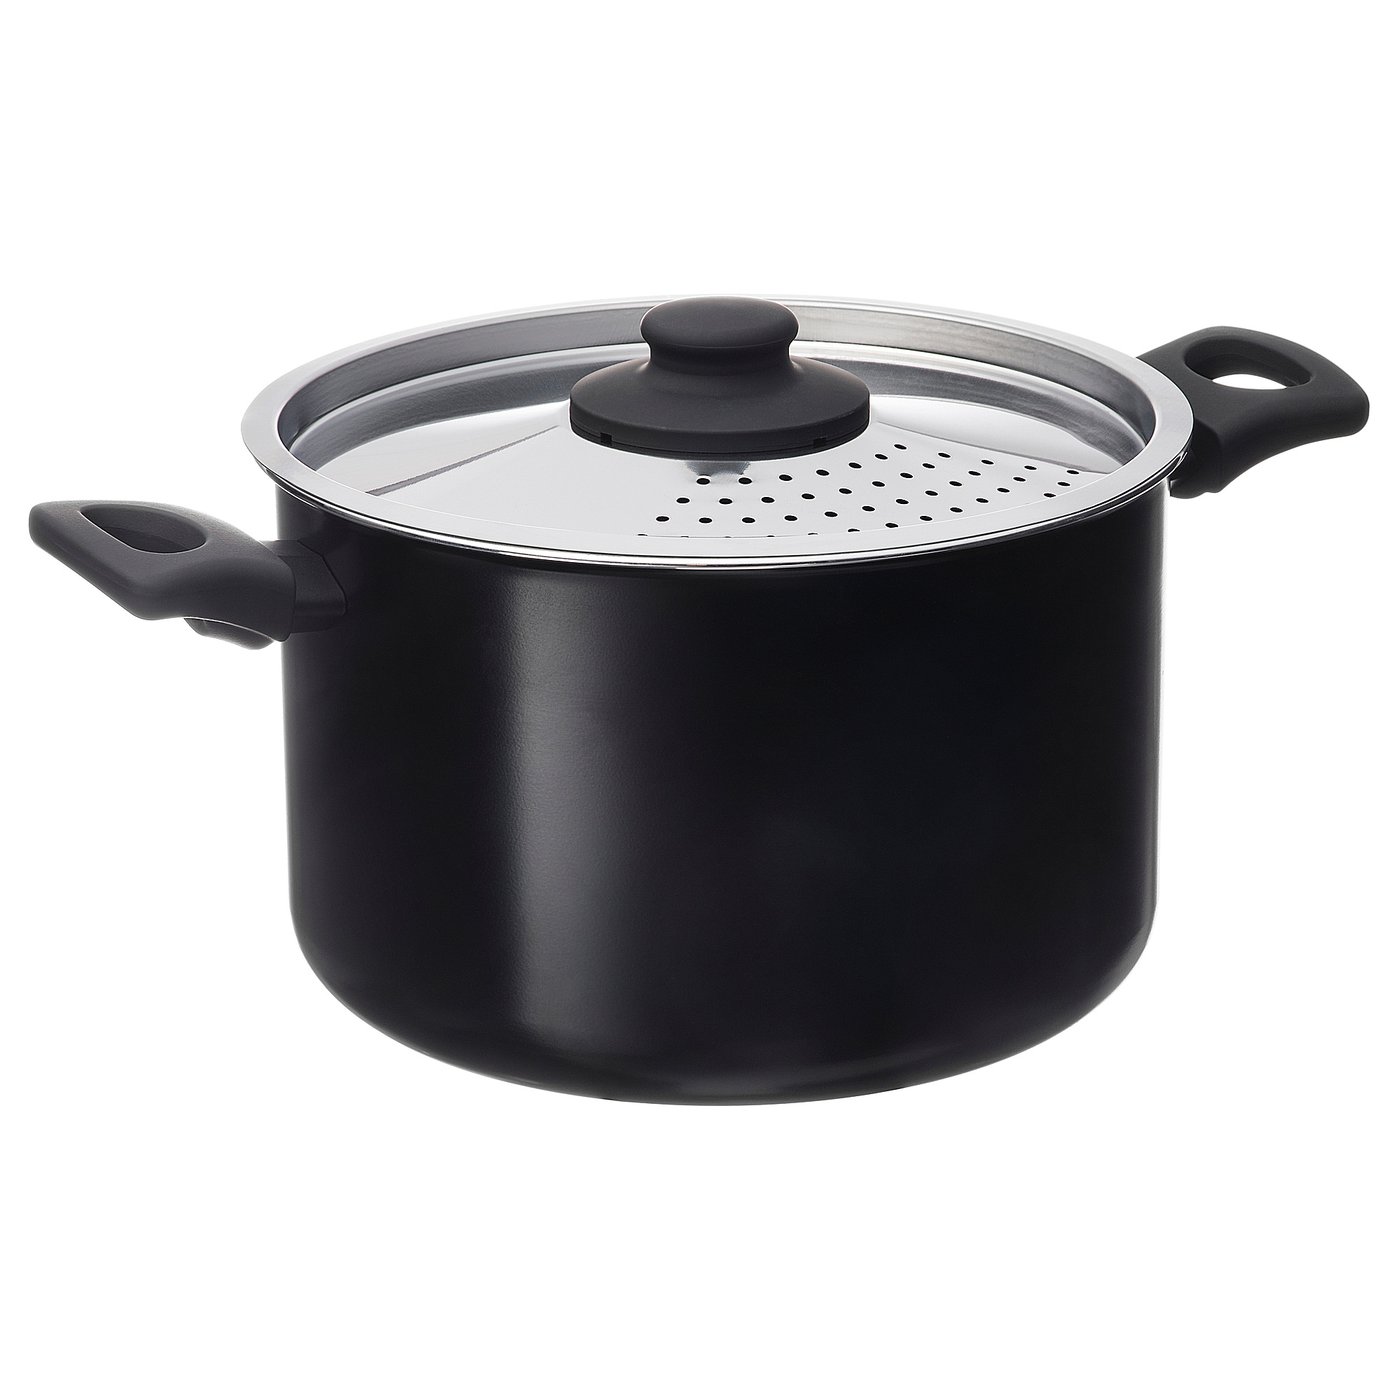
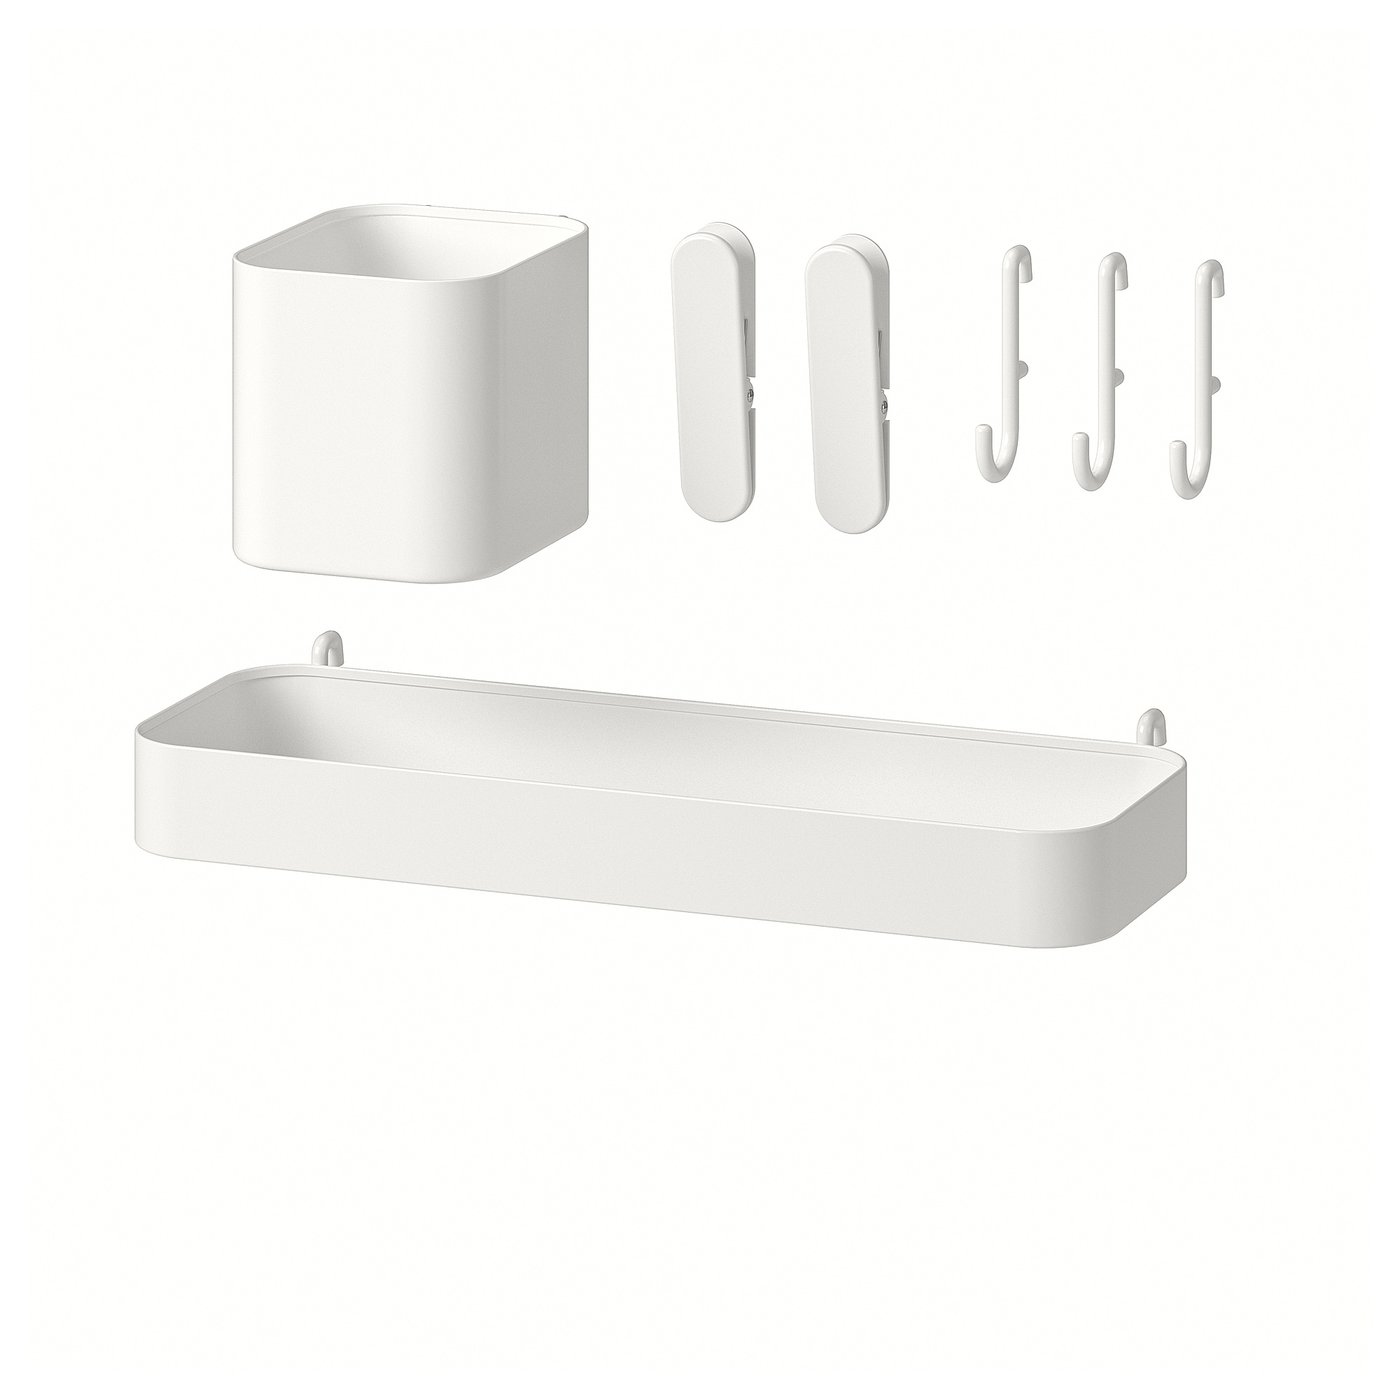
Recreate this Scandinavian kitchen with these handpicked IKEA pieces.




Kitchen Renovation Cost: Bunnings vs IKEA — The Real Numbers
Before diving into the transformation journey, let’s examine the numbers. The first consideration for any kitchen renovation project is: what will this actually cost?
What Does a Kitchen Renovation Cost at Bunnings?
Bunnings is Australia’s primary source for renovation supplies — paint, tiles, hardware, plumbing fittings, and flat-pack cabinetry. A typical Bunnings-sourced kitchen renovation can range from $8,000 to $30,000 AUD depending on scope. Here’s a rough cost breakdown:
- Flat-pack cabinets (Bunnings Kaboodle): $3,000–$8,000
- Benchtop/countertop: $1,500–$5,000
- Sink and tapware: $300–$1,500
- Tiles and flooring: $800–$3,000
- Labour (plumber, electrician, installer): $3,000–$10,000
- Appliances: $1,500–$6,000
The biggest variable is always labour. If a significant portion of the work is completed as DIY, total costs can be reduced by 30–40%.
IKEA Kitchen Renovation — The Smart Alternative
IKEA kitchens have earned a serious reputation for quality, design flexibility, and value. The SEKTION cabinet system is modular, durable, and designed to last decades. More importantly, the aesthetic options are genuinely beautiful — especially when paired with premium fronts like the BODBYN off-white shaker series featured in this renovation.
For this transformation, the core IKEA product spend totaled just $994 USD — covering countertop, sink, faucet, cabinet fronts, wall storage, cookware, dinnerware, and accessories. That’s a fully styled, magazine-quality kitchen for under $1,000 in product costs alone.
The Complete Kitchen Renovation Journey
Here’s how this kitchen progressed from abandoned and worn-out to a stunning Scandinavian retreat — stage by stage.
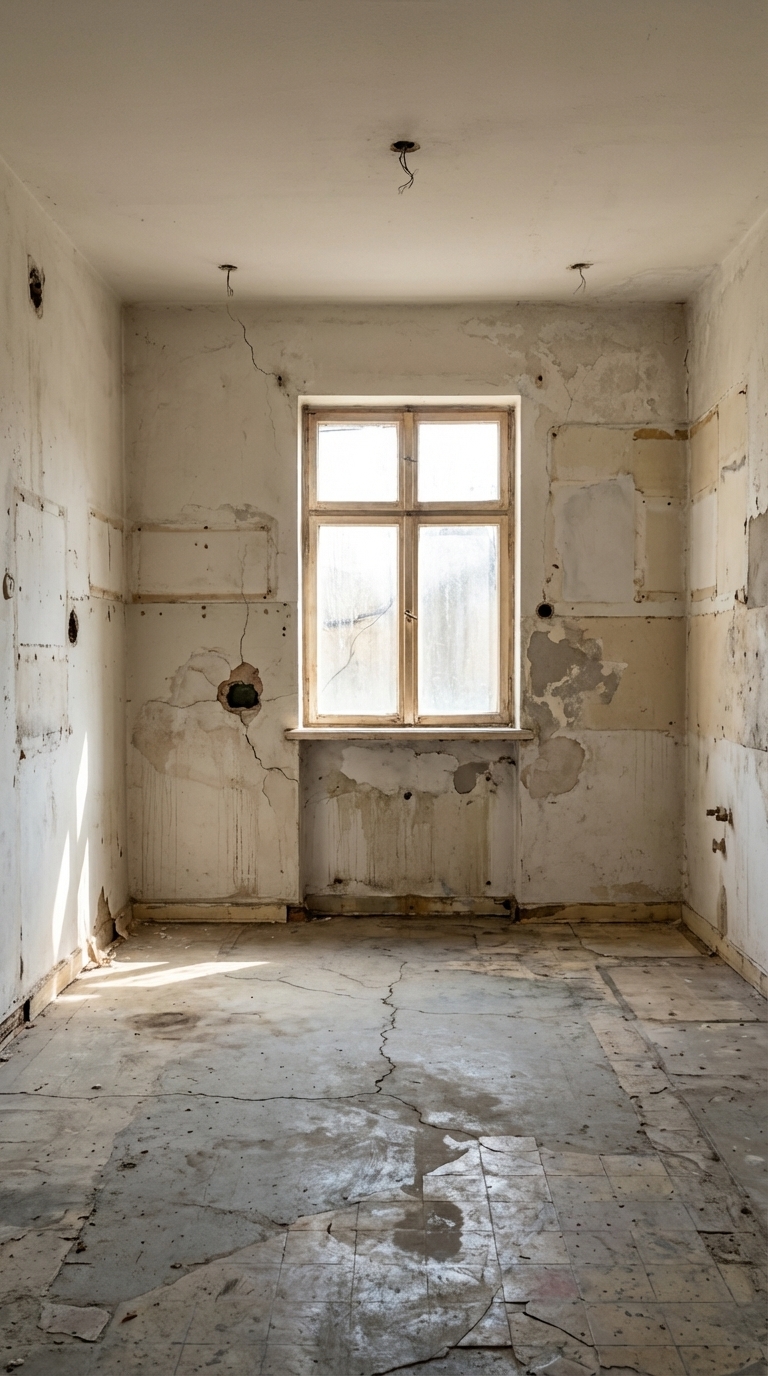
Stage 1: The Before — Empty and Ready to Gut
Every great renovation starts with an honest assessment of the existing conditions. This kitchen was tired — cracked tiles, peeling paint, outdated fixtures, and zero personality. However, good bones are everything, and this space had them: great natural light from the window, a solid L-shaped layout, and enough room to work with. Time to gut it.

Stage 2: Demolition
The demolition phase is equal parts terrifying and liberating. Old cabinet carcasses are ripped out, tiles are smashed, and walls are stripped back to the studs. Debris bags fill quickly. What remains is raw possibility — the skeleton of a kitchen waiting to be reimagined.
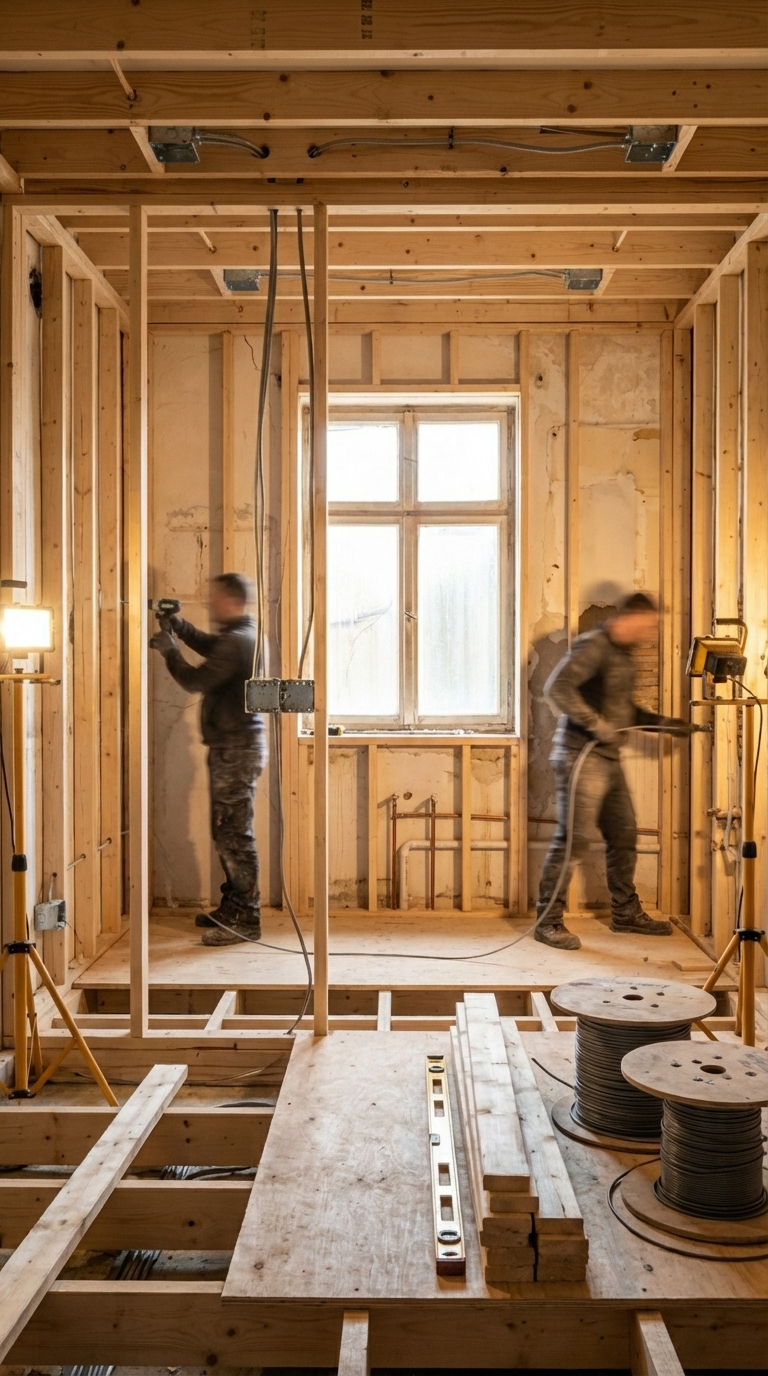
Stage 3: Structural & Framing
New wall studs are installed, electrical rough-in begins, and plumbing is repositioned for the new sink location. This is the invisible work that makes everything else possible — and the phase where licensed trades are non-negotiable. Budget approximately $2,000–$4,000 AUD for a qualified electrician and plumber at this stage.
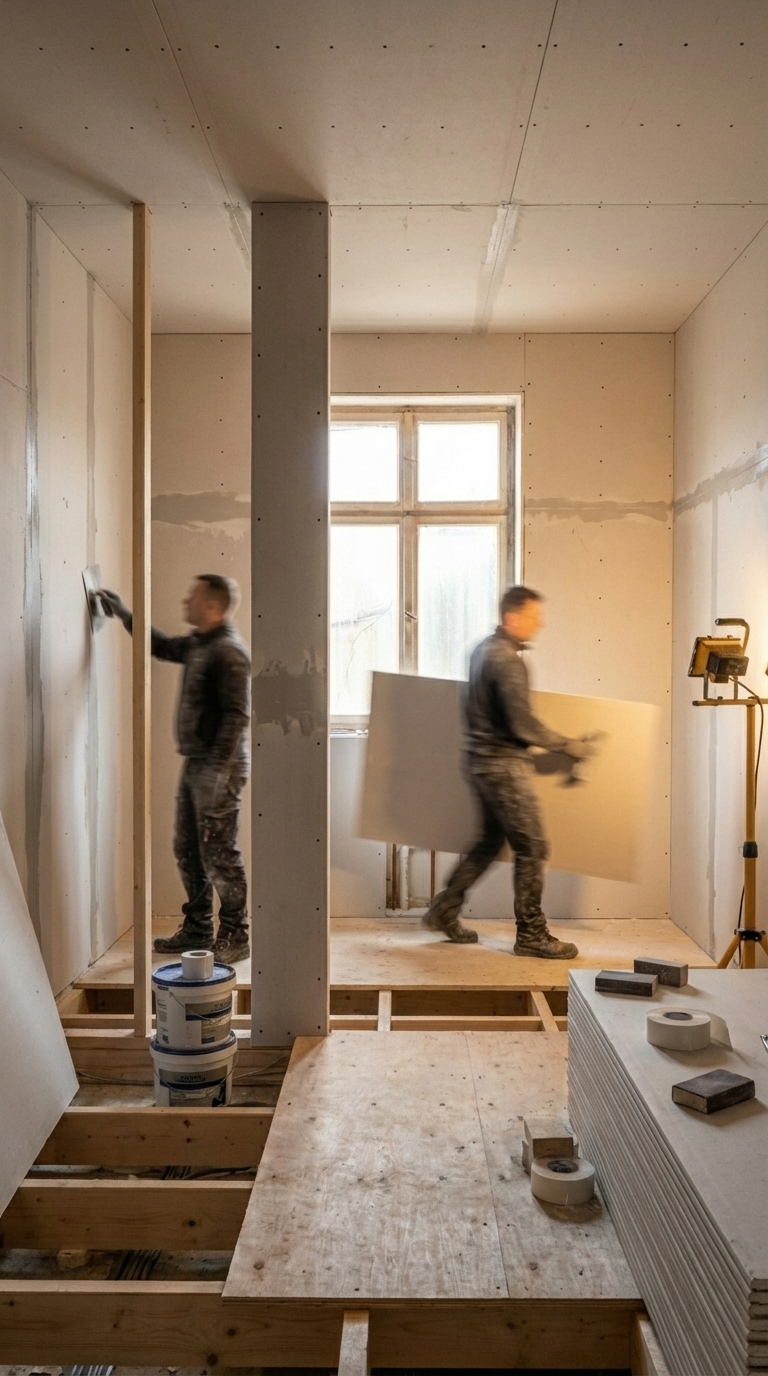
Stage 4: Drywall & Subfloor
Fresh drywall sheets are installed, seams are taped and mudded, and the subfloor is levelled and laid. The room starts to feel like a room again. Joint compound dust is everywhere — but that smooth, freshly skimmed wall surface is deeply satisfying. This is when the new kitchen begins to take shape.
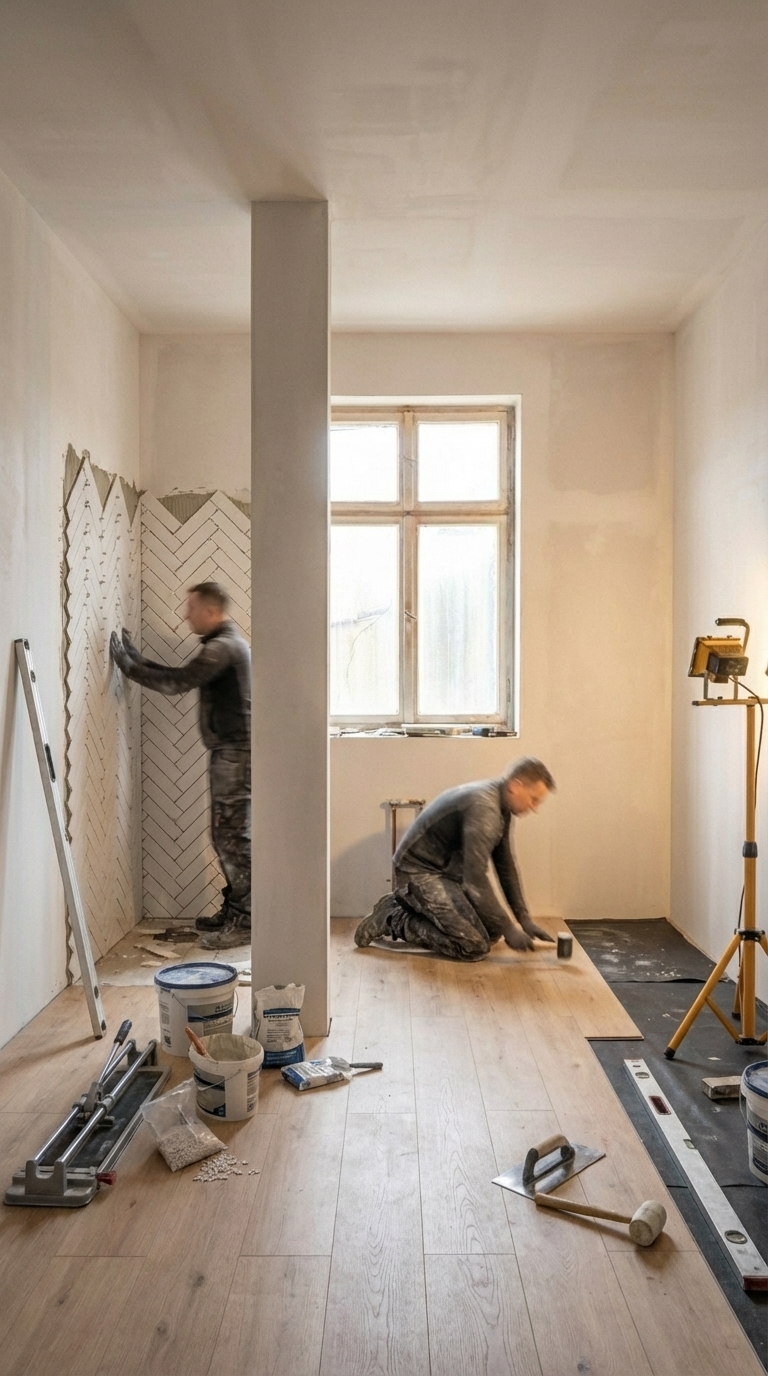
Stage 5: Flooring & Tile
Light hardwood LVP planks are installed across the floor — warm, durable, and easy to clean. The white herringbone backsplash tiles are applied to both counter walls, adding that instant Scandi texture that makes the whole design sing. Grout lines are tight, tile spacers are pulled, and the kitchen starts looking like something from a design magazine.

Stage 6: Paint & Trim
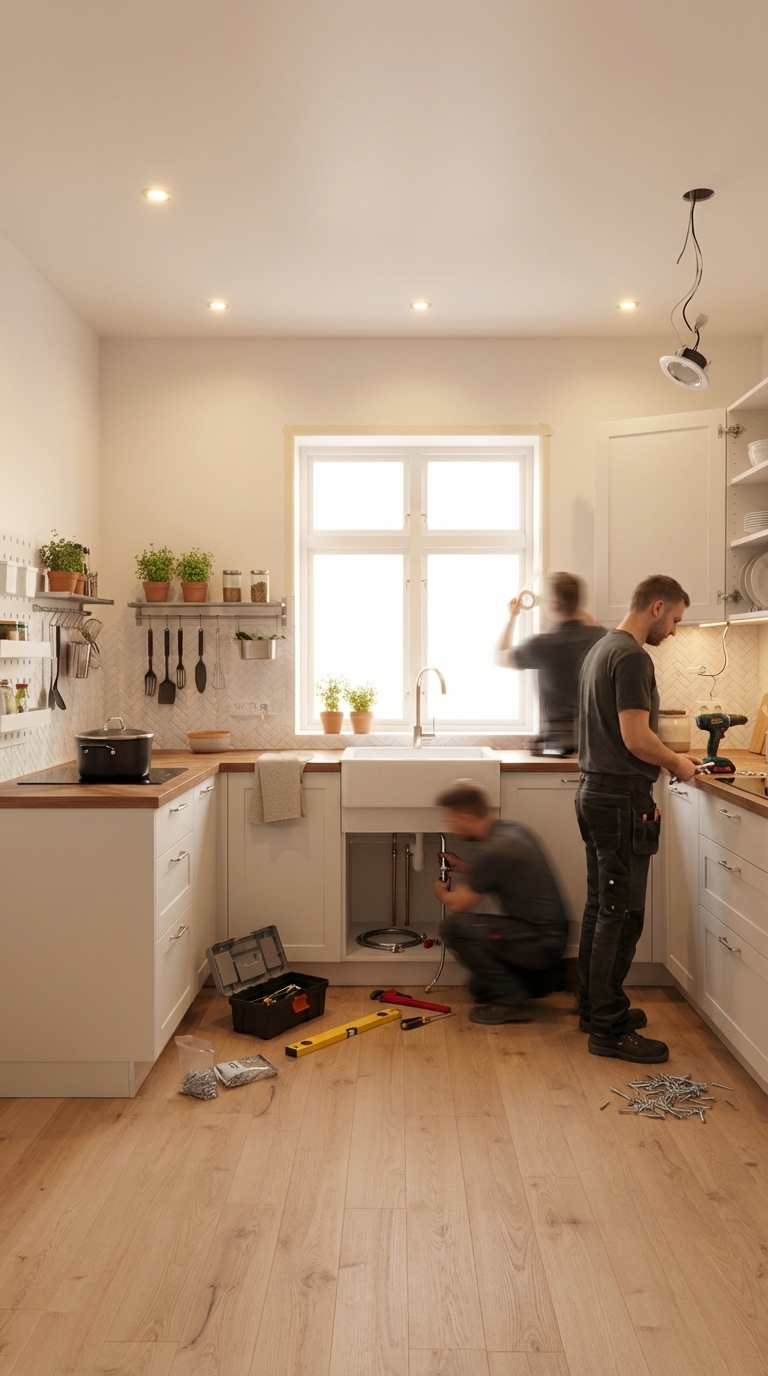
Fresh white paint transforms the walls. Clean crisp lines are applied along the ceiling. New white baseboards are installed, and the BODBYN off-white cabinet carcasses are primed and mounted. The painter’s tape comes off in long satisfying strips. The kitchen is 85% complete — and it already looks incredible.
Stage 7: Fixtures & Hardware
The final 10% is everything. The LAGAN chrome faucet is connected below the HAVSEN farmhouse sink. The BARKABODA walnut veneer countertop is cut and fitted. Cabinet handles are screwed in one by one. The KUNGSFORS stainless wall rail is mounted on the backsplash. Recessed lights are wired and switched on for the first time — and the kitchen glows. This is the moment it all comes together.
Design Tips: How to Get This Look for Less
The Scandinavian kitchen aesthetic is built on a few core principles that happen to be inherently budget-friendly.
Start with white or off-white cabinets — they make any space feel larger and more expensive. The BODBYN shaker front in off-white is one of IKEA’s best-looking options and costs a fraction of custom cabinetry. Pair it with a warm natural countertop — walnut veneer like the BARKABODA instantly adds richness and prevents the all-white kitchen from feeling cold.
The apron-front farmhouse sink is the single biggest visual upgrade that can be made to a kitchen. The HAVSEN at $184 delivers that high-end look for a fraction of the cost of designer alternatives. Add the KUNGSFORS wall rail on the backsplash and a functional, beautiful focal point is created that costs under $150 and takes an afternoon to install.
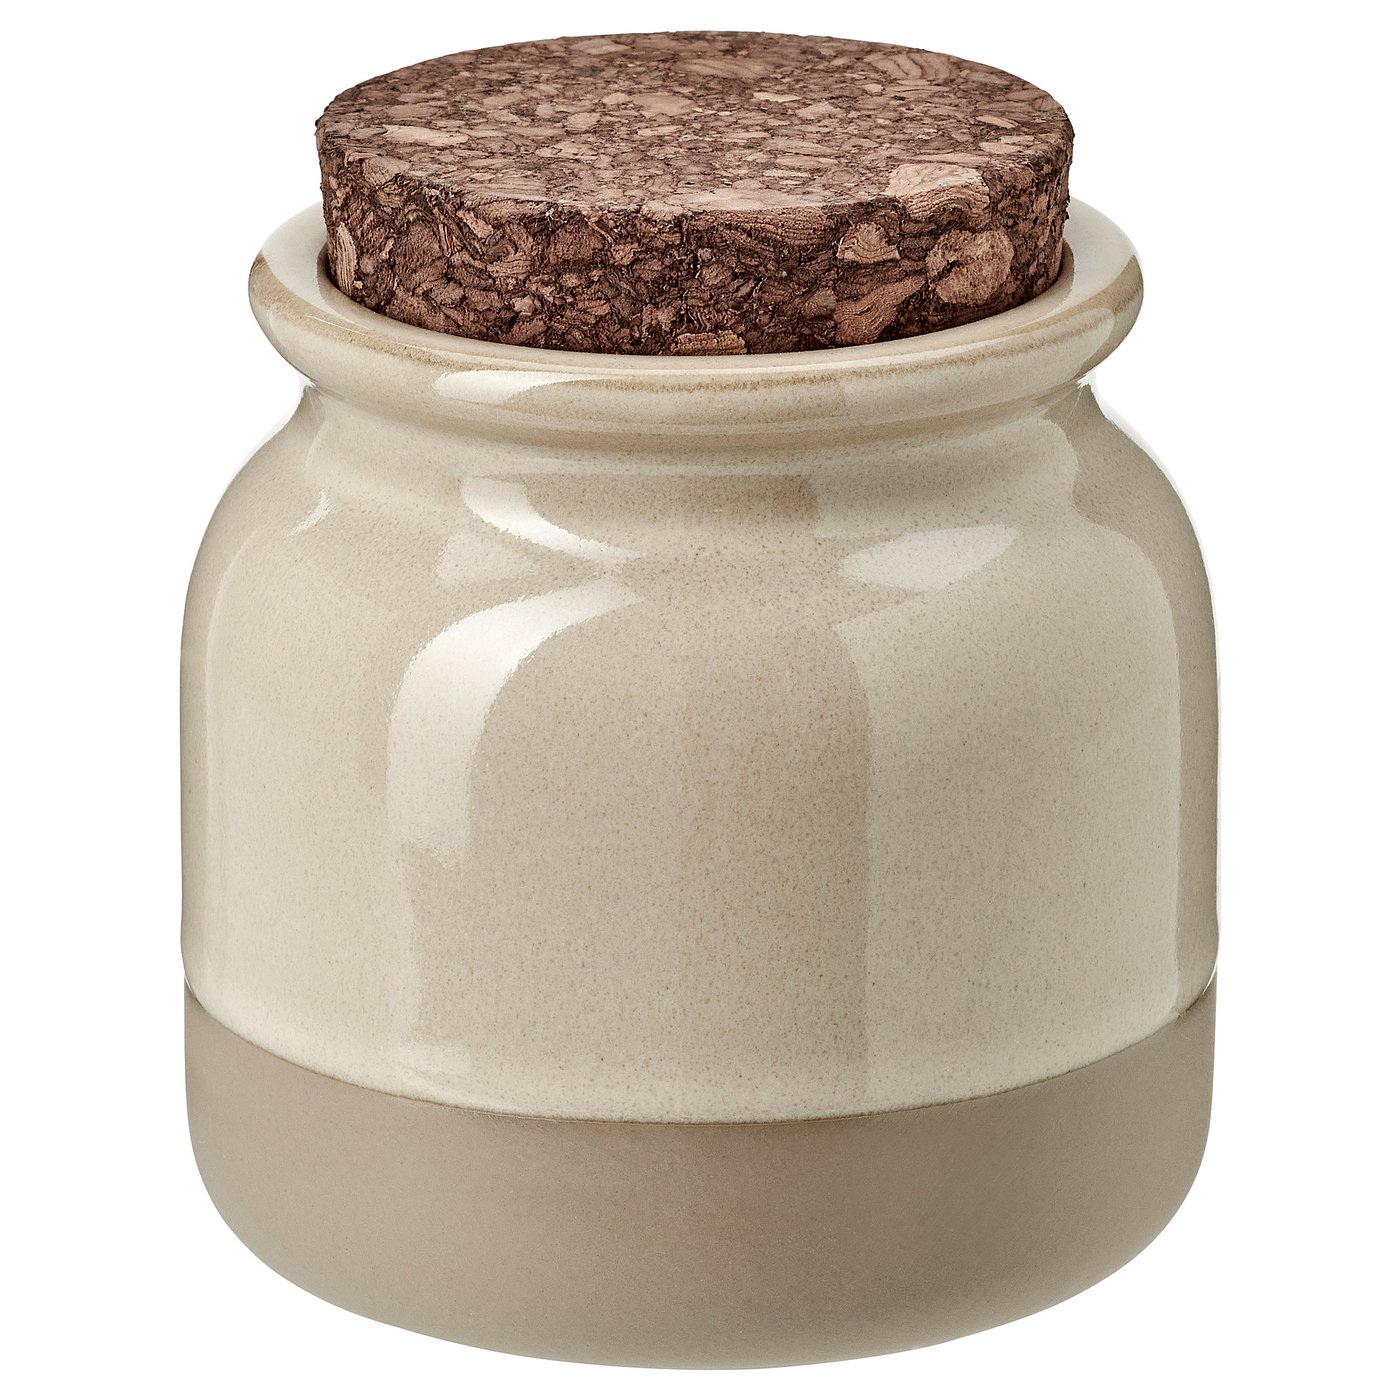
Finally, accessories matter more than people realise. The BRUGDHAJ beige ceramic jars, a neatly folded linen tea towel, and fresh herbs on the windowsill cost almost nothing but transform the whole vibe from “renovated kitchen” to “designer kitchen.”
IKEA vs Bunnings: Which Should Be Chosen?
The honest answer is: both, strategically. IKEA is ideal for cabinets, fronts, sinks, countertops, and accessories — the quality-to-price ratio is exceptional and the design options are genuinely beautiful. Bunnings is best for tiles, flooring, paint, plumbing fittings, hardware, and tools — the range is unmatched and prices are competitive.
The worst mistake is choosing one store for everything. A Bunnings-only kitchen often ends up looking generic. An IKEA-only kitchen can lack the local trade supplies needed. The winning combination is IKEA for the statement pieces and Bunnings for the bones.
Frequently Asked Questions
How much does a kitchen renovation cost at Bunnings in Australia?
A Bunnings kitchen renovation typically costs between $8,000 and $30,000 AUD depending on size, scope, and how much work is completed independently. The Kaboodle flat-pack cabinet range starts from around $3,000 for a small kitchen. Labour for trades (plumber, electrician, tiler) is usually the biggest variable cost.
Is IKEA cheaper than Bunnings for kitchen cabinets?
IKEA and Bunnings are similarly priced for flat-pack cabinetry, but IKEA’s SEKTION system offers more design flexibility and a wider range of door fronts. IKEA tends to excel in aesthetics; Bunnings excels in availability of trade supplies and local stock.
Can a kitchen be renovated for under $10,000?
Yes — especially if a portion of the work is completed independently. A smart approach is to invest in the visible elements (countertop, cabinet fronts, sink, tapware) and economize on the hidden ones (cabinet carcasses, paint, basic tiles). The IKEA product selection for this renovation totaled under $1,000 USD in key items.
What is the most expensive part of a kitchen renovation?
Labour is almost always the biggest cost — typically 30–50% of the total budget. Within materials, benchtops/countertops and appliances are the next biggest expenses. Savings on labour by completing demolition and painting independently can significantly reduce the overall cost.
How long does a kitchen renovation take?
A full kitchen renovation typically takes 4–8 weeks from demolition to completion. The longest phases are usually waiting for trades (electricians and plumbers) and for materials like tiles and countertops to be delivered and installed. Planning and ordering everything before demolition begins is the single best way to keep the project on schedule.
The Dream Kitchen Is Closer Than Expected
A kitchen renovation is one of the highest-ROI home improvements available — both for daily quality of life and for property value. The combination of IKEA’s design-forward products and Bunnings’ trade essentials provides everything needed to create a result that looks custom without the custom price tag.
The kitchen in this transformation went from abandoned and uninspiring to a warm, light-filled Scandinavian space that anyone would be proud to cook in — for a product cost that would make any renovation budget very happy indeed.
Ready to start planning? Browse the full Shop the Look collection above and start building the dream kitchen today.


Leave a Reply