
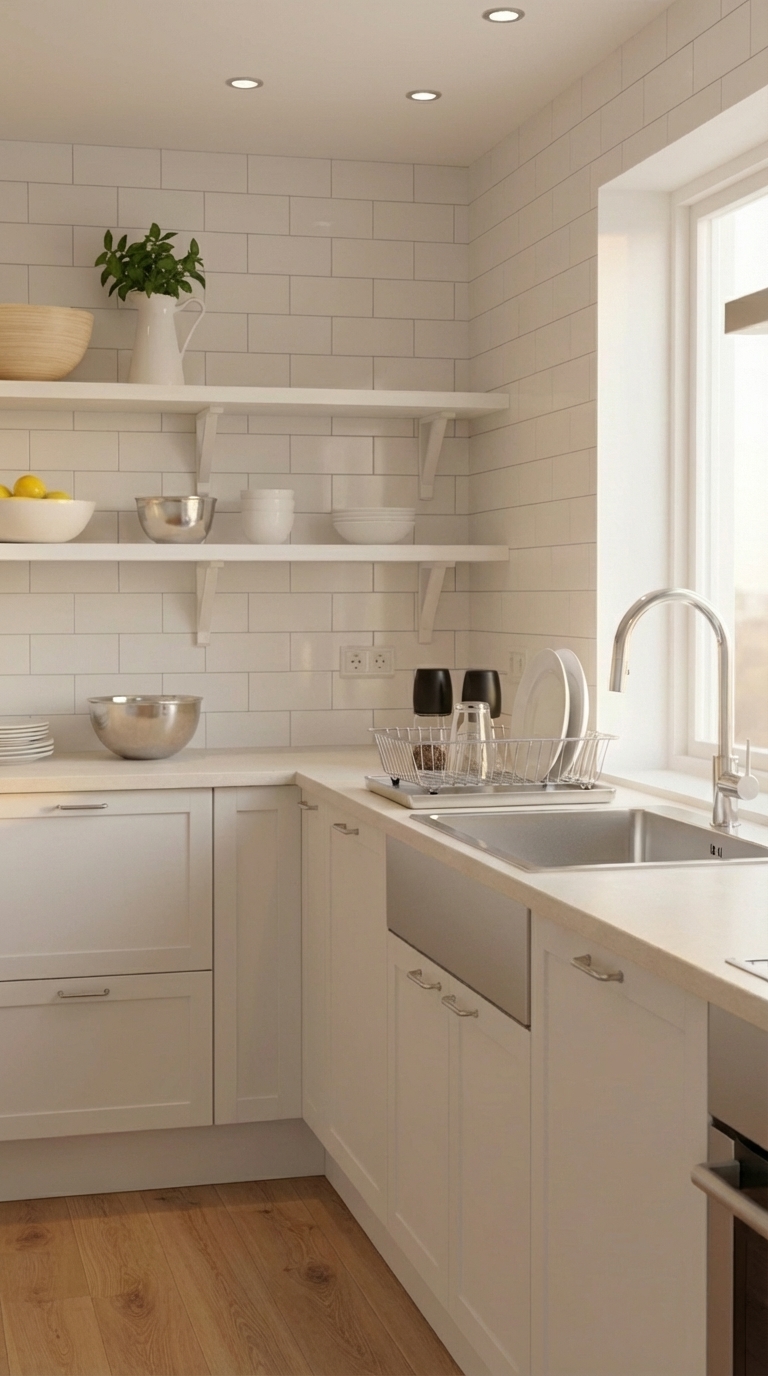
Open Shelving Kitchen Storage Ideas: A Modern Minimalist’s Guide
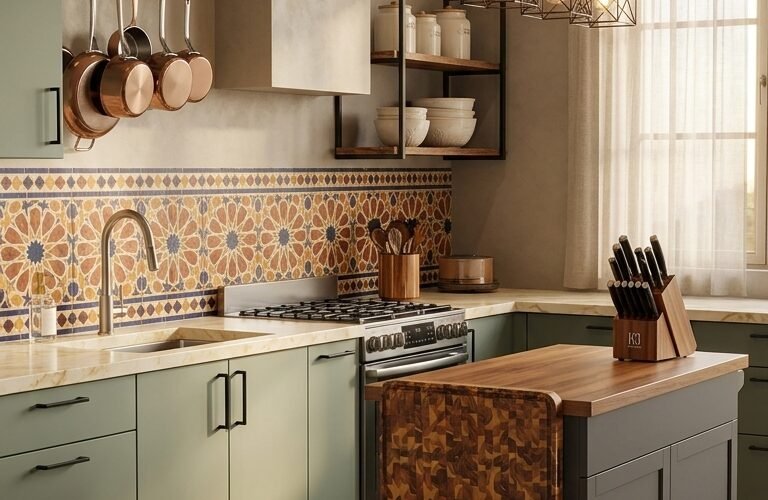
There’s something inherently inviting about a kitchen with beautifully styled open shelves. They transform ordinary storage into an opportunity for self-expression, turning everyday items into curated displays that tell a story. Open shelving offers a design approach that transitions from traditional cabinets to modern storage solutions, revolutionizing both the look and functionality of kitchen spaces.
This guide walks through a complete kitchen transformation that embraces the art of open shelving. The focus is on balancing aesthetics with practicality, creating spaces that are both visually striking and highly functional. From selecting the perfect shelving materials to styling tips that keep clutter at bay, this guide helps achieve that coveted magazine-worthy look while maximizing storage potential.
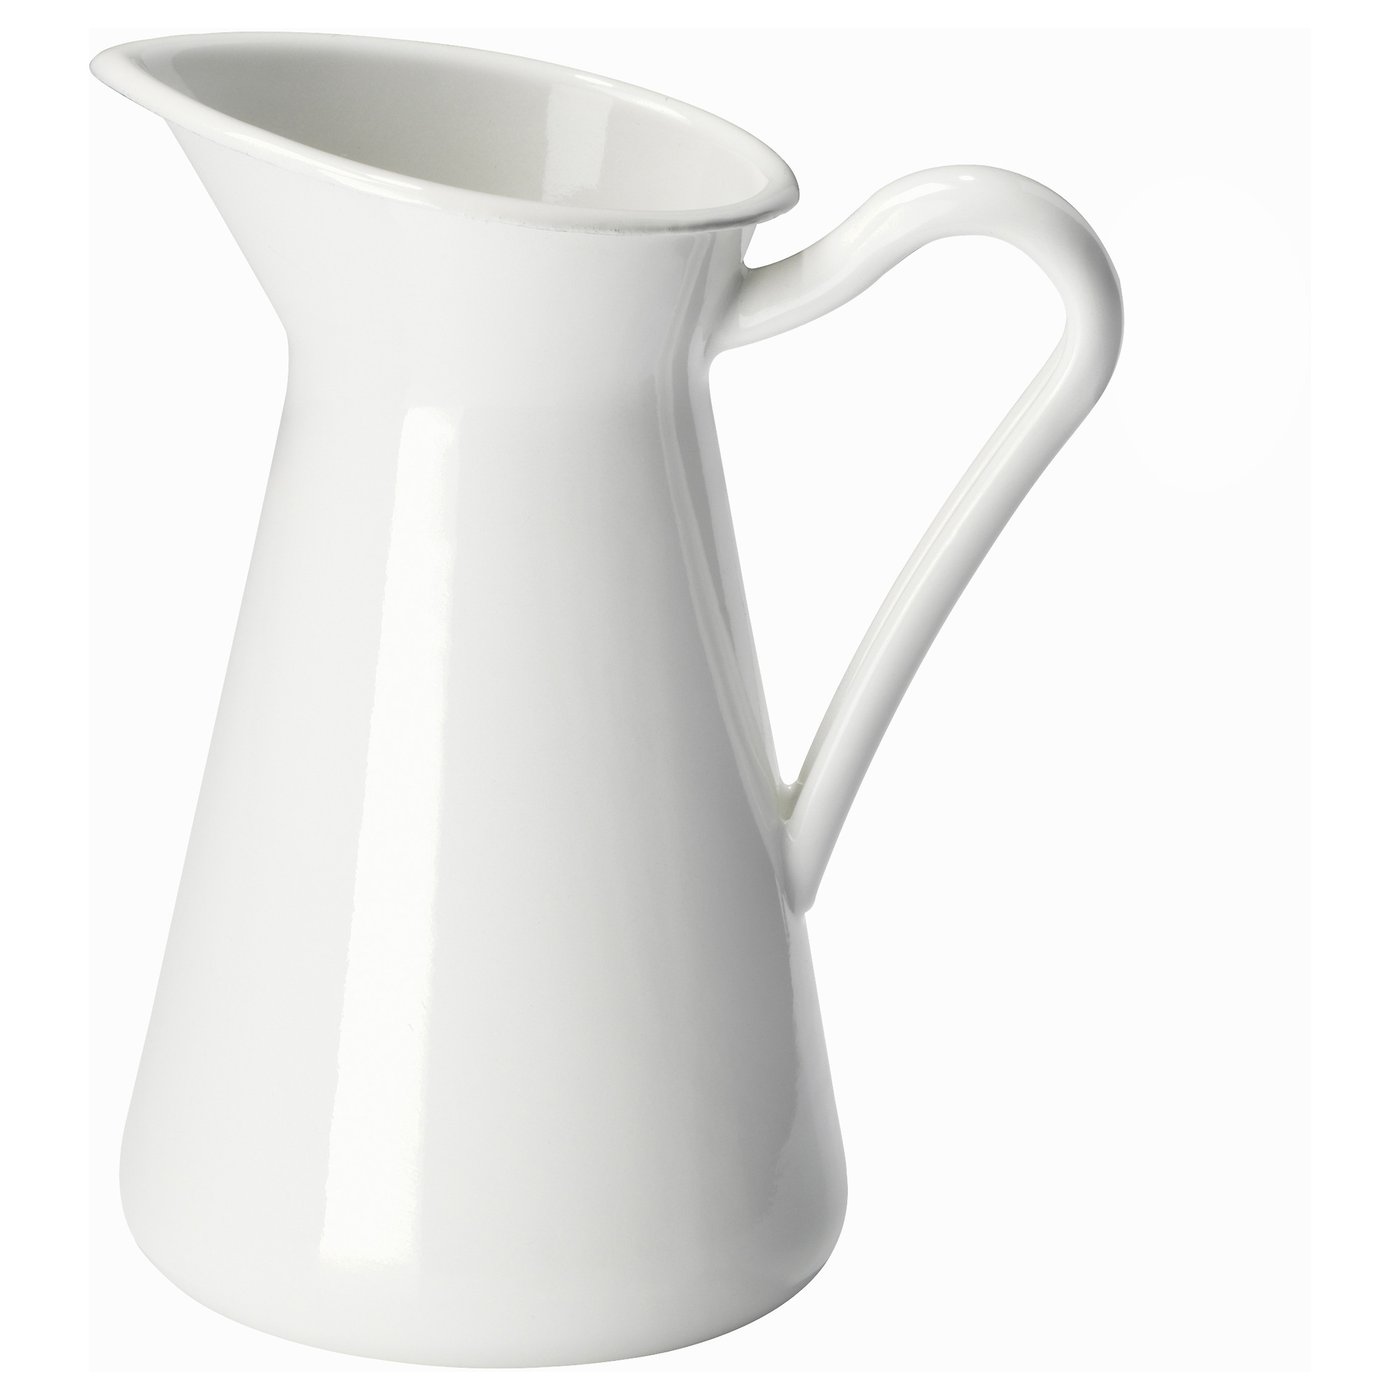
Shop This Look: Curated Kitchen Essentials
The following pieces combine style and functionality, from sleek floating shelves to beautiful storage containers that elevate kitchen aesthetics. Each item has been selected to help create an organized, visually appealing space that works for real life.
Shop the Look
Recreate this kitchen with these handpicked IKEA pieces.



The Renovation Journey: From Closed Cabinets to Open Shelving
Stage 1: Assessing the Space
Before diving into any renovation, it’s crucial to evaluate a kitchen’s current layout and identify prime locations for open shelving. This example began with a traditional kitchen featuring dated upper cabinets that made the space feel cramped and closed-in.
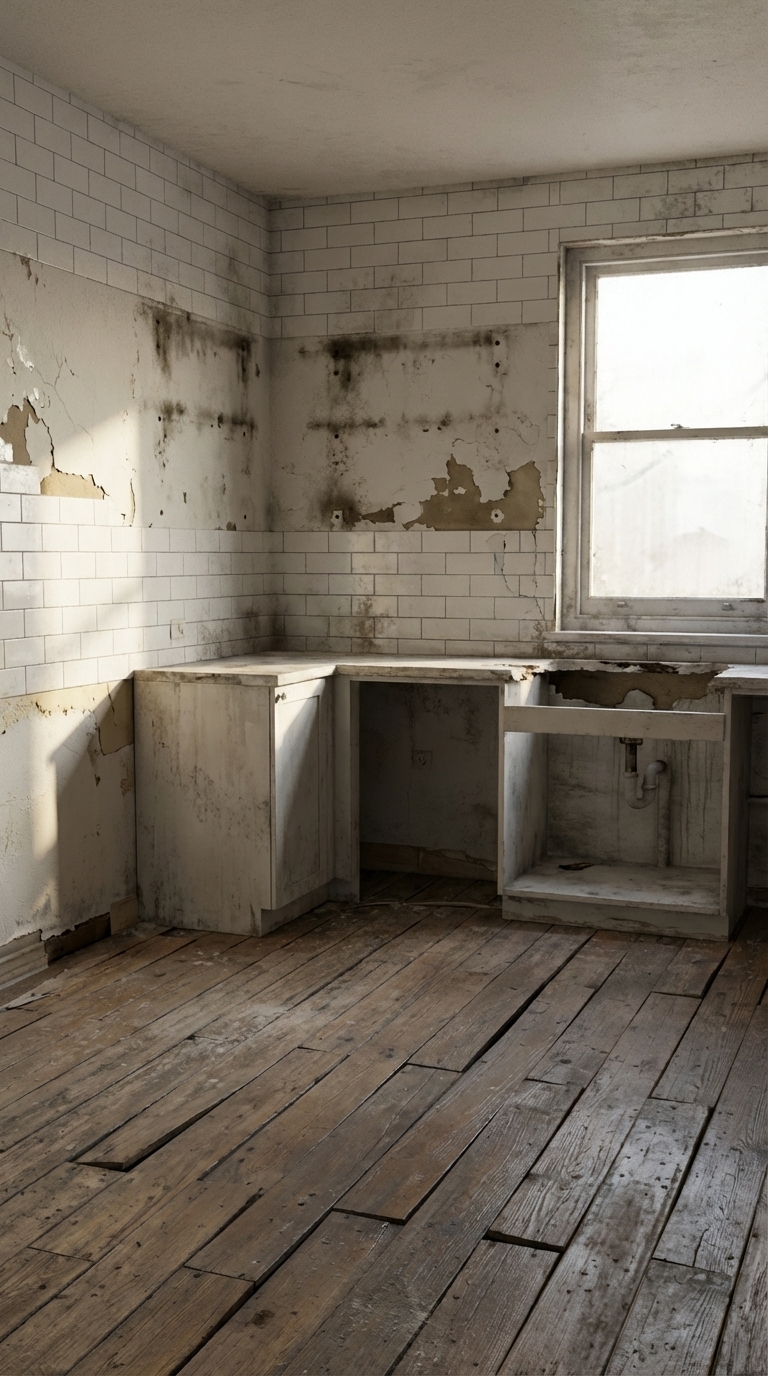
Stage 2: Demolition Day
Removing the old cabinets reveals exciting possibilities and instantly makes the kitchen feel more spacious. This stage is all about creating a blank canvas for the design vision to come to life.

Stage 3: Structural Support
Installing proper support is crucial for open shelving. Reinforced blocking between studs ensures the shelves can handle the weight of dishes and cookware.

Stage 4: Wall Refinishing
With the support in place, walls are refinished with durable, moisture-resistant paint that stands up to kitchen conditions while providing a beautiful backdrop for the shelving.
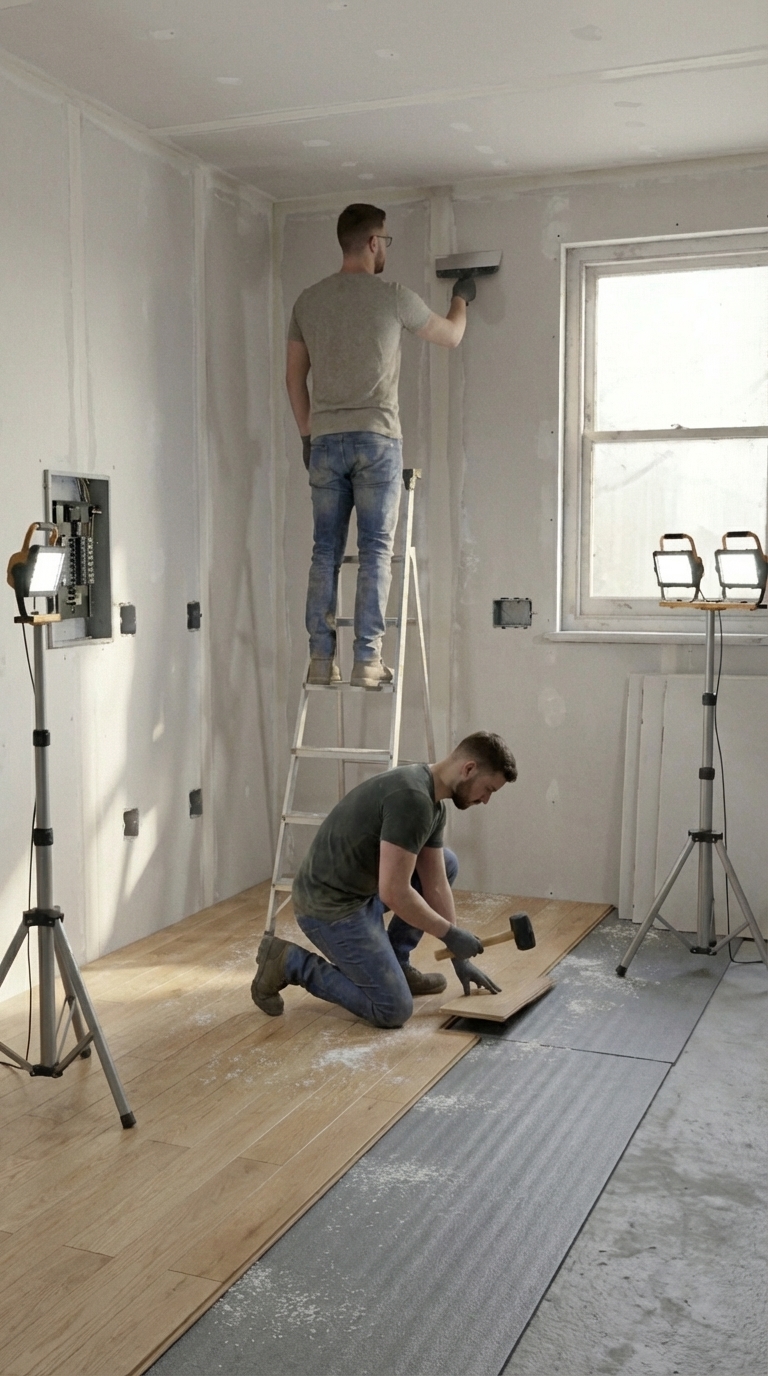
Stage 5: Flooring Updates
While the walls are being prepared, flooring is updated to create a cohesive look that complements the new open shelving design.
Stage 6: Shelf Installation
The moment of truth arrives as custom wooden shelves are installed, carefully ensuring they are level and secure.
Stage 7: Styling and Organization
The final stage involves thoughtfully arranging items on the shelves, creating functional zones while maintaining visual appeal.
Design Tips for Successful Open Shelving
- Create Zones: Designate specific areas for different activities — coffee station, baking essentials, everyday dishes.
- Use Uniform Containers: Invest in matching storage containers for dry goods and frequently used items.
- Layer the Display: Combine different heights and textures, placing taller items at the back and shorter ones in front.
Frequently Asked Questions
How do I keep open shelves dust-free?
Regular maintenance is key. A quick weekly dusting and rotating items frequently as they are used prevents dust buildup while keeping the most-used items accessible.
What’s the weight limit for open shelving?
Properly installed floating shelves can typically hold 30-50 pounds per linear foot. Always consult with a professional and use appropriate wall anchors.
How do I prevent shelves from looking cluttered?
Edit ruthlessly, group similar items together, use the rule of three for styling, and maintain consistent color schemes.
Ready to Transform a Kitchen?
Open shelving is more than just a storage solution — it’s an opportunity to showcase personality while creating a more open, inviting kitchen space. The products in the Shop the Look section help get started on the journey to a more beautiful, organized kitchen.
Remember, the best designs combine both form and function. Take time to consider how the space will be used daily, and don’t be afraid to adjust styling as discoveries are made about what works best for the lifestyle.
Leave a Reply