Many bathrooms feel more like forgotten utility rooms than personal sanctuaries. The good news? A stunning spa-like retreat doesn’t require a six-figure renovation budget. With the right products, a clear plan, and proper inspiration, any bathroom can be completely transformed into a luxury escape — and the pictures prove it.
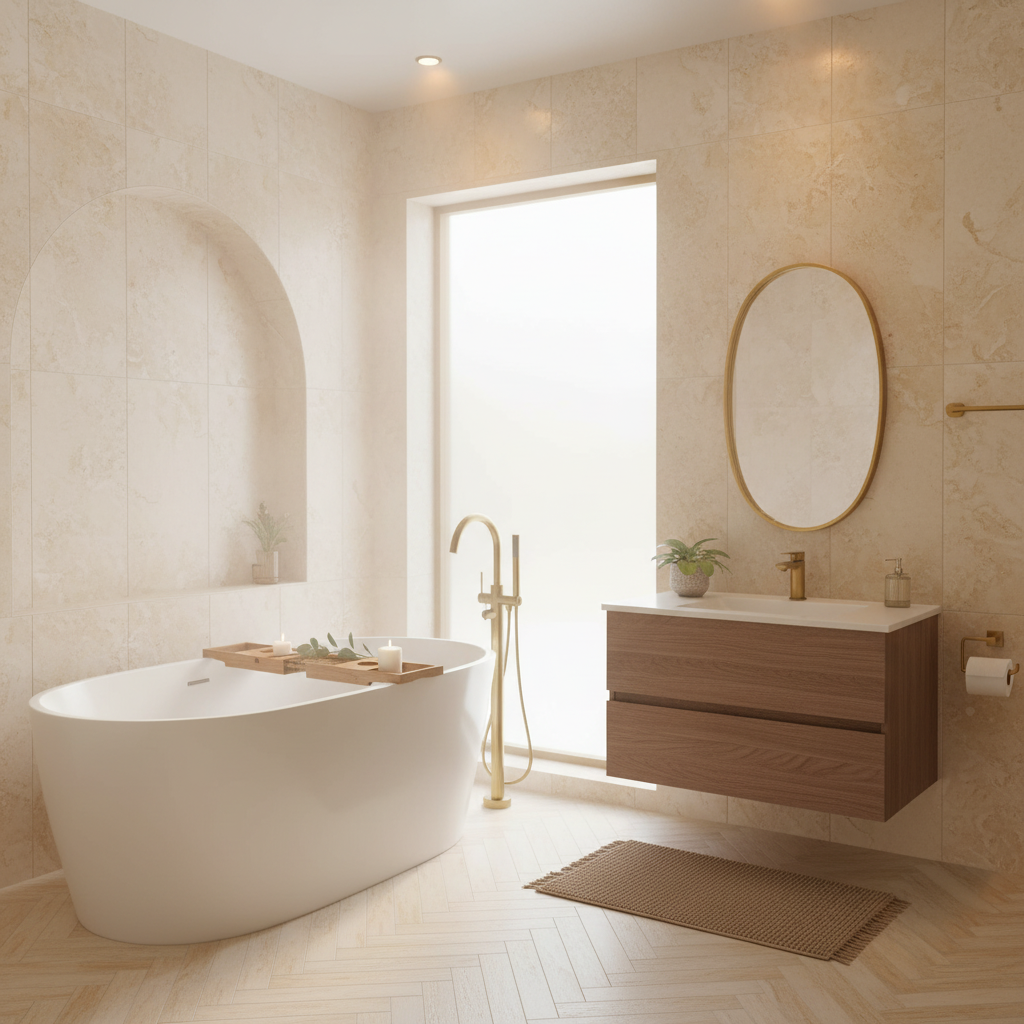
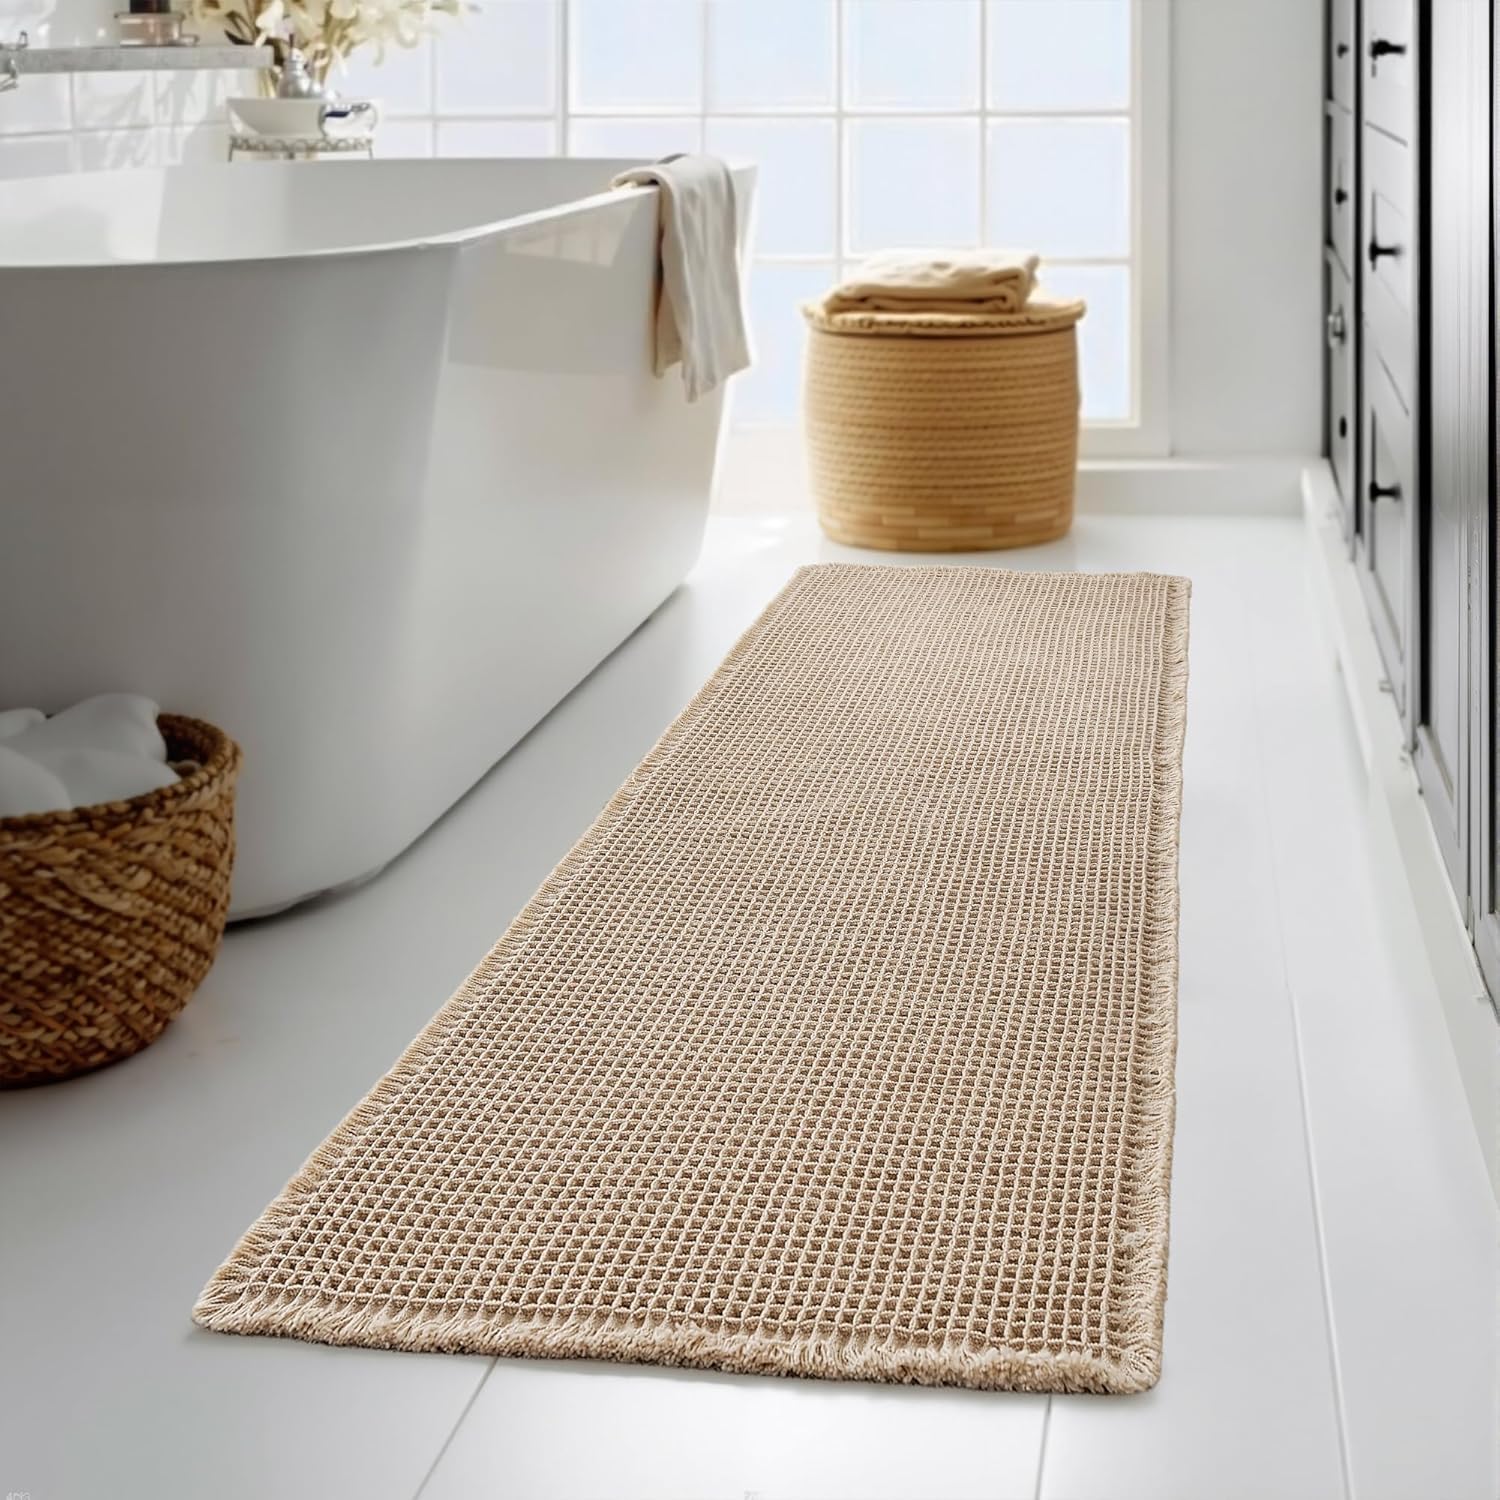
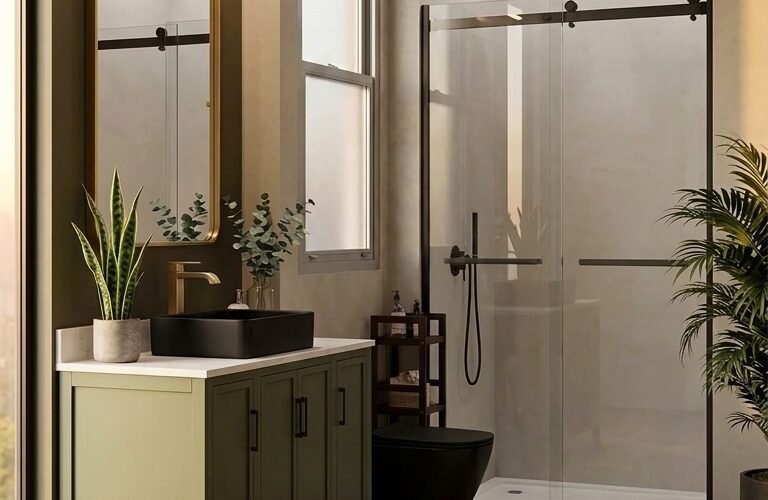
This guide walks through a full bathroom transformation from an abandoned, tile-cracked shell to a warm, organic spa bathroom that belongs in a design magazine. Think travertine limestone walls, a freestanding oval soaking tub, floating walnut vanity, and brushed gold fixtures — all sourced directly from Amazon. Below you’ll find the exact products used, the full renovation journey in photos, and expert design tips to help recreate this look in any home.
Whether planning a full gut renovation or just shopping for the perfect finishing touches, this bathroom decorating ideas guide has everything needed to get started. Looking for more affordable bathroom remodel tips? Our budget-friendly black, white, and gold transformation guide is packed with smart, low-cost upgrades.
Shop the Look
Recreate this organic spa bathroom with these handpicked Amazon products.
The Full Bathroom Renovation Journey
Every stunning bathroom starts with a blank slate — and sometimes that slate is in pretty rough shape. Here’s how this space went from abandoned and cracked to a magazine-worthy organic spa, step by step.
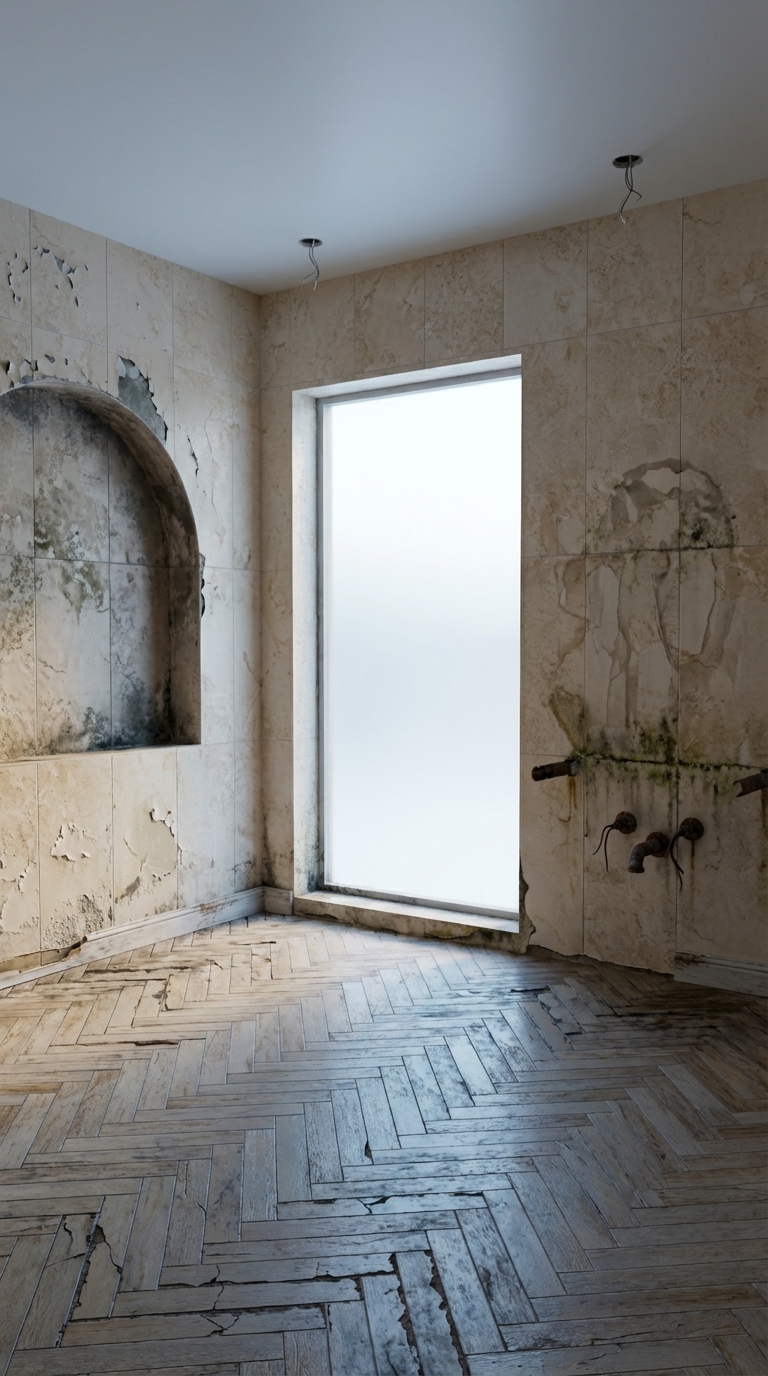
Stage 1 — The Before: Empty & Abandoned
This is where every great renovation begins. Peeling wall tiles, cracked floor tiles stained with years of grime, harsh daylight through a bare window, and exposed pipes where fixtures used to be. The bones were good — high ceilings, a generous footprint, and a large window for natural light. That was enough to work with.
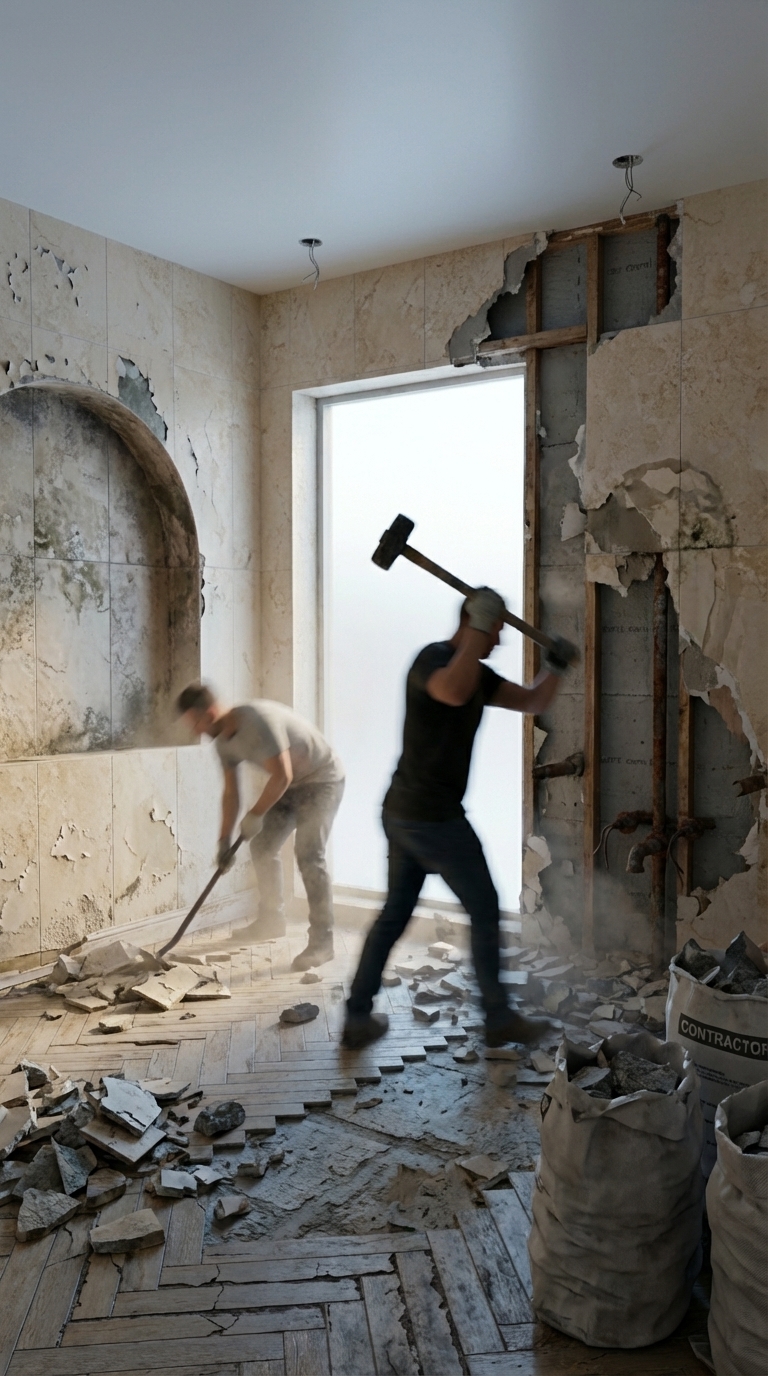
Stage 2 — Demolition
Out with the old. Every last tile was stripped from the walls and floor, exposing the bare cement board and concrete subfloor beneath. Dust clouds, broken tile pieces, and the satisfying crack of a sledgehammer — this is where the transformation really begins. Nothing left but raw potential.
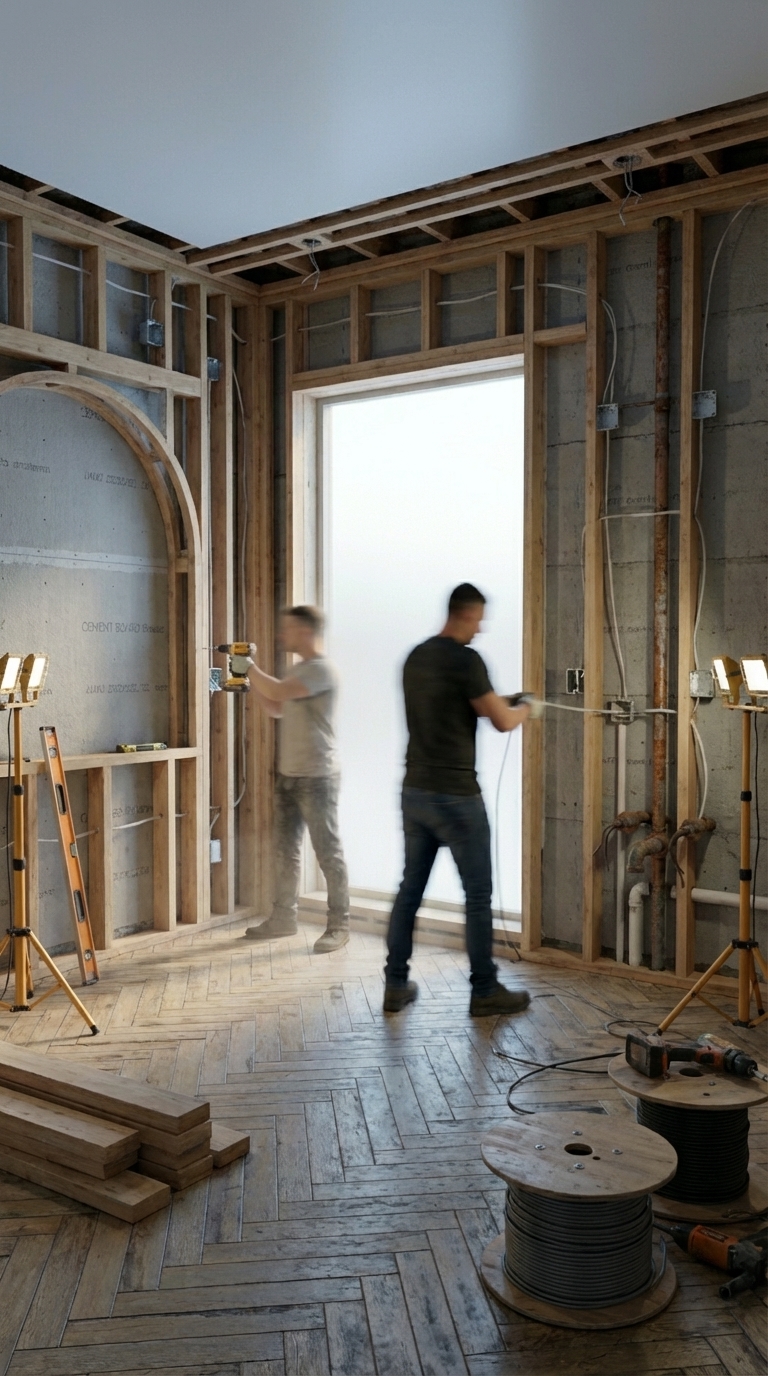
Stage 3 — Structural Framing & Rough-In
With the slate truly blank, the structural work begins. New wall studs were erected, electrical conduit was run for the vanity sconces and recessed lighting, and copper plumbing was roughed-in for the freestanding tub filler and vanity sink. The shower niche framing went up on the right wall, and cement board was installed in all wet areas. The skeleton of a luxury bathroom was taking shape.
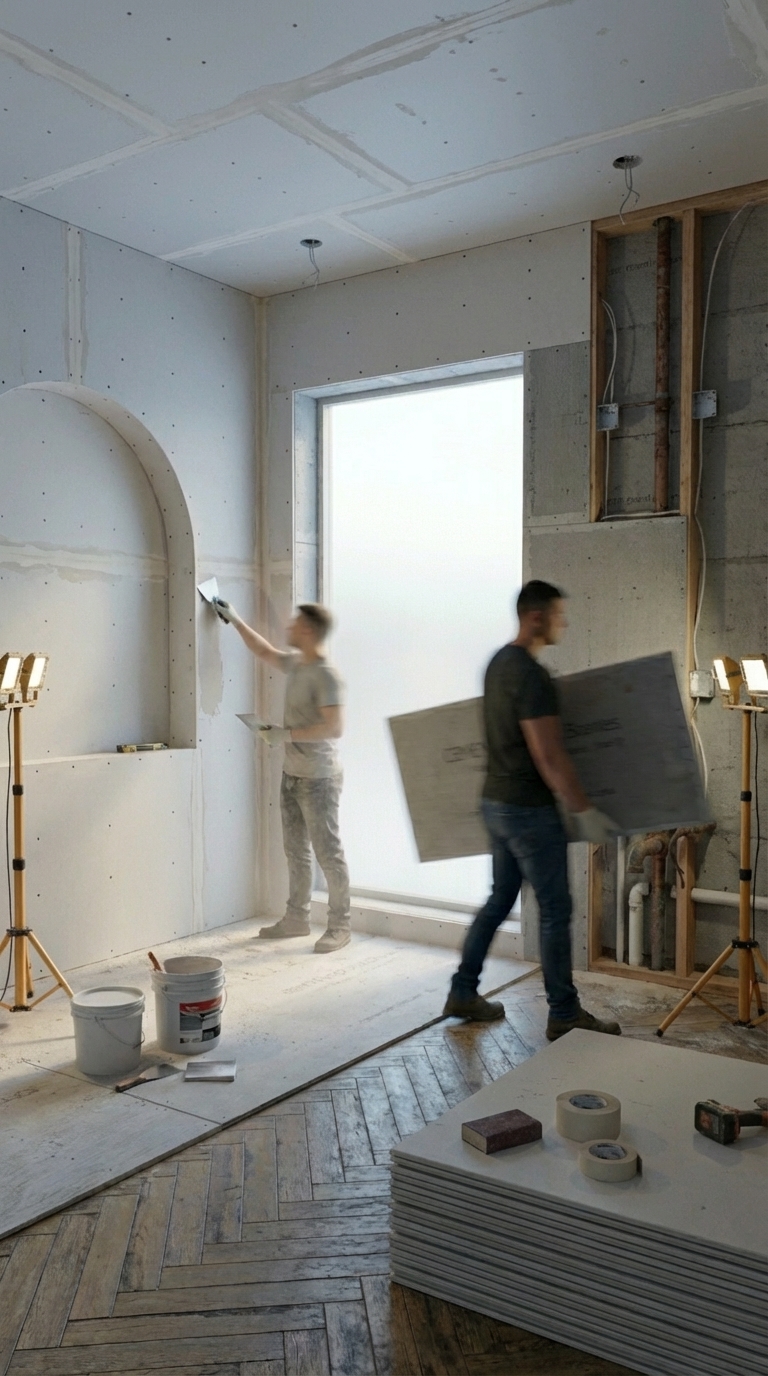
Stage 4 — Drywall & Cement Board
Walls began closing up with fresh drywall sheets and cement board panels. Seams were taped and mudded, screw dimples filled smooth. The subfloor was leveled and prepped for the herringbone travertine tile installation. At this stage the bathroom starts to feel like a room again — enclosed, structured, and ready for its beautiful skin.
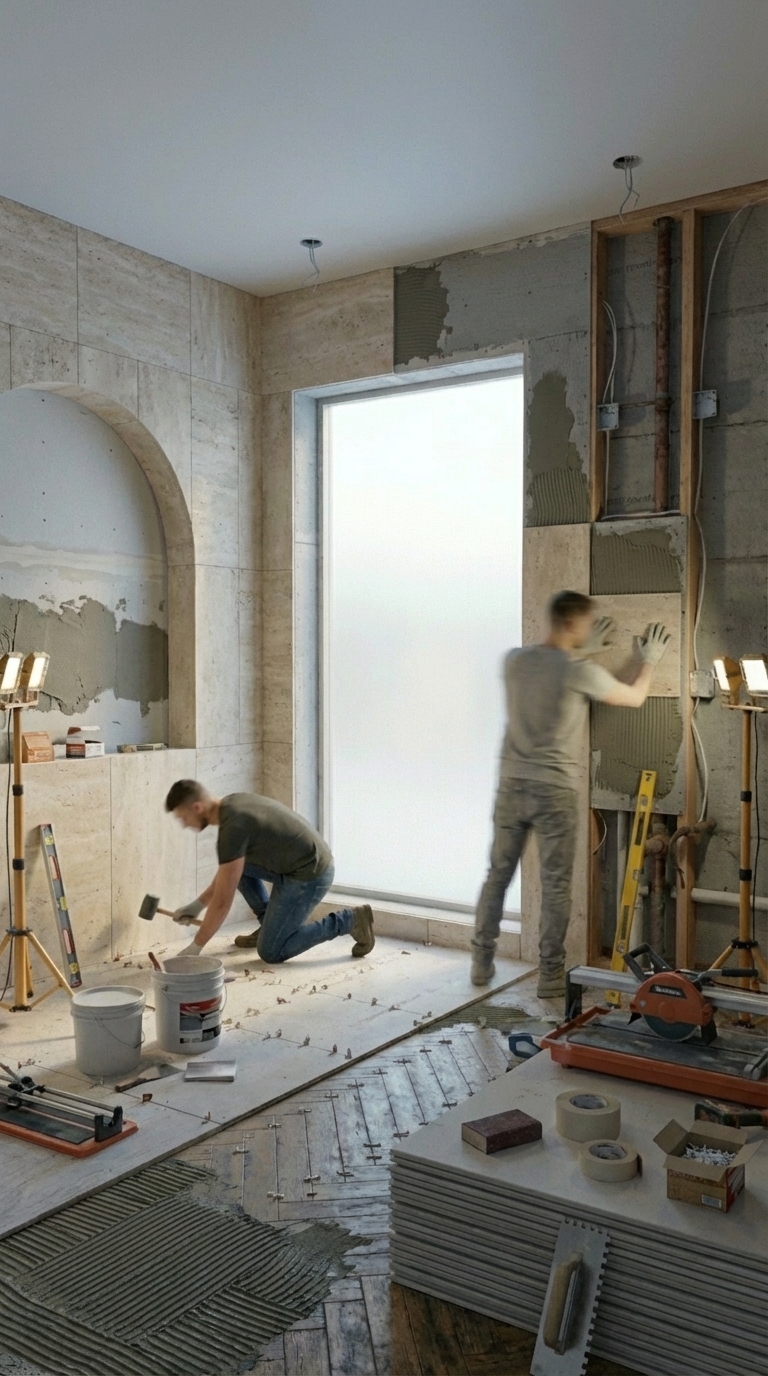
Stage 5 — Flooring & Wall Tile
This is where the magic really starts to show. Large-format travertine-inspired limestone tiles were installed on every wall, their natural veining catching the light beautifully. On the floor, a herringbone pattern in matching travertine tile was laid with precision spacing. The transformation from a construction site to a spa is unmistakable at this stage.
Stage 6 — Paint & Trim
With tiling complete, the ceiling was painted a warm creamy ivory to complement the travertine palette. New baseboards were nailed in along the tile walls, and crown molding was added at the ceiling line for that refined, high-end finish. Painter’s tape came off the window trim to reveal perfectly crisp lines. The room was 85% of the way there.

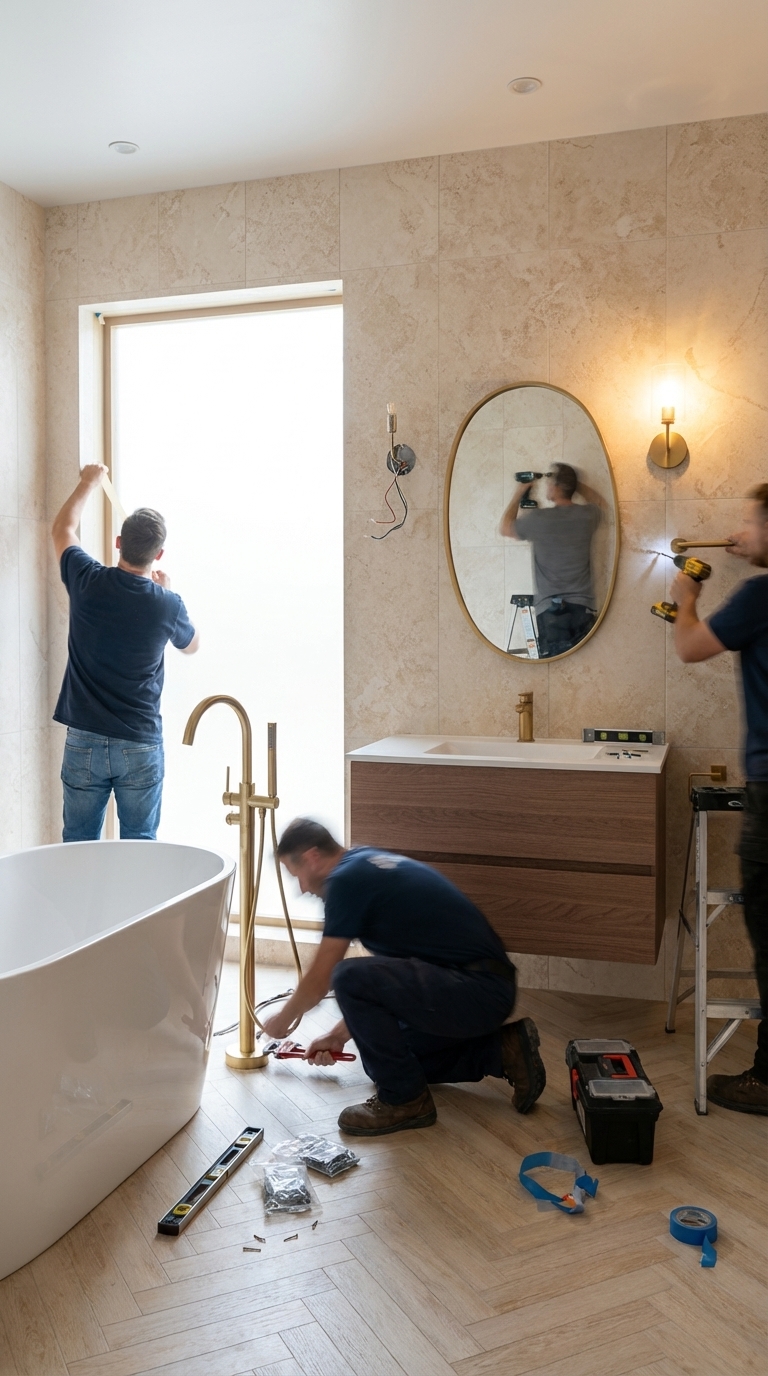
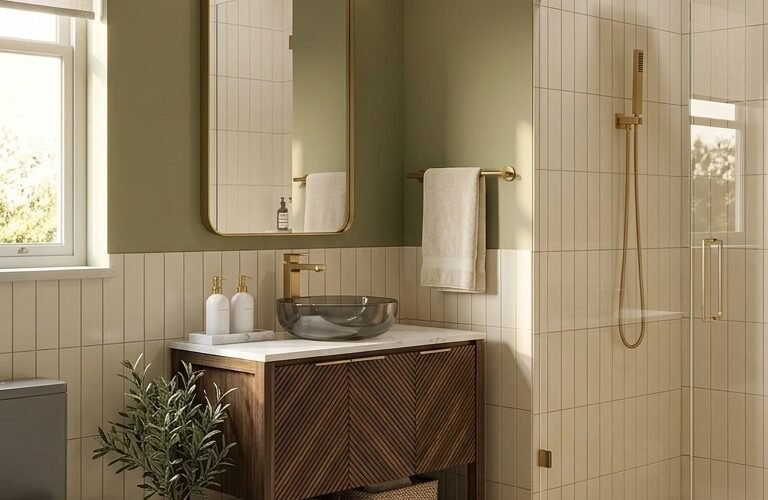
Stage 7 — Fixtures & Hardware Installation
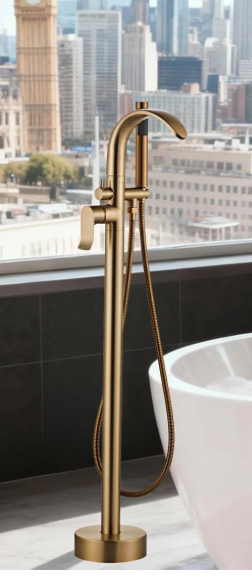
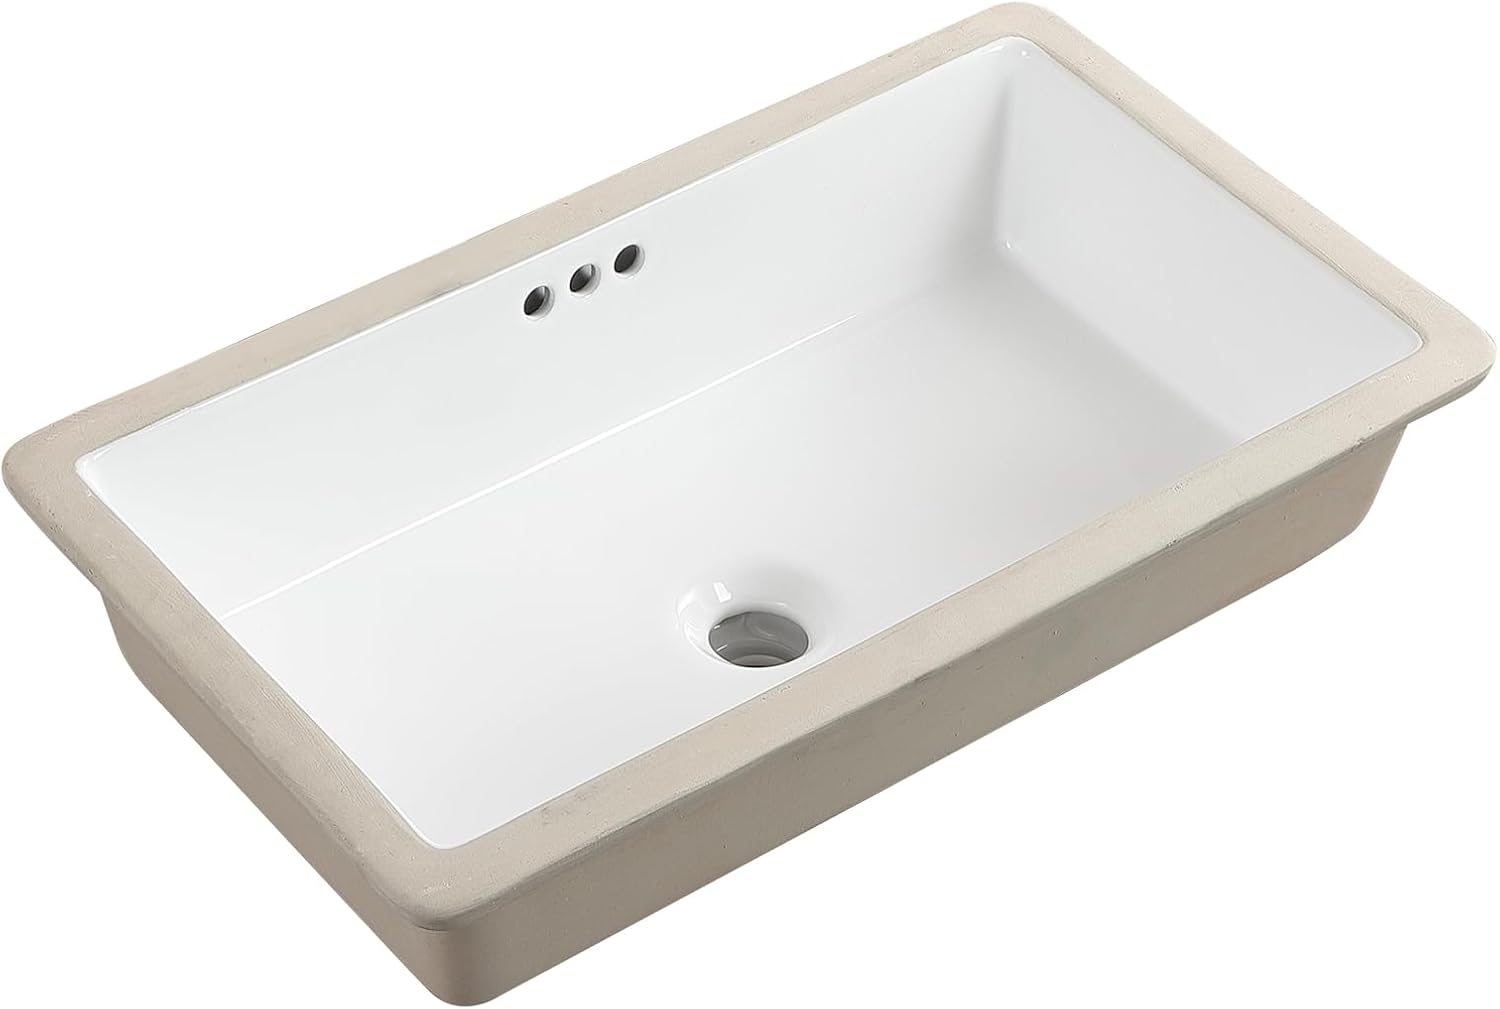
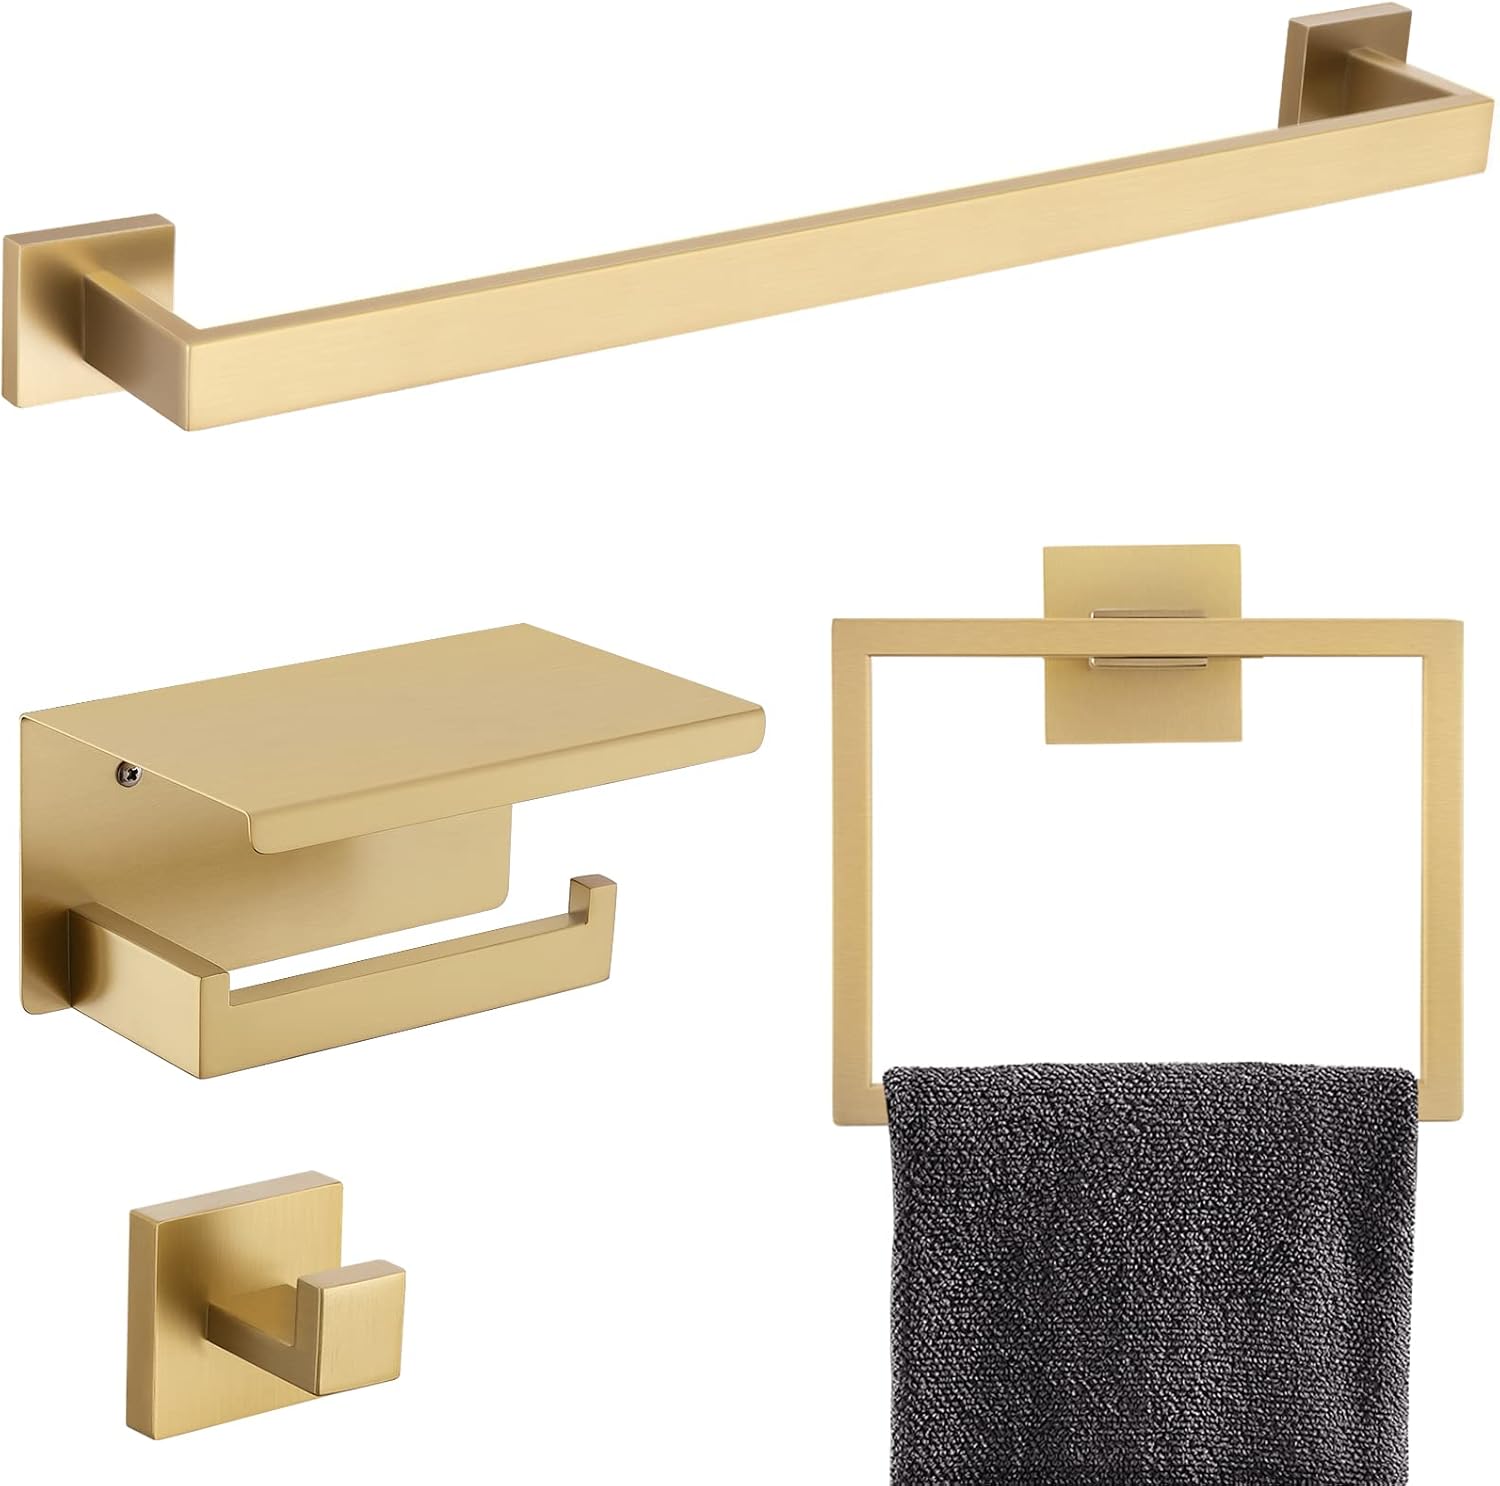
The final stretch — and the most satisfying. The brushed gold freestanding tub filler was connected beside the soaking tub. The floating walnut vanity was wall-mounted and the oval brass mirror hung above it. Vanity sconces were wired and switched on for the first time. The brushed gold towel bar set was drilled into the wall. One by one, every finishing detail clicked into place.
Design Tips: How to Achieve the Organic Spa Look
1. Lead With Natural Stone Textures
The single biggest impact that can be made in a bathroom is replacing flat painted walls with a textured natural stone tile. Travertine and limestone-inspired tiles add depth, warmth, and a sense of permanence that paint simply can’t match. It’s not necessary to tile every wall — even a single feature wall behind the tub or vanity will completely change the energy of the space.
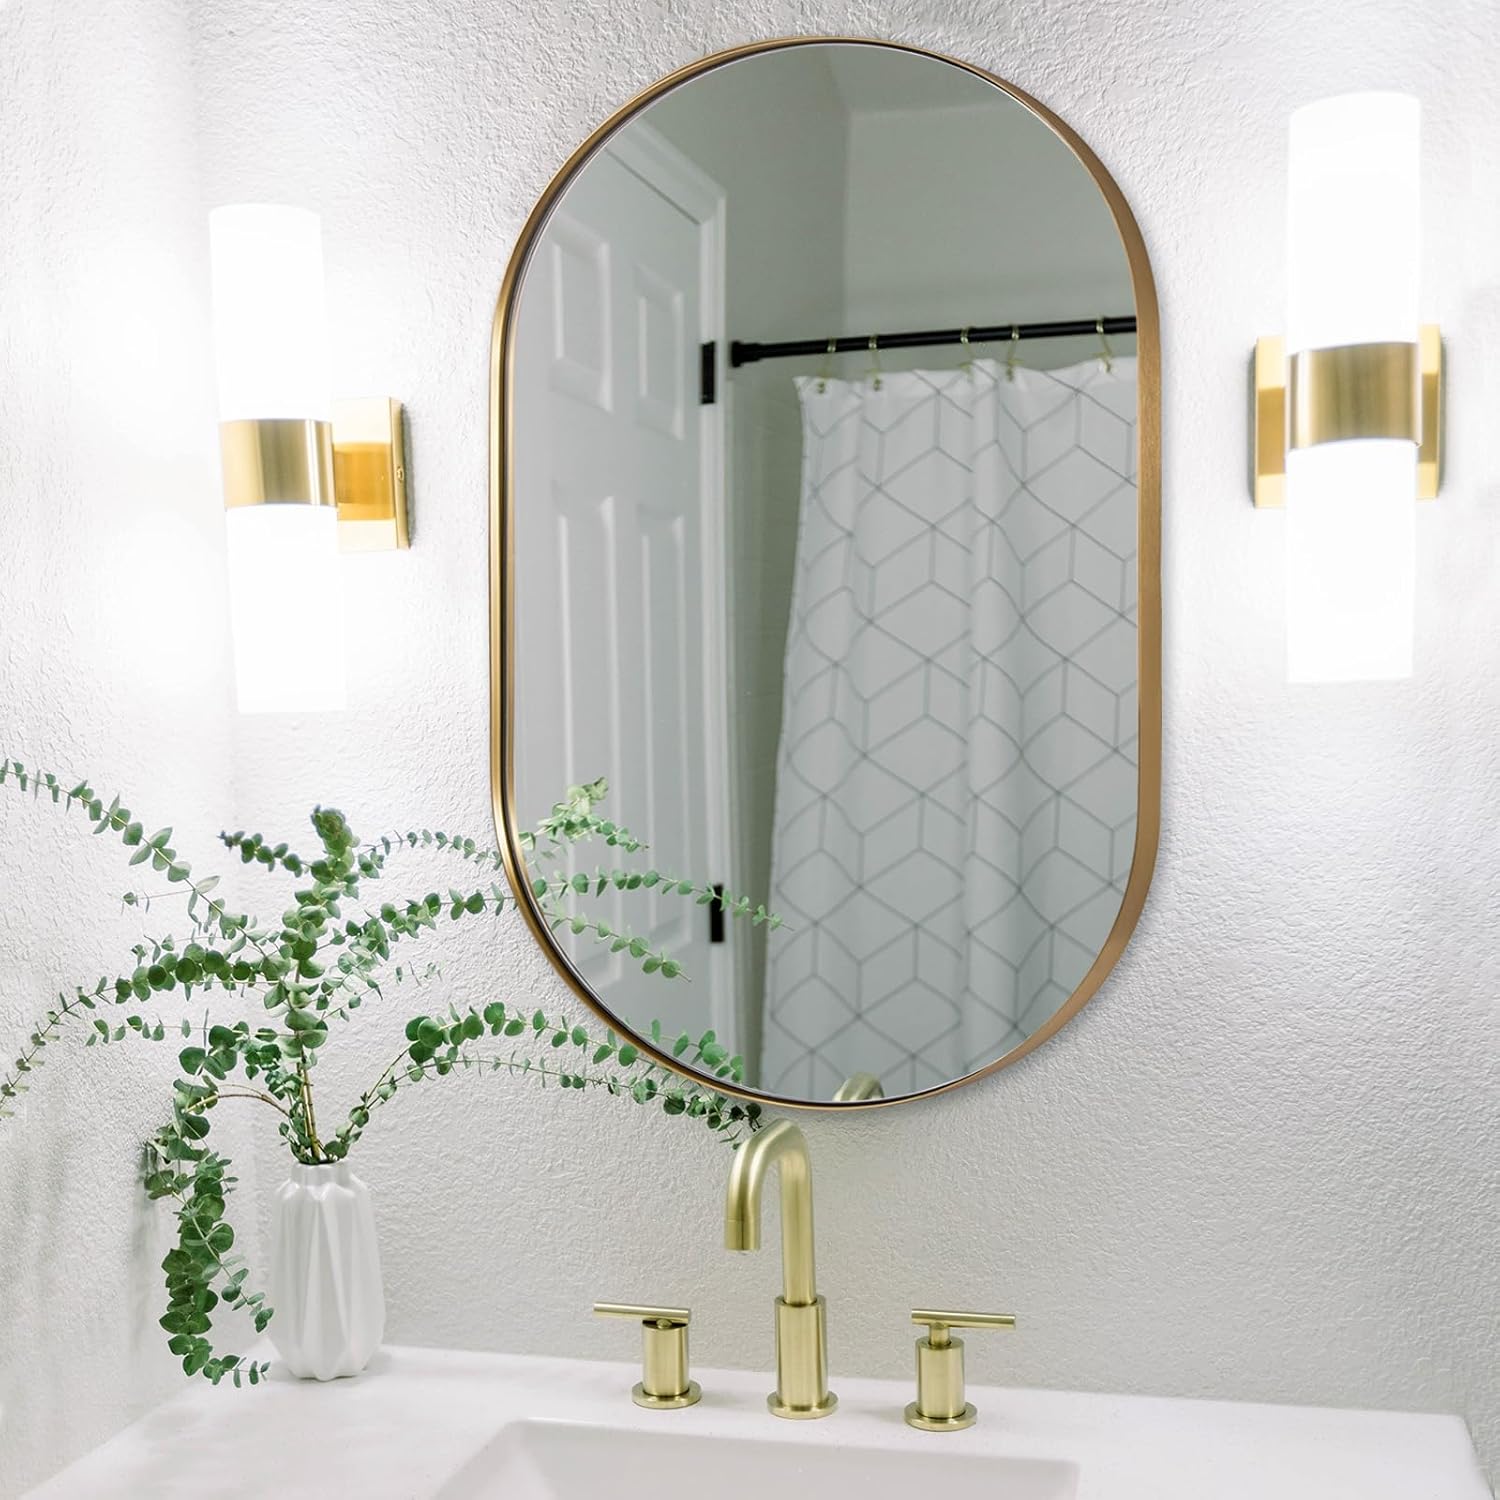
2. Choose Warm Metals, Not Chrome
Chrome had its moment, but brushed gold and warm brass are the defining finish of 2026 bathroom design. They pair beautifully with warm neutrals and natural wood, and they photograph exceptionally well. Consistency is key — matching the faucet, towel bar, mirror frame, and robe hooks to the same finish creates a cohesive, curated look.
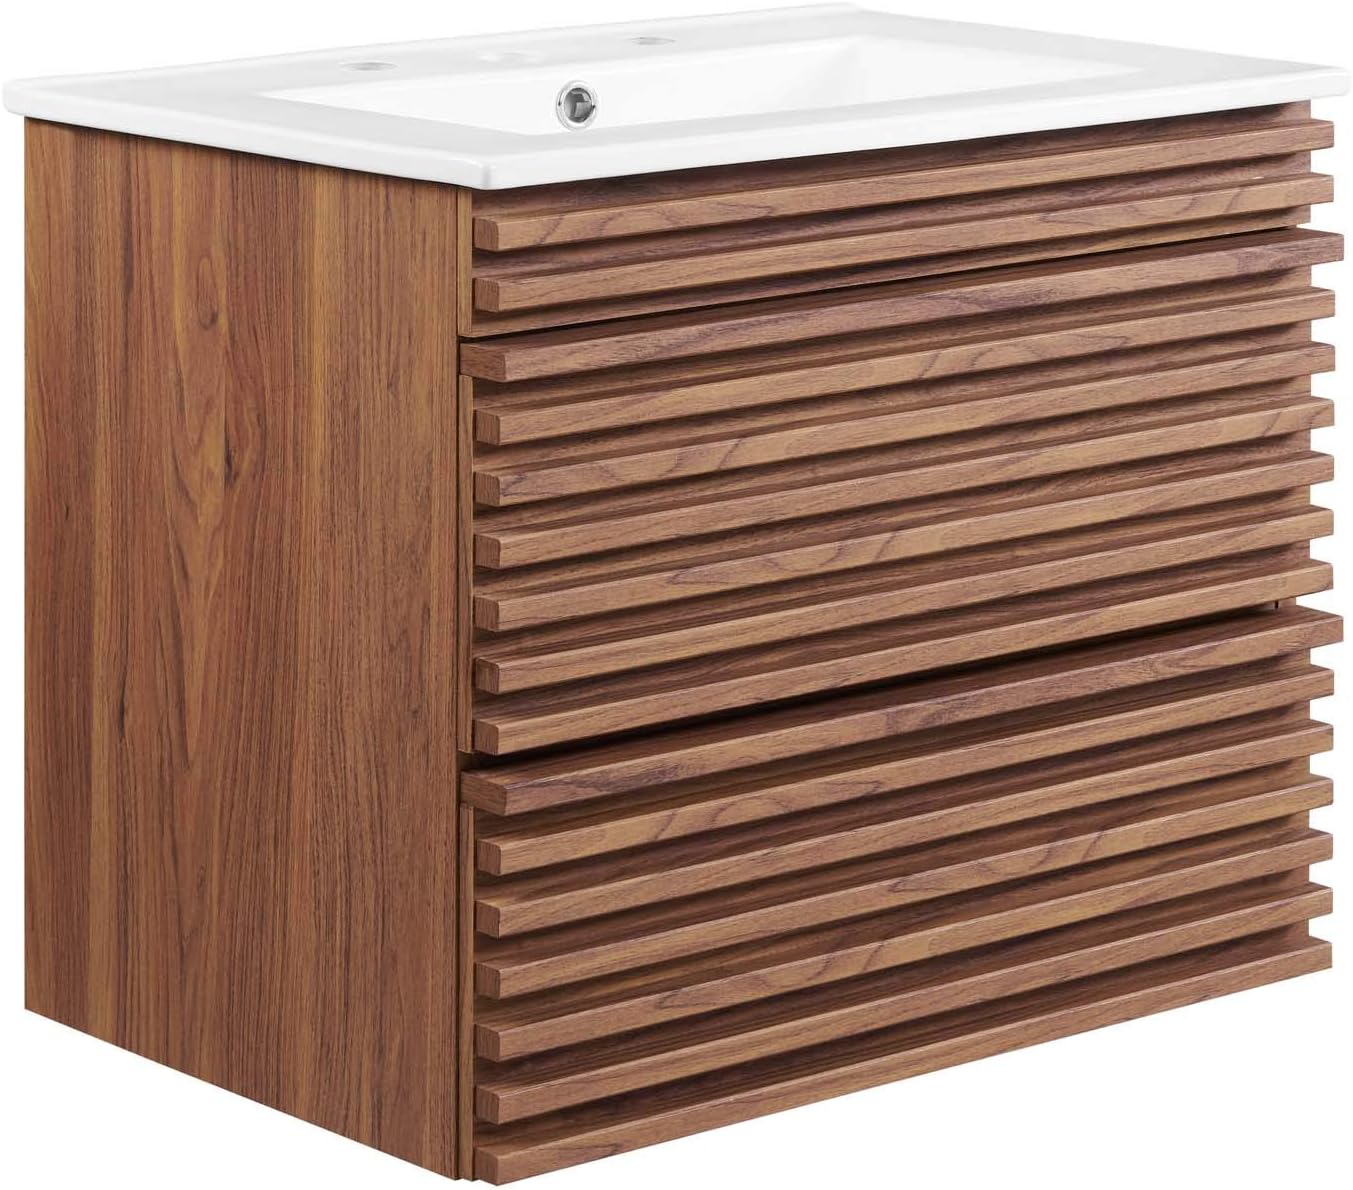
3. Float Your Vanity
A wall-mounted floating vanity does two things simultaneously: it makes a small bathroom feel larger by opening up the floor, and it instantly signals a high-end, intentional design. Pairing it with a statement mirror that extends above the vanity height creates a dramatic, elongated effect.
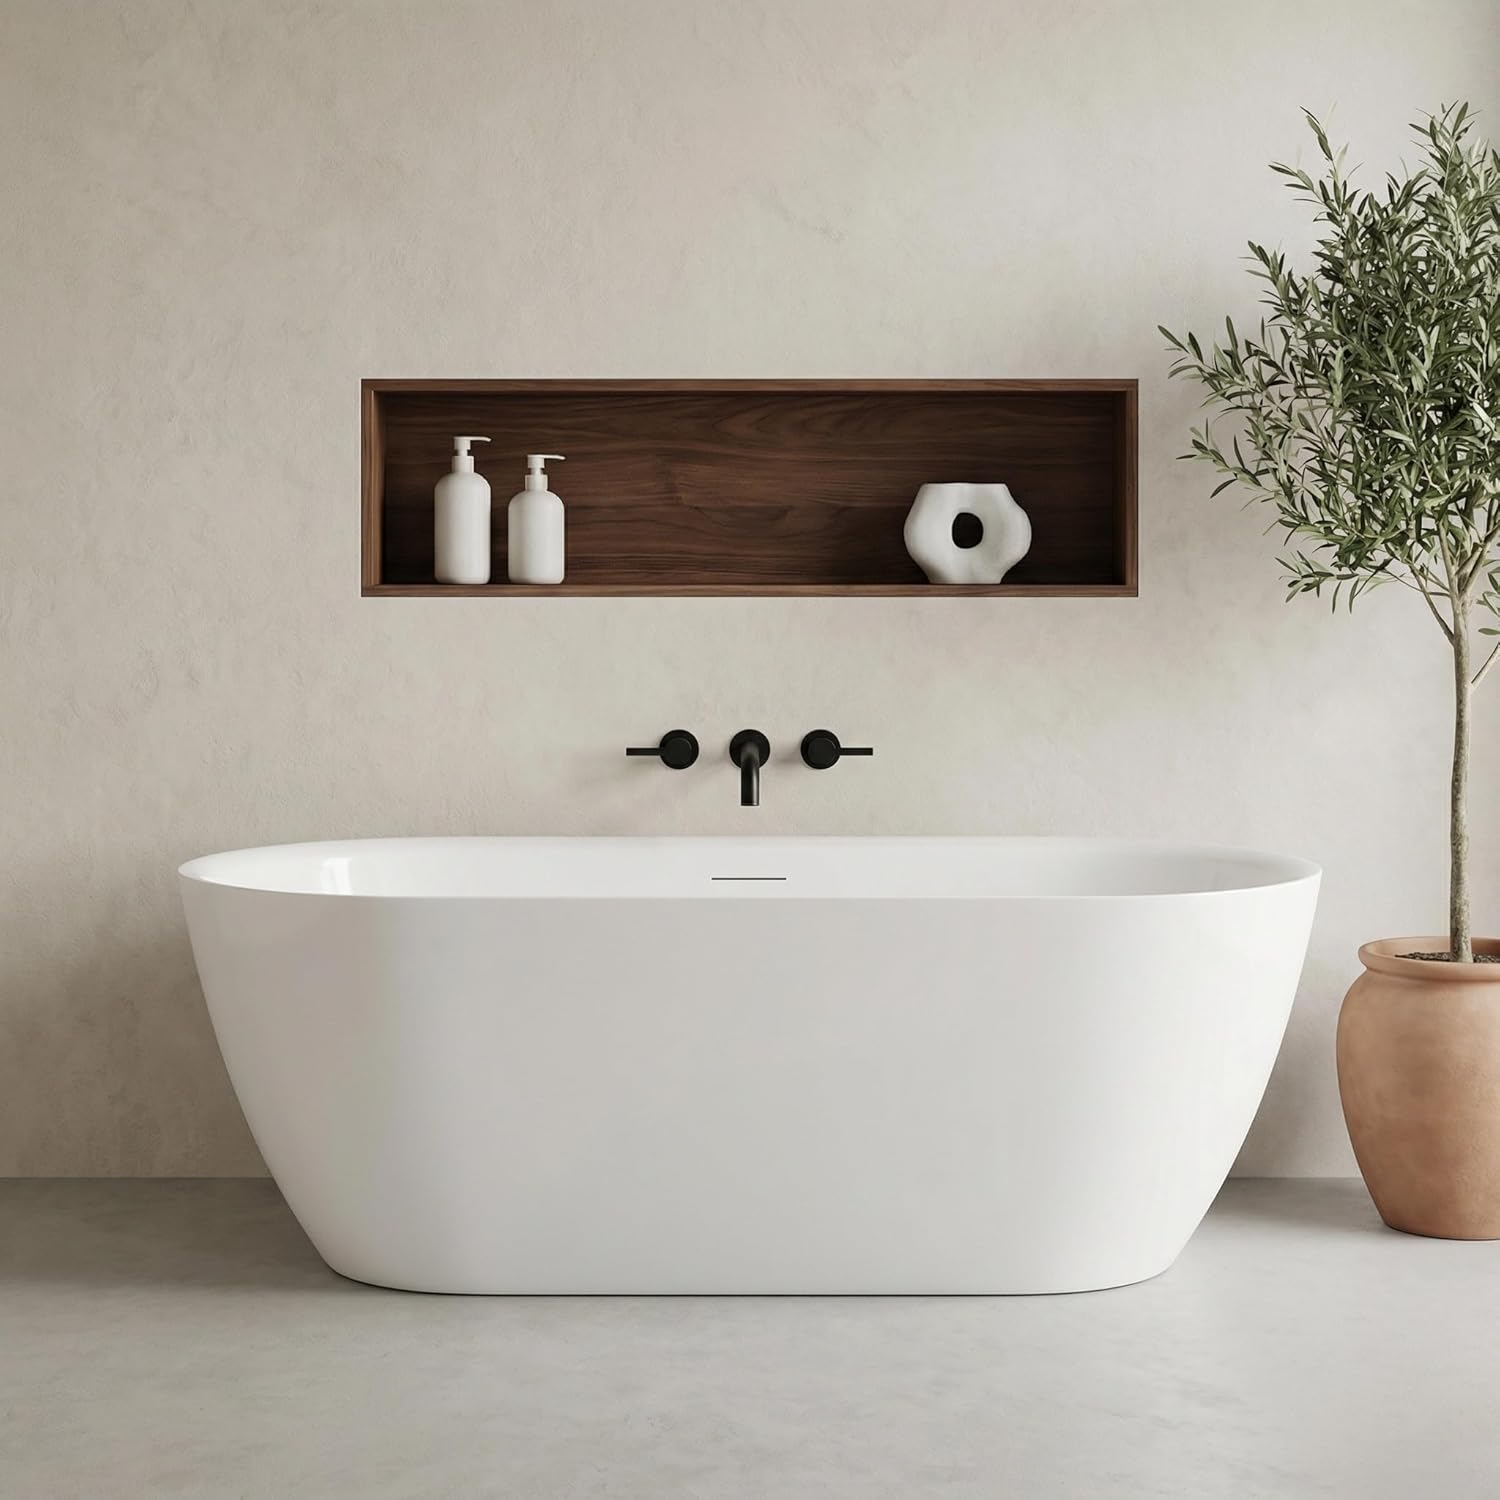
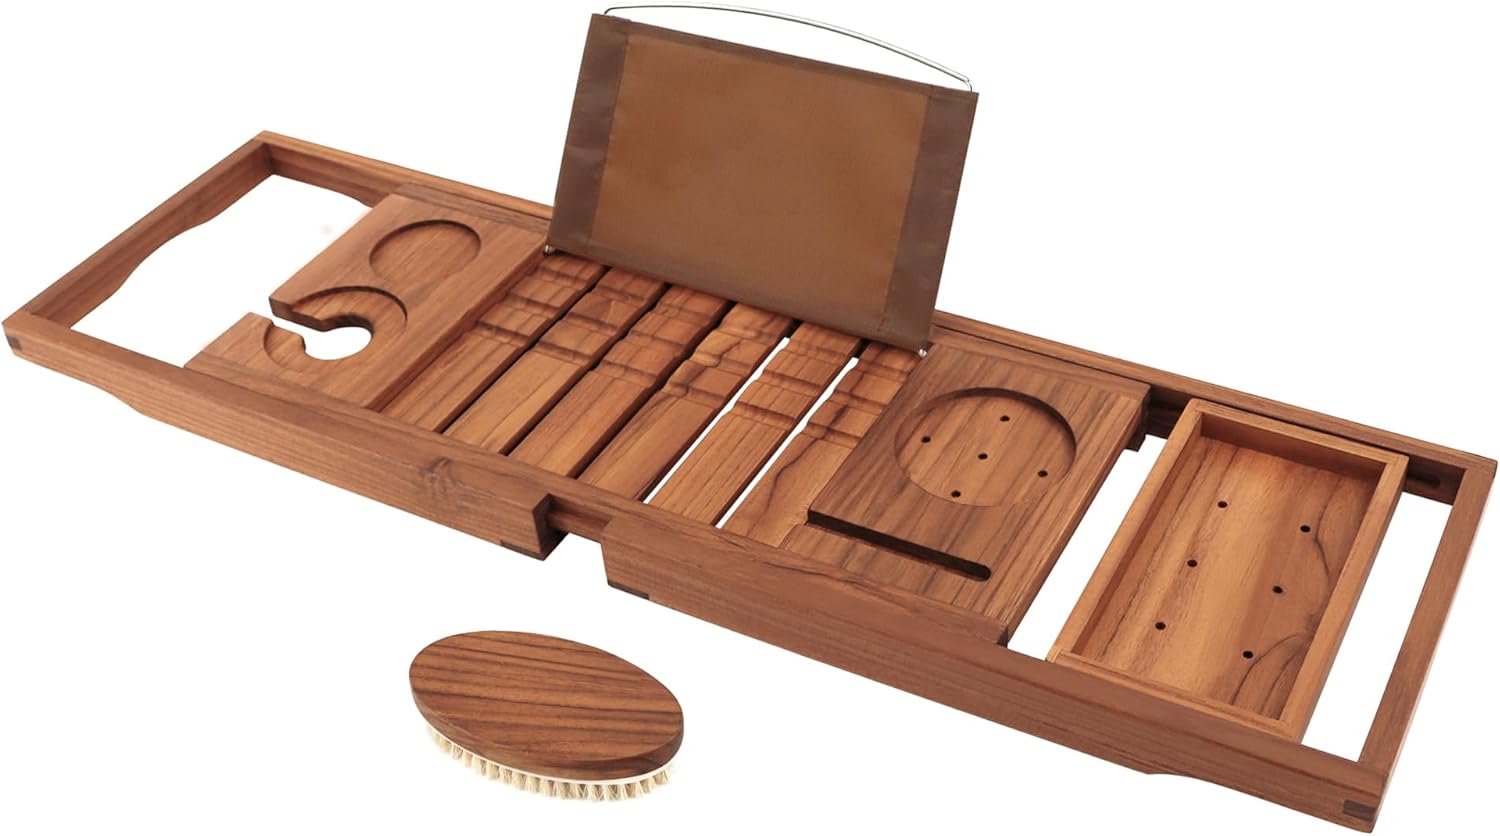
4. Make the Tub a Focal Point
If layout allows, positioning a freestanding soaking tub beneath a window or centered on a feature wall is ideal. This is the oldest trick in luxury bathroom design — the tub becomes sculptural art, not just a fixture. A wooden bath tray with candles and eucalyptus transforms it from utilitarian to aspirational in seconds.
5. Layer Your Lighting
Avoid relying on a single overhead light. The best bathroom lighting combines recessed ceiling lights for general illumination, vanity sconces at eye level for flattering task lighting, and a pendant or decorative fixture above the tub for ambiance. This three-layer approach is what separates a hotel bathroom from a home bathroom.
Frequently Asked Questions
How much does a bathroom renovation like this cost?
A mid-range bathroom renovation with quality fixtures and tile work typically ranges from $8,000 to $25,000 depending on the market and the scope of work. However, the products featured in this guide total under $1,850 — meaning smart product selection can deliver a luxury look without a luxury price tag. Labor is the biggest variable, so getting multiple contractor quotes is always recommended.
Can I install a freestanding tub in any bathroom?
A freestanding tub requires a minimum floor space of roughly 5 feet by 3 feet just for the tub itself, plus clearance around it. A floor-mounted supply line is also needed for the freestanding filler faucet, which requires a plumber if it’s not already roughed in. For smaller bathrooms, positioning a freestanding tub against a wall rather than centered in the room is a practical compromise that still delivers the luxury look.
What is the best tile for a spa bathroom?
Travertine, limestone, and porcelain tiles with a honed or matte finish are the top choices for an organic spa aesthetic in 2026. Large-format tiles (24″x48″ or larger) reduce grout lines and make the space feel more expansive. For floors, a herringbone or offset brick pattern adds visual interest without competing with the wall tile. Grout color should always be chosen intentionally — grout color has a surprisingly dramatic effect on the overall look.
How do I make a small bathroom look luxurious?
Four things make the biggest impact in a small bathroom: a floating vanity to open up floor space, large-format tiles to minimize grout lines and create the illusion of a bigger room, a well-placed mirror to reflect light and depth, and consistent warm metal hardware throughout. Busy patterns and too many competing colors should be avoided — the quieter and more cohesive the palette, the more expensive it reads.
What bathroom hardware finish is trending in 2026?
Brushed gold and warm brass are the dominant hardware finishes of 2026, replacing the cool-toned matte black that dominated the previous few years. These warmer finishes pair naturally with the earthy neutral palettes, natural wood vanities, and travertine tiles that define the organic spa trend. Mixed metals — pairing brushed gold with unlacquered brass accents — are also popular for a layered, collected look.
Ready to Transform Your Bathroom?
A luxury bathroom is less about square footage and more about intention. The right tile, the right fixtures, and the right finishing touches can turn even the most ordinary bathroom into a daily retreat worth using. Every product featured in this guide is available on Amazon — just click any item in the Shop the Look section above to find it.
Whether embarking on a full gut renovation or simply refreshing hardware and accessories, start with the products that make the biggest visual impact: the vanity, the mirror, and the hardware finish. Get those right and everything else falls into place.
Save this post, share it with a contractor, and tag the site when a bathroom transformation is complete. The results are always worth seeing. 🛁

Leave a Reply