When living room walls are feeling bare, lifeless, or just painfully generic — boho wall decor offers a compelling solution. The bohemian aesthetic has dominated interior design for years now, and for good reason: it’s warm, personal, layered, and endlessly flexible. Whether starting from scratch or refreshing an existing space, the right wall decor can completely transform the energy of a room.
This guide walks through a complete boho living room transformation — from an abandoned, empty space all the way to a fully styled bohemian sanctuary. Every renovation stage is documented, the exact Amazon products used are shared, and design tips are provided to recreate this look at home. The best part? Everything shown here is shoppable right below.
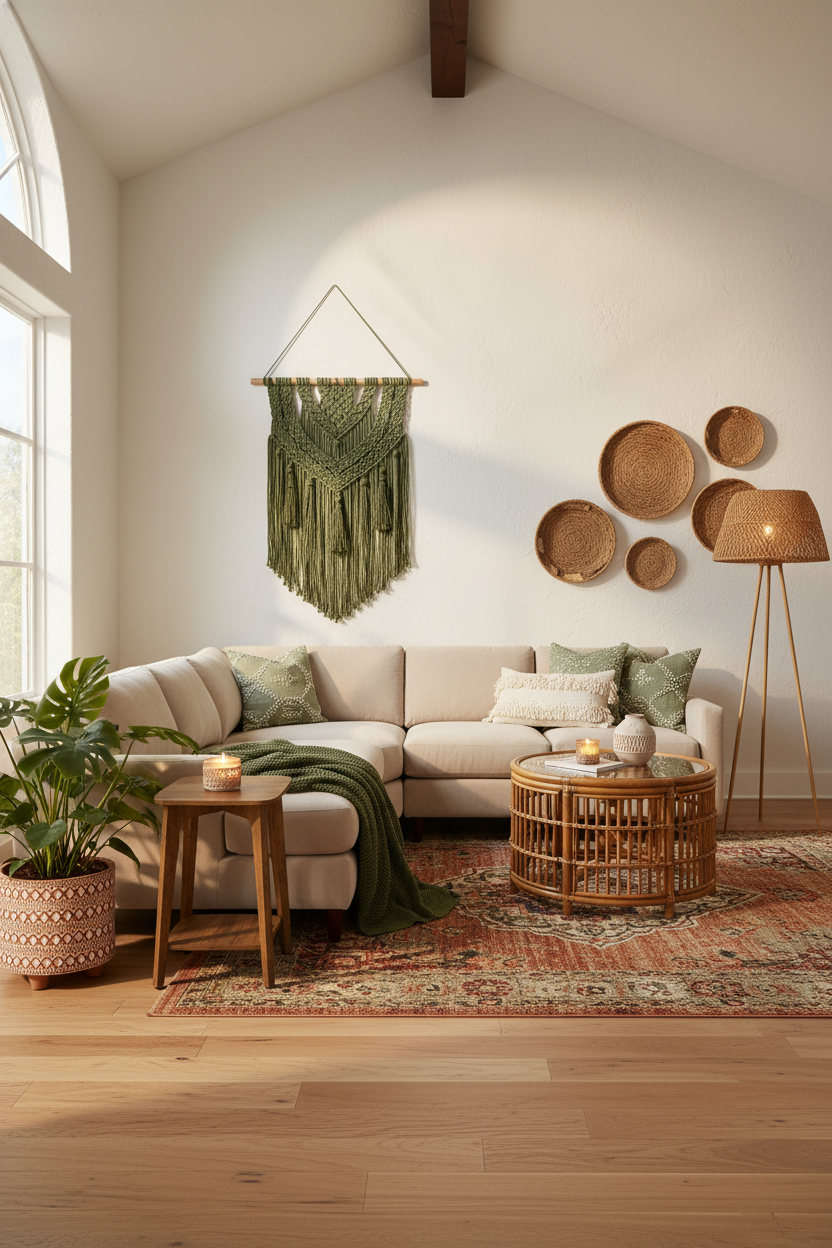
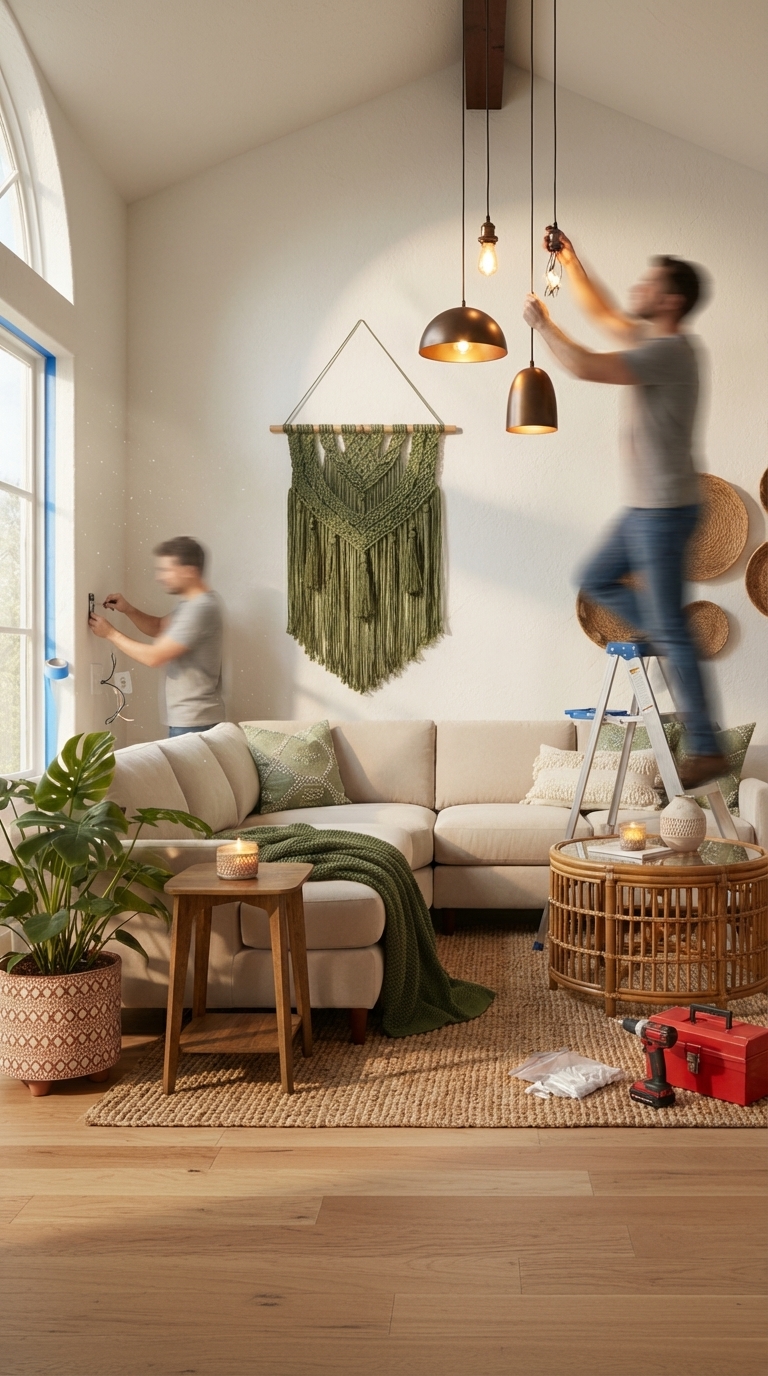
Boho style is all about layering — textures, tones, and handmade pieces that feel collected over time rather than purchased all at once. The macramé wall hanging serves as the hero piece. The woven baskets, the rattan, the trailing plants — they’re the supporting cast. Together they create something that feels alive, warm, and deeply personal.
Shop the Look
Recreate this boho living room with these handpicked Amazon products.

The Full Boho Living Room Renovation Journey
This was not just a styling refresh — it was a complete room transformation from the ground up. Here’s every stage of the journey, from the bare abandoned shell to the finished bohemian sanctuary shown above.
Stage 1: The Empty Canvas
Before anything else, the room was stripped entirely — old worn hardwood floors, cracked and peeling paint on the walls, harsh daylight pouring through bare windows. This is the starting point every great renovation begins from: an honest, empty space full of potential.

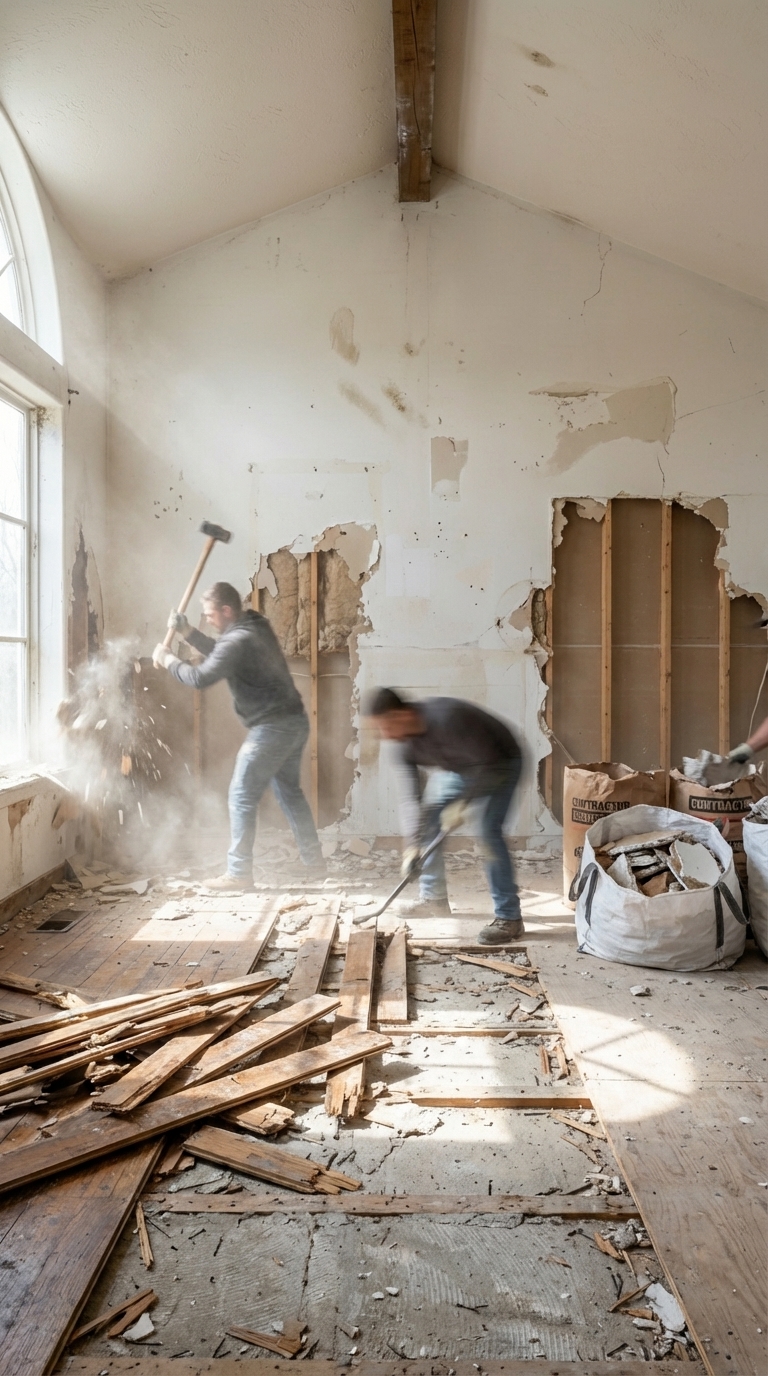
Stage 2: Demolition
Old flooring is ripped up, walls are opened up, debris covers the space. The demolition stage is chaotic but necessary — clearing out everything that was holding the space back to make room for something better.
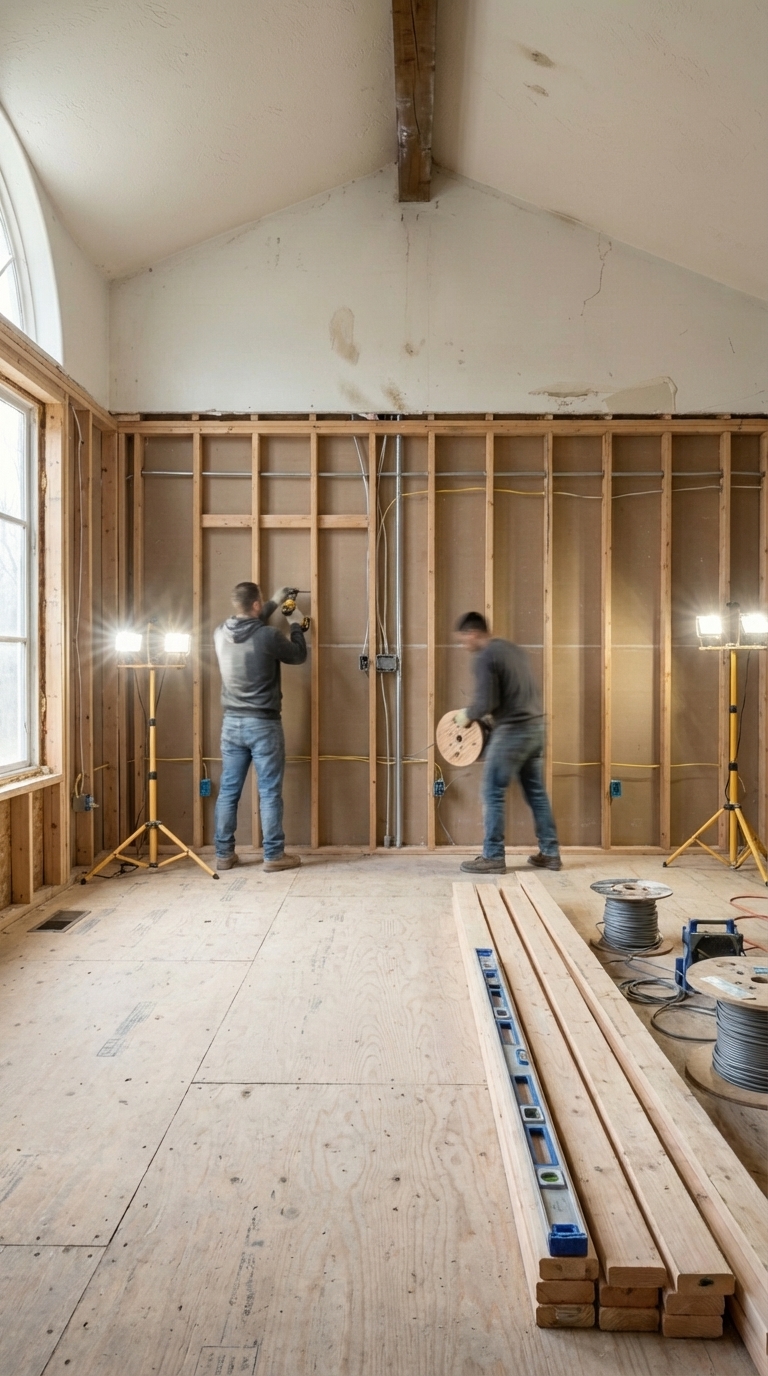
Stage 3: Structural Framing
With the room gutted, new wall framing is installed. Fresh wooden studs, electrical rough-in running through the walls, plywood subfloor panels being laid down. The skeleton of the new space starts to take shape here.
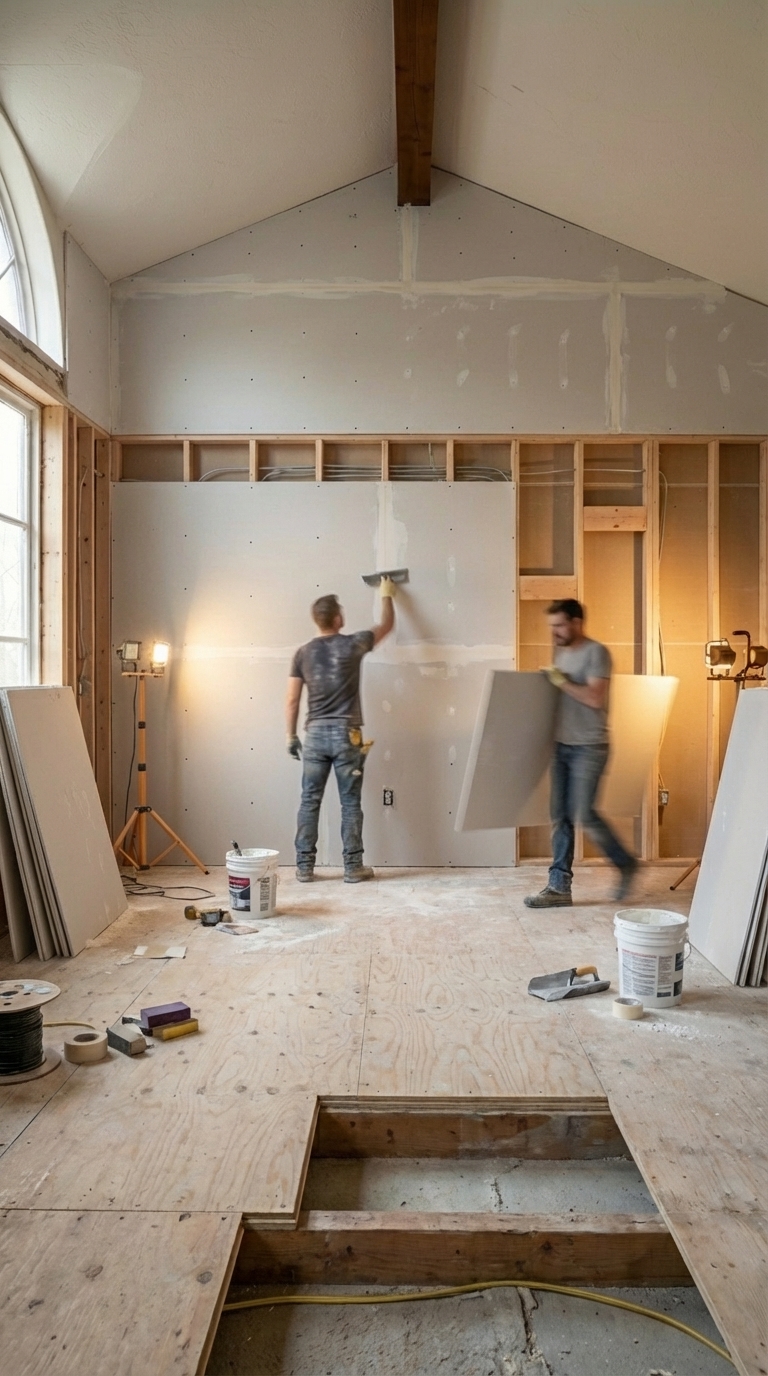
Stage 4: Drywall & Subfloor
Large drywall sheets are hung and screwed to the new studs, seams are taped and mudded. The raw open skeleton closes up into smooth, clean walls. The room starts to feel like a real space again for the first time.
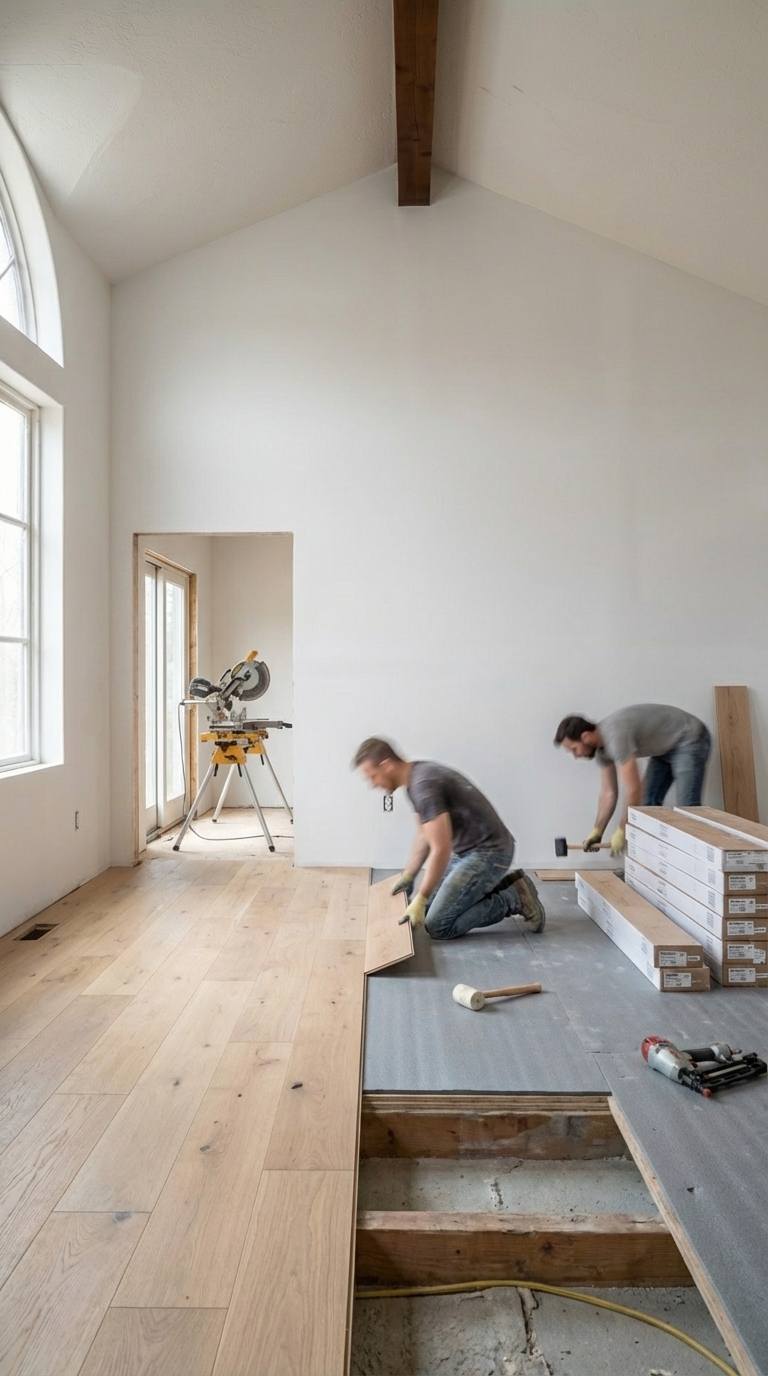
Stage 5: Flooring
Wide-plank light oak hardwood is installed, row by row from the far wall toward the camera. Watching bare grey subfloor transform into warm honey-toned hardwood is one of the most satisfying moments in any renovation.
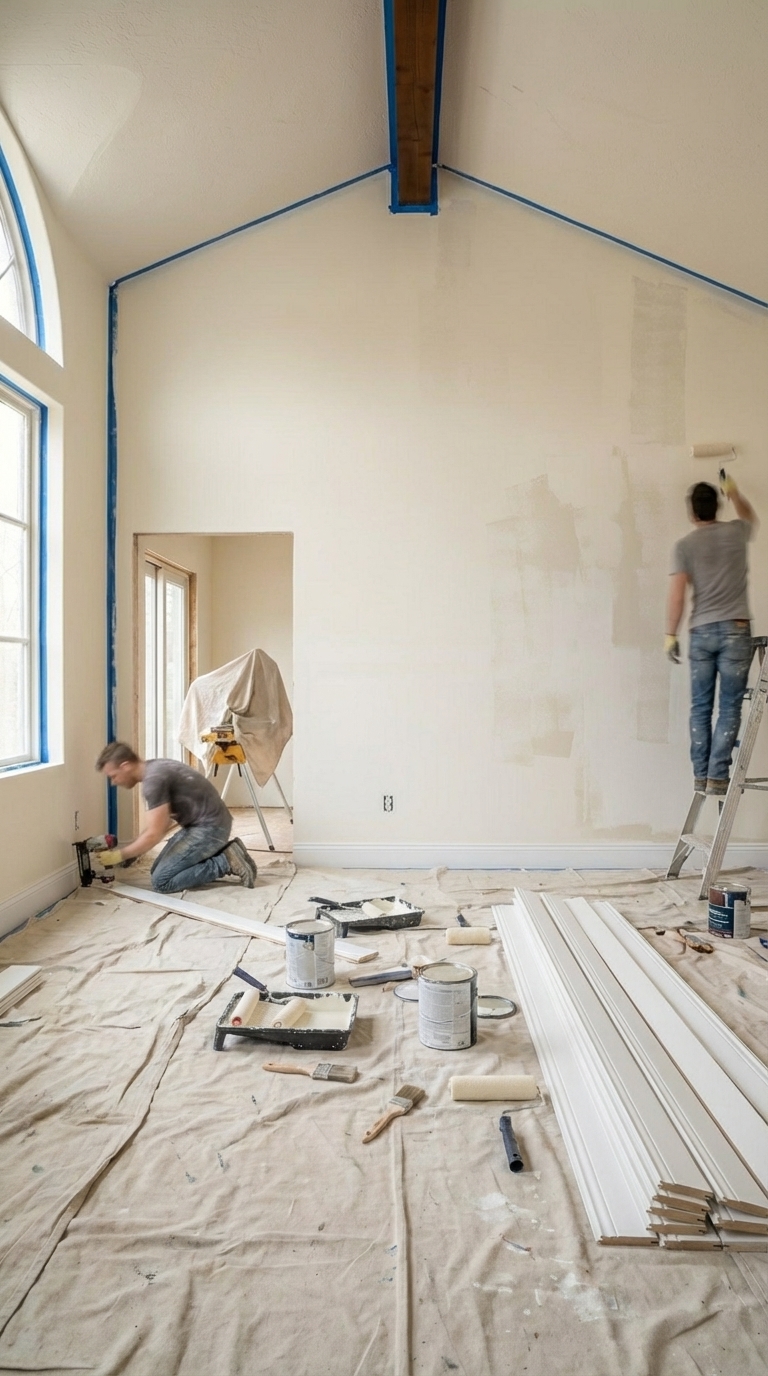
Stage 6: Paint & Trim
Fresh warm white paint is applied across every wall, baseboards and crown molding are installed along the floor and ceiling lines. The room shifts from raw construction shell to something that actually feels finished and livable.
Stage 7: Fixtures & Hardware
The final construction touches are completed — recessed ceiling lights are wired and switched on, outlet covers and switch plates are fitted, the last 5% of details that complete the space. This is when the room officially crosses the line from renovation to home.
Boho Living Room Wall Decor: 6 Design Principles That Actually Work
1. Lead with a Hero Piece
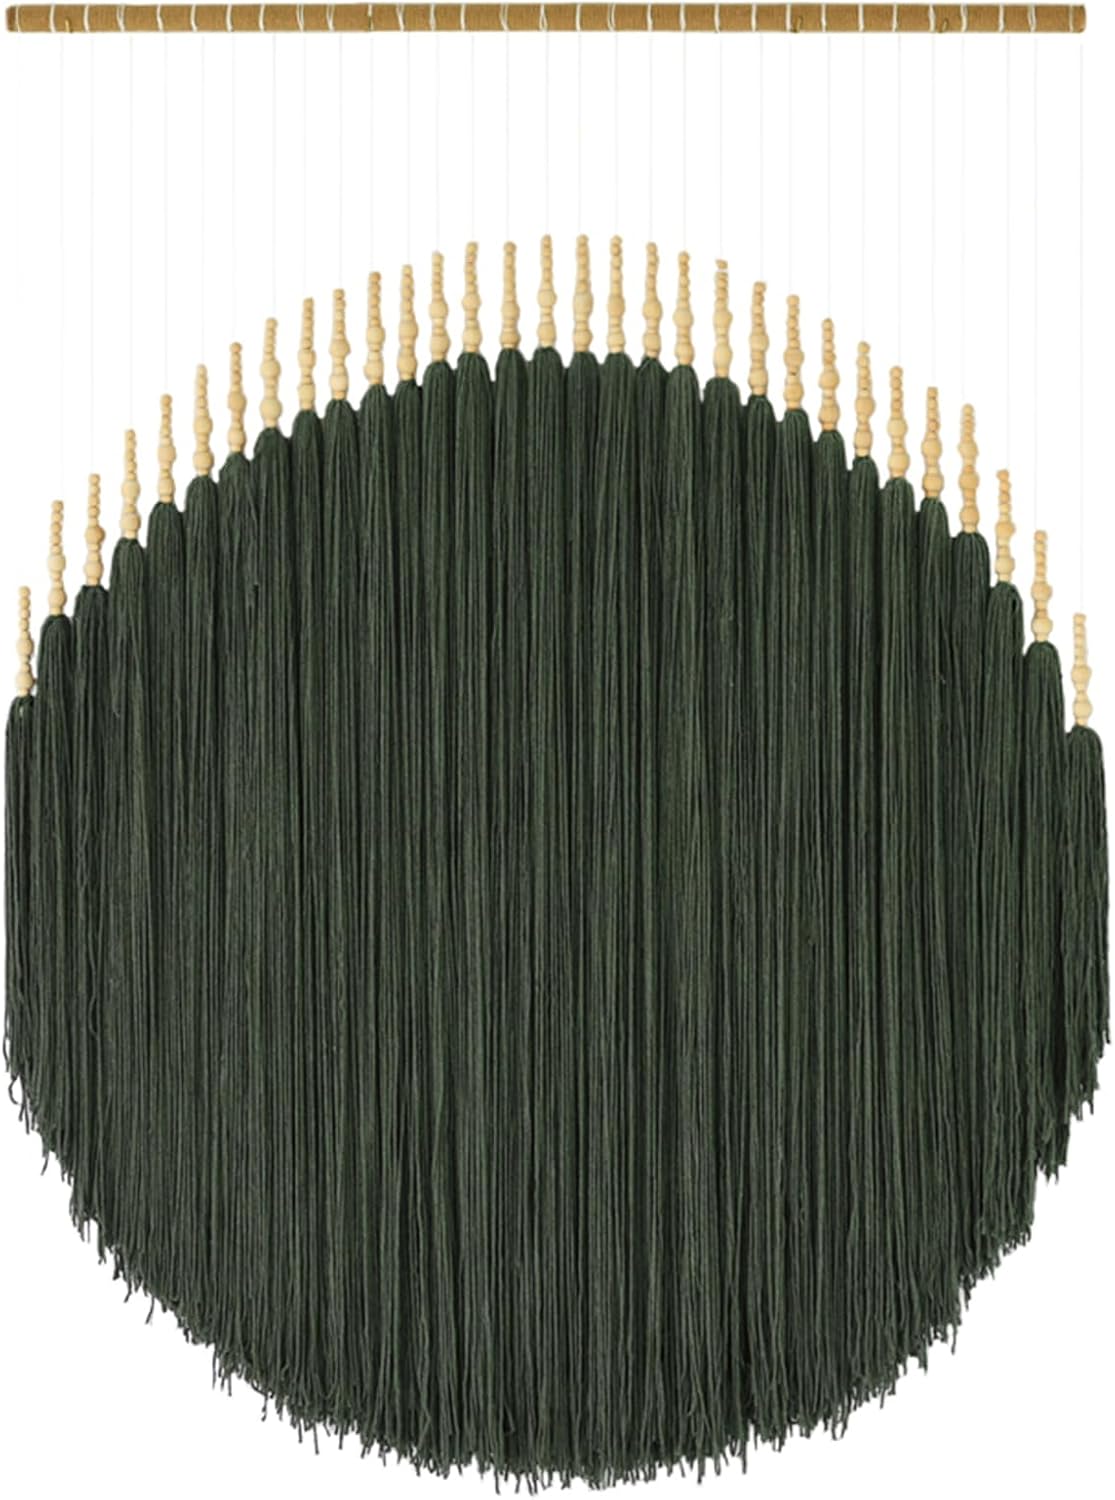
Every great boho wall starts with one statement piece that anchors the entire composition. In this room, the large macramé wall hanging — 39 inches wide, 55 inches long, with flowing green yarn tassels — serves as the anchor. It draws the eye immediately and sets the tone for everything else in the room. Wall decor should not be clustered until a dominant piece has been committed to first.
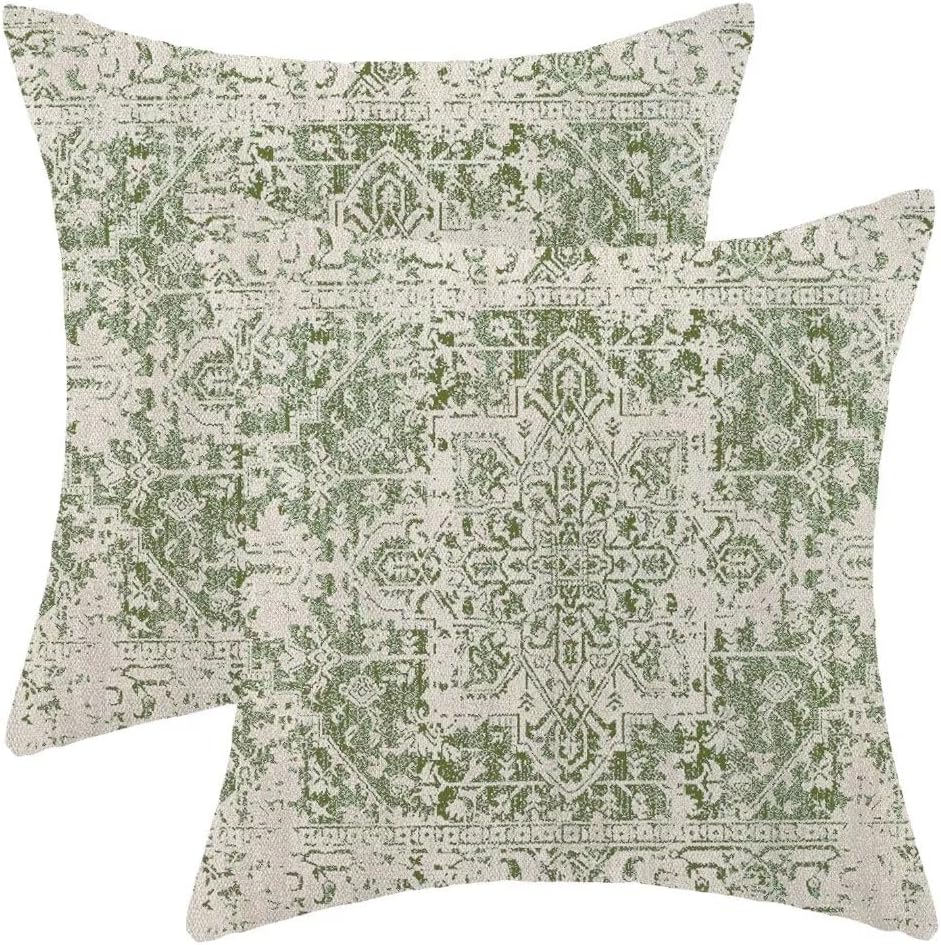
2. Layer Textures in Odd Numbers
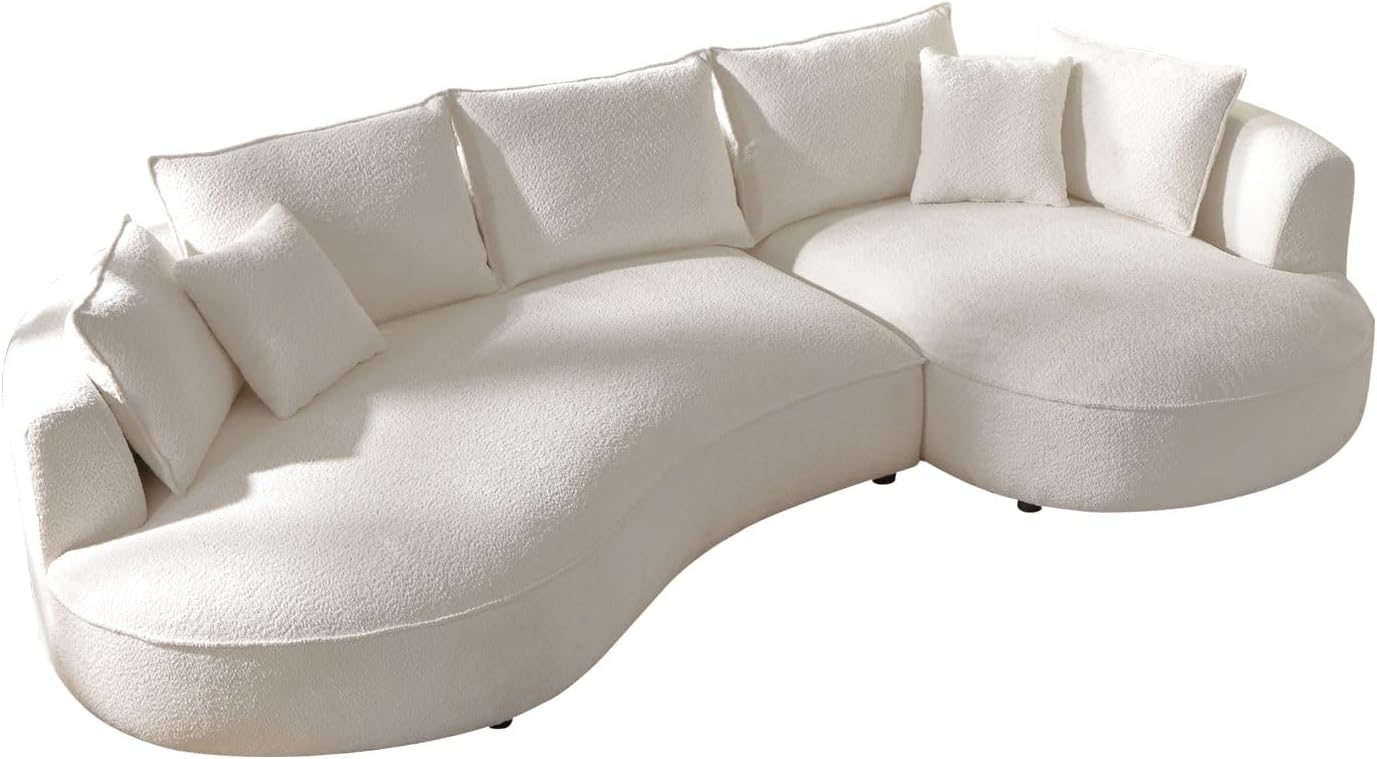
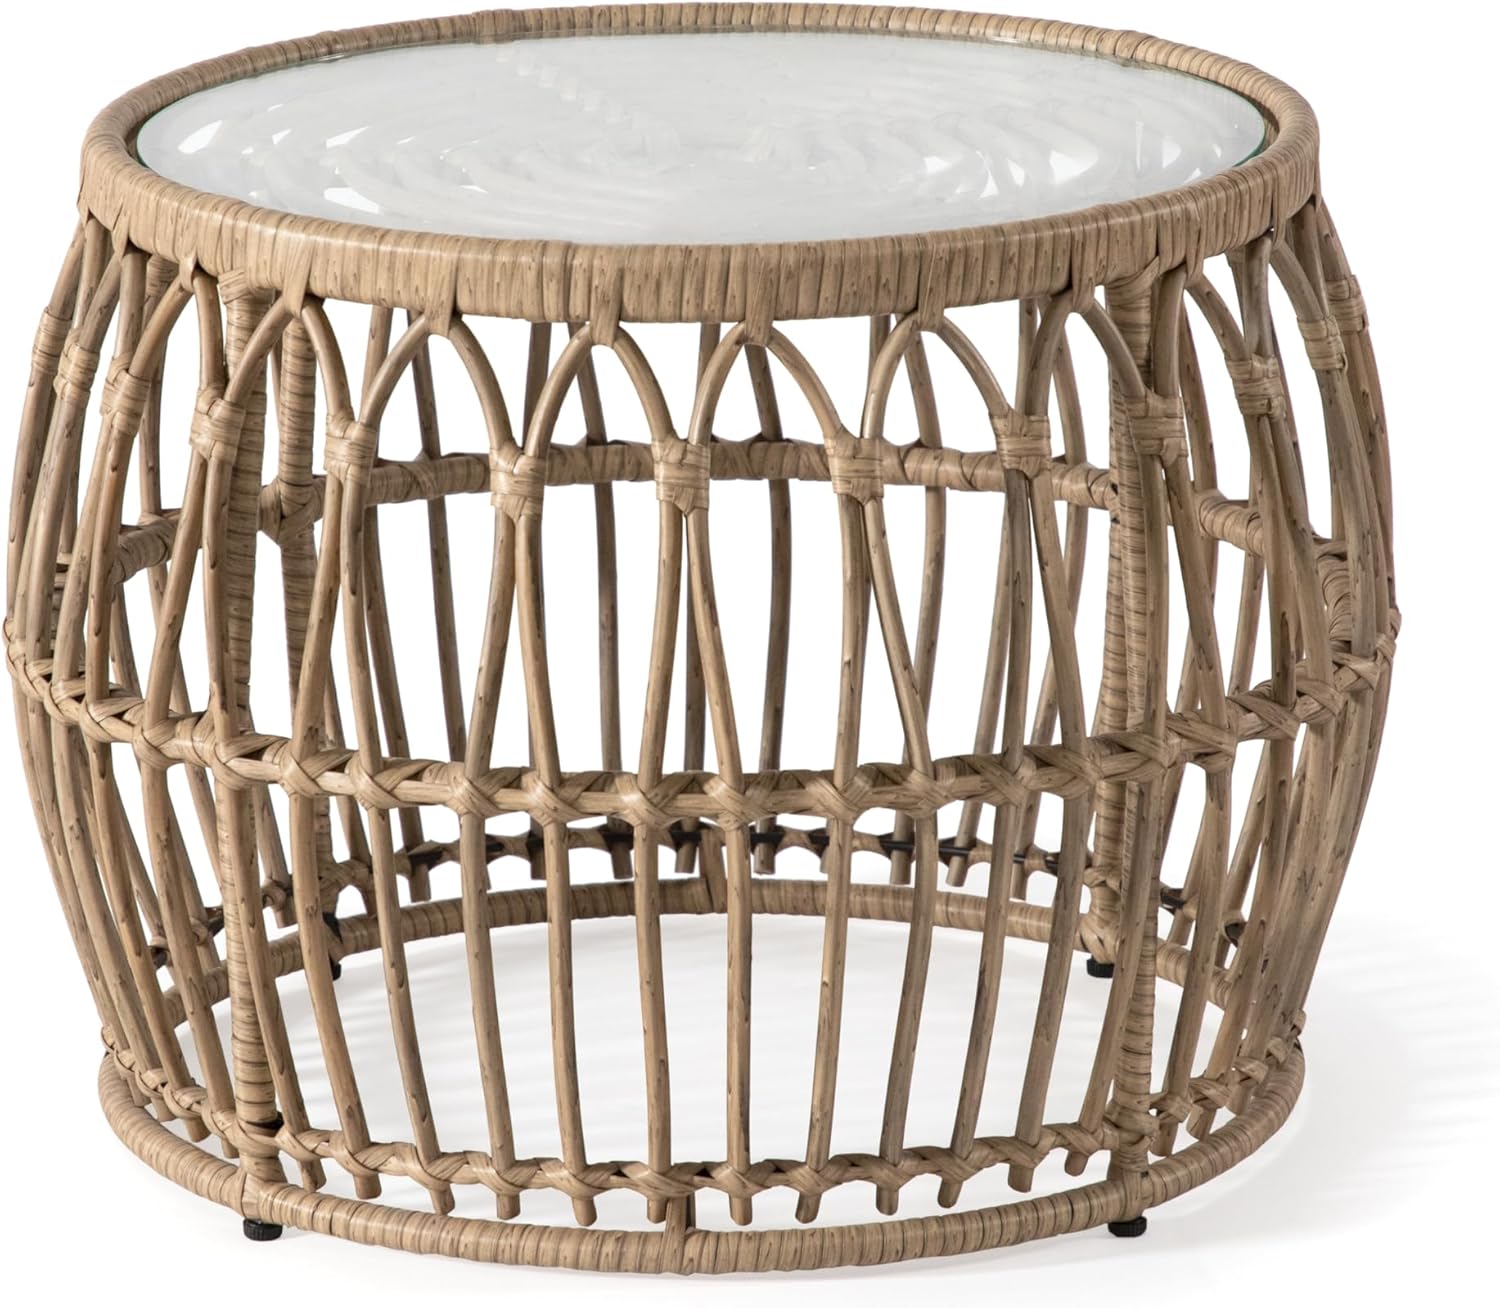
Boho styling works best when textures are layered in groups of three or five — never two, never four. In this room, macramé yarn, woven jute baskets, and rattan furniture form the three dominant textures, then boucle fabric, chunky cotton knit, and terracotta clay serve as the secondary layer. The odd-number rule keeps the composition feeling eclectic and intentional rather than matchy-matchy.
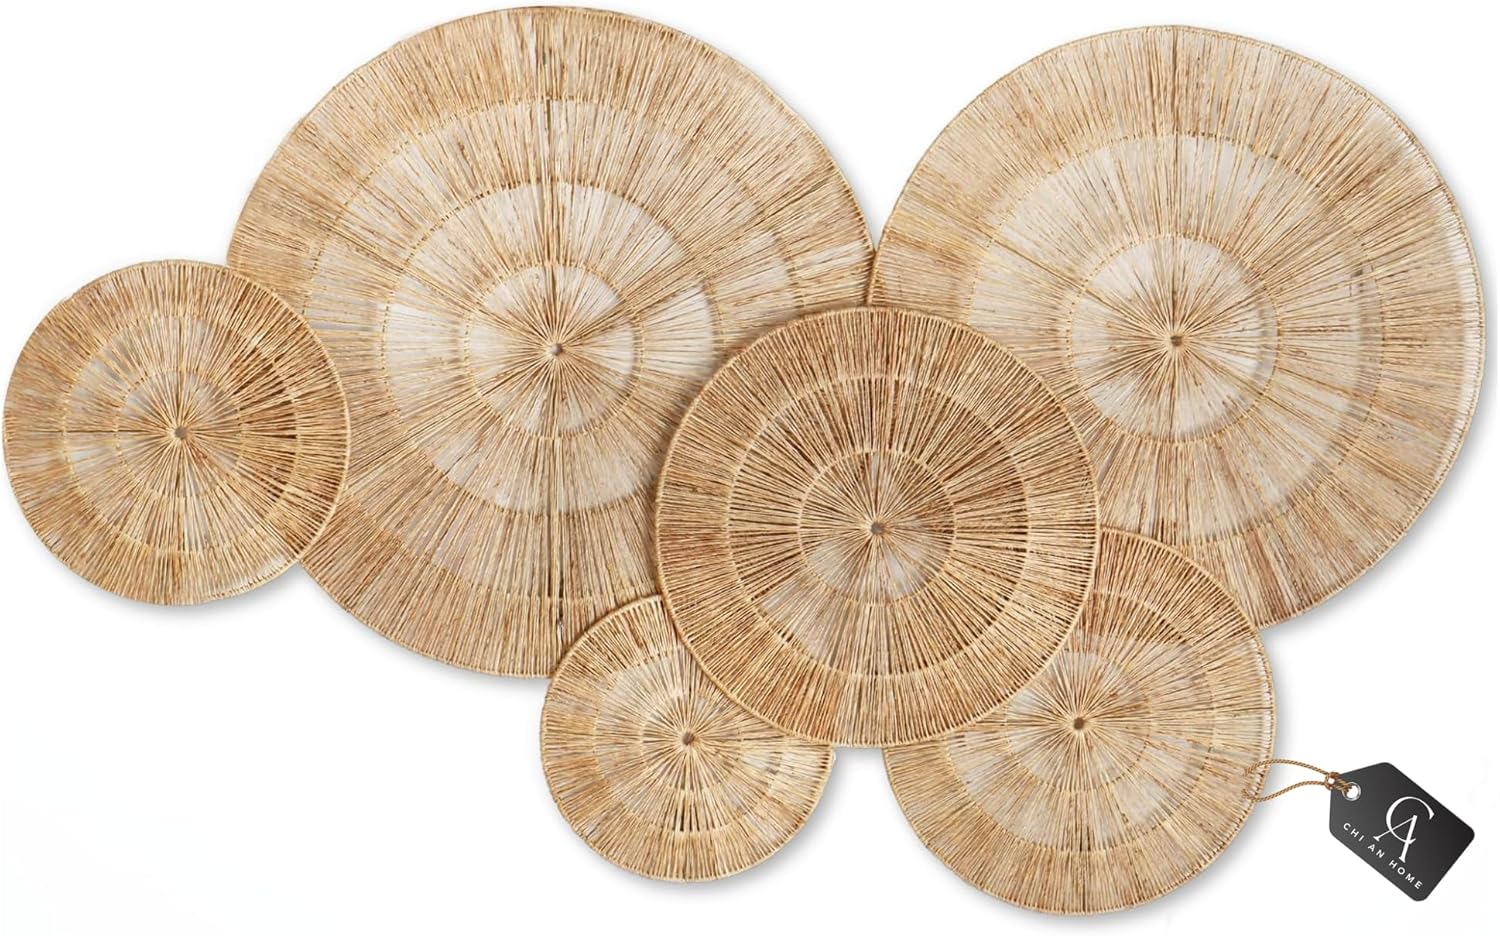
3. Create a Basket Gallery on a Side Wall
Woven wall baskets are one of the most cost-effective boho wall decor moves available. A set of six jute wall plates (ranging from 10 to 23 inches) arranged in an organic cluster on a side wall creates a gallery effect that looks custom and artisanal. Starting with the largest basket in the center and radiating outward with smaller ones creates the slight imperfection in placement that makes the composition feel right.
4. Bring in Living Elements
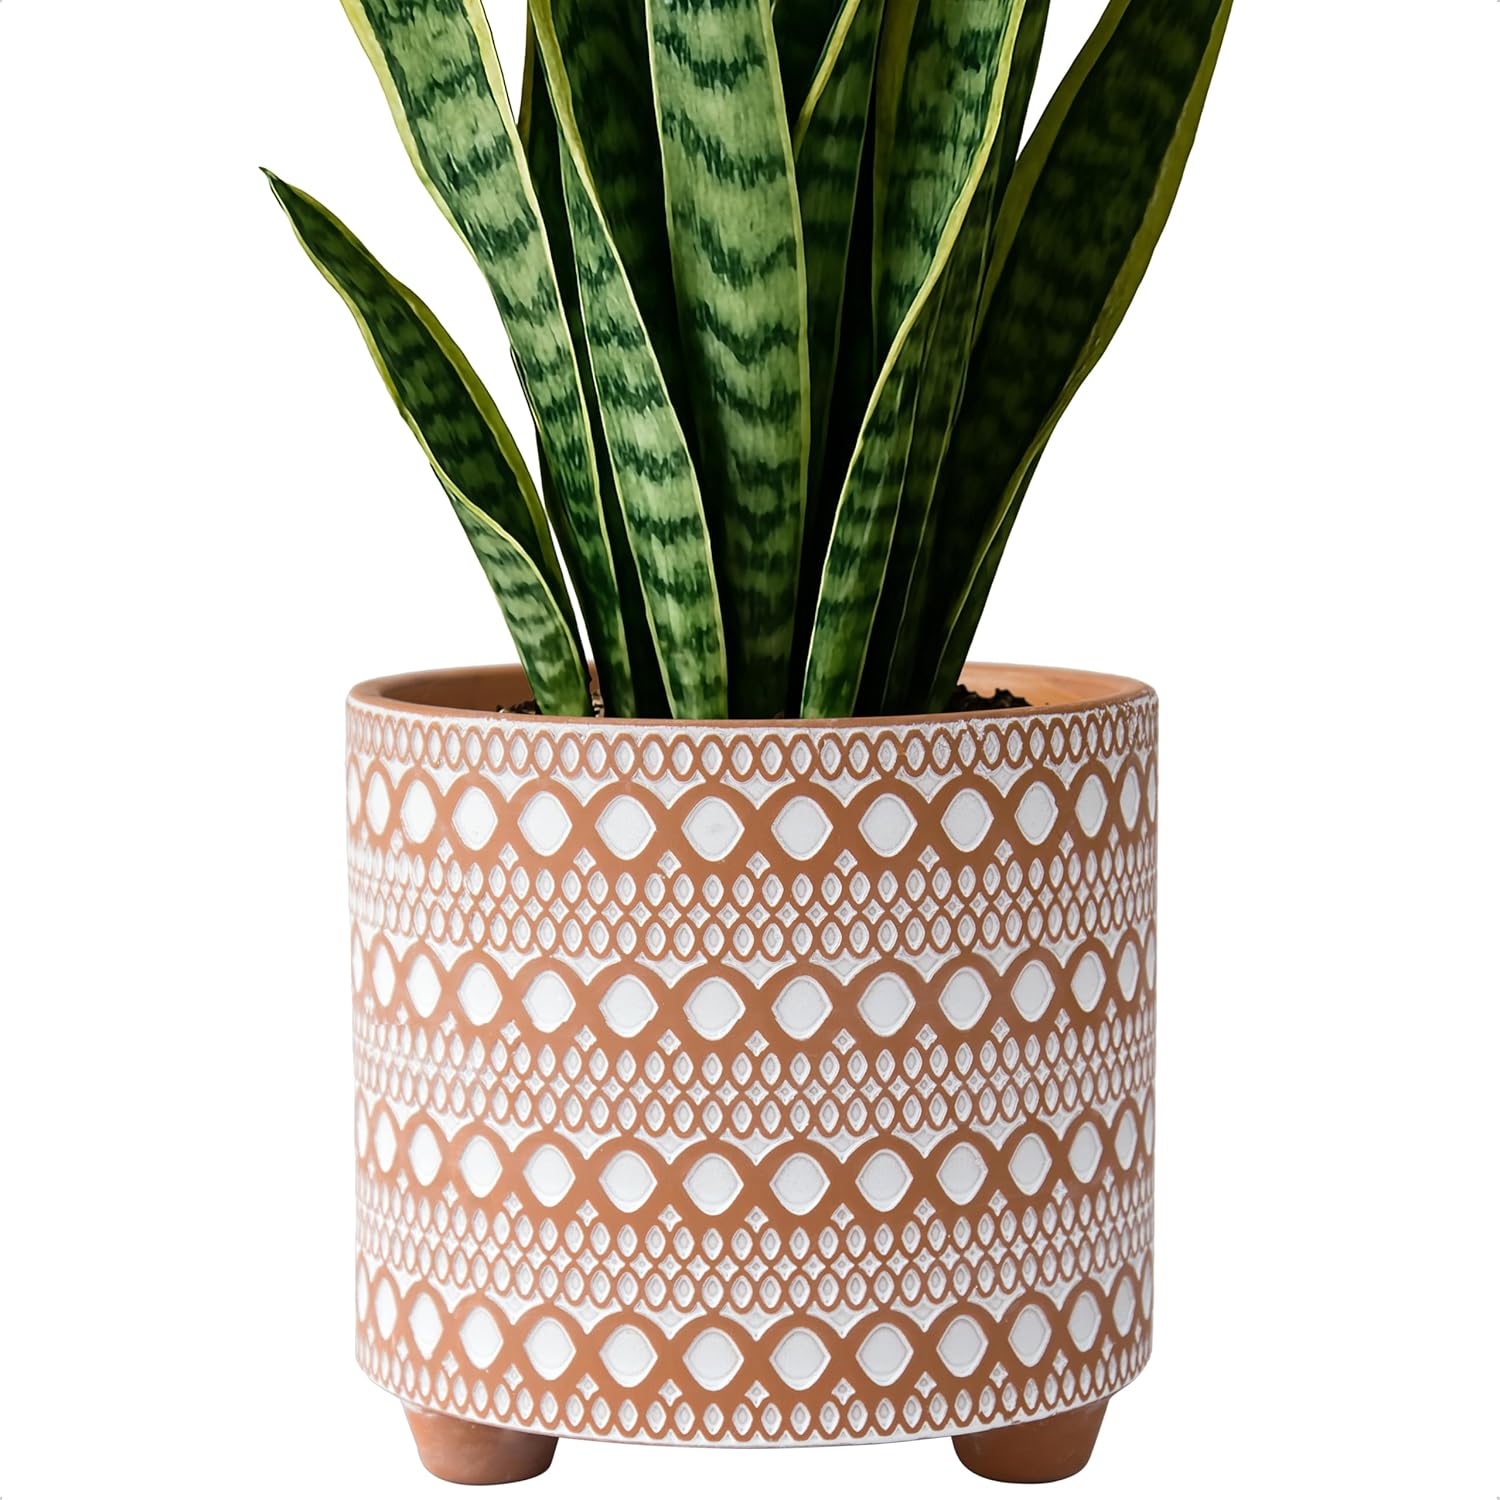
Plants are non-negotiable in a boho living room. A large terracotta pot with a trailing monstera or pothos in the corner does double duty — it adds organic green to an earthy color palette and introduces movement into the space. The handpainted diamond pattern on this terracotta pot ties in beautifully with the macramé patterns on the wall.
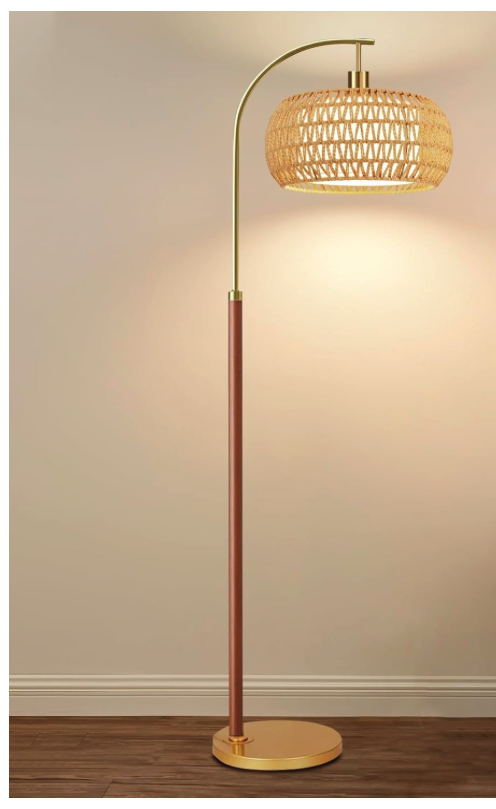
5. Warm the Lighting
Boho spaces live and die by their lighting. Harsh overhead lights will kill the atmosphere instantly. A dimmable rattan floor lamp positioned beside the sofa gives warm amber light at eye level — exactly the kind of glow that makes a boho room feel like a retreat. Pairing it with candles on the coffee table creates a layered lighting scheme that works at any time of day.
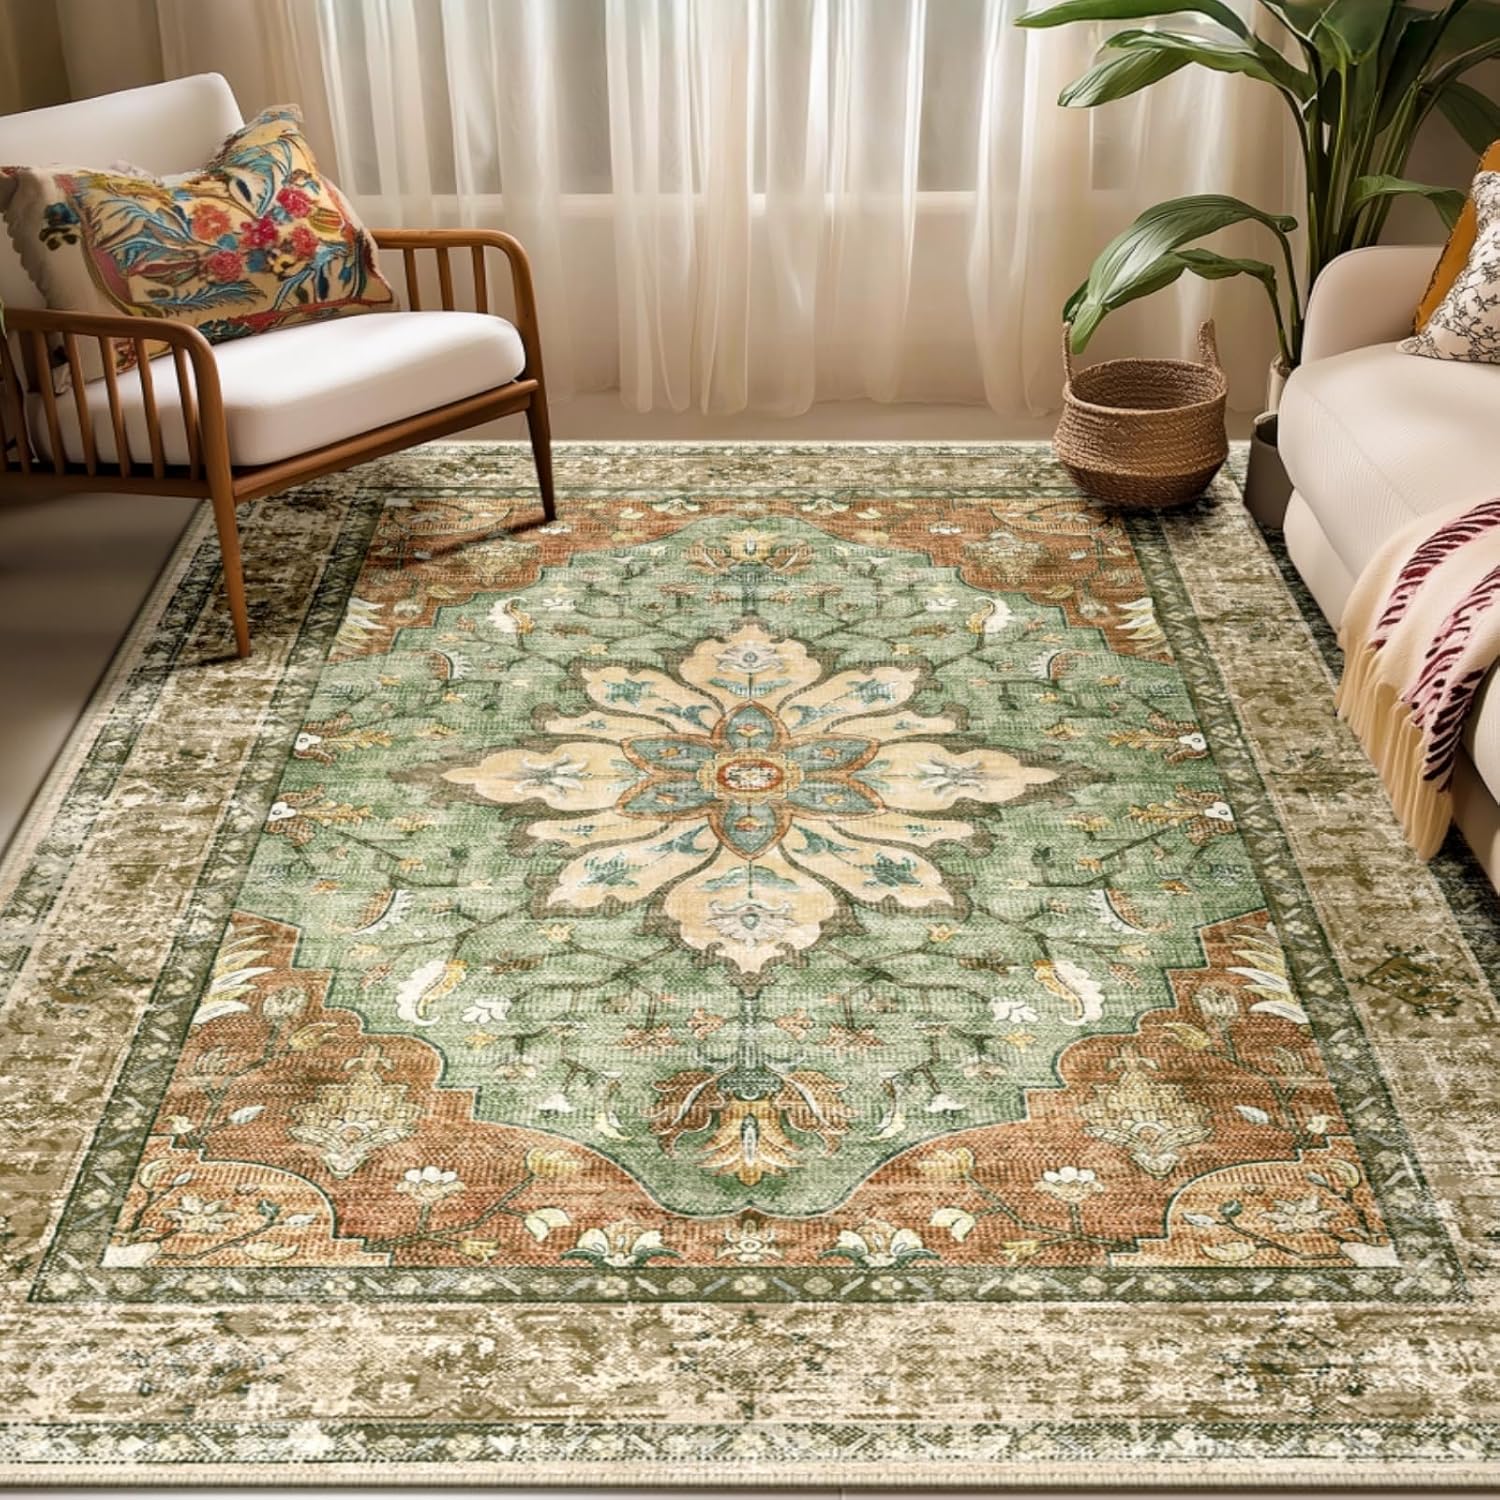
6. Let the Rug Do the Color Work
The vintage distressed medallion rug in brick red, rust, burnt orange, and sage green is the secret weapon of this room. It ties together the warm terracotta tones of the plant pot, the olive green of the throw blanket, and the sage green of the throw pillows — all without any of those pieces matching directly. A patterned boho rug does the color coordination work so the rest of the room can stay neutral.
Frequently Asked Questions
What is the best boho wall decor for a living room?
Macramé wall hangings are the most iconic boho wall decor choice — they add texture, warmth, and a handmade quality that no print or canvas can replicate. For a complete boho wall, a large macramé piece should be combined as the hero with a gallery of woven jute baskets on an adjacent wall. Adding a few hanging plants or small ceramic wall vases brings in organic elements.
How can a boho living room be styled on a budget?
The most budget-friendly boho moves are wall decor and textiles — both deliver huge visual impact for relatively low cost. A macramé wall hanging, a set of woven wall baskets, and two or three boho throw pillow covers can completely transform a living room for under $100. The bigger investment should be reserved for the rug, which anchors the whole room and is worth spending more on.
What colors work best for boho living room wall decor?
Boho wall decor works best against neutral wall colors — warm white, soft cream, light taupe, or warm greige. These backgrounds let the natural tones of macramé, jute, and rattan stand out. For accent colors in textiles and decor, an earthy palette is recommended: terracotta, rust, sage green, camel, olive, and warm caramel. Cool grays and stark white should be avoided — they fight the warmth that boho style depends on.
How high should a macramé wall hanging be hung?
As a general rule, macramé should be hung so its center sits at eye level — roughly 57 to 60 inches from the floor. For a large piece hung above a sofa, aim to leave 6 to 8 inches of space between the top of the sofa back and the bottom of the hanging. This creates a cohesive vignette without the piece feeling like it’s floating too high or crowding the furniture below.
Can macramé be mixed with other wall decor styles?
Absolutely. Macramé pairs beautifully with woven wall baskets, vintage mirrors with natural wood or rattan frames, floating shelves displaying ceramics and trailing plants, and abstract canvas art in earthy tones. The key is keeping the textures consistent — sticking to natural materials like jute, rattan, wood, and cotton across all wall pieces ensures the mix feels intentional rather than chaotic.
Ready to Transform a Living Room?
Boho wall decor is one of the most accessible and rewarding ways to personalize a living space. It doesn’t require a complete renovation — though as shown in the journey above, starting fresh gives total creative freedom. Whether layering a macramé hanging above a sofa, building a woven basket gallery, or simply swapping out throw pillows for something with more texture and soul, every piece added brings the space closer to that warm, lived-in, beautifully layered boho aesthetic.
Every product featured in this room is linked directly in the Shop the Look section above. All items are available on Amazon — click any product card to shop. As an Amazon Associate, qualifying purchases are earned from at no extra cost to the reader.
Comments are welcome below — let us know which boho wall decor piece is being added to a space first. And if this look is recreated, it would be great to see it! 🌿

Leave a Reply