A neglected porch presents a common design challenge — peeling paint, rotting boards, and weathered surfaces that diminish curb appeal. This covered porch renovation addressed exactly these issues: weathered deck boards, crumbling railings, and accumulated debris. With a structured renovation plan and carefully sourced Amazon products, the space was transformed into a magazine-worthy outdoor living room in just a few weeks.
A porch transformation doesn’t require a massive budget to achieve professional results. The total product budget for the final reveal — the wicker furniture set, string lights, rugs, planters, pillows, and lanterns — comes in well under $500. All products were sourced on Amazon, making this exact look easily replicable with convenient home delivery.
This guide walks through every stage of the renovation: the demo, the rebuild, the finishing touches, and the final styling. All exact products are linked directly below for instant shopping.
Shop the Look
Recreate this porch with these handpicked Amazon products.


* As an Amazon Associate, commissions are earned from qualifying purchases.
The Porch Renovation — Stage by Stage
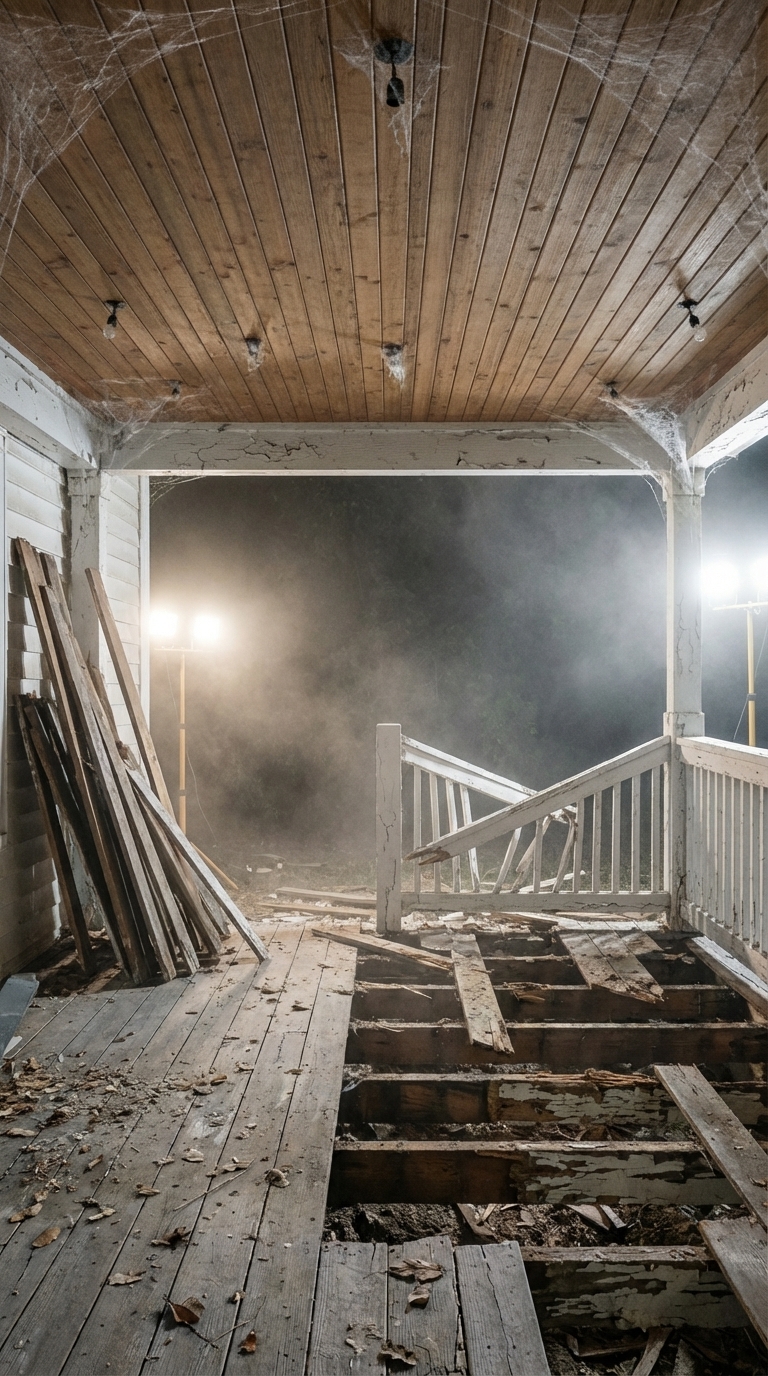
Stage 1 — The Before: Neglected and Abandoned
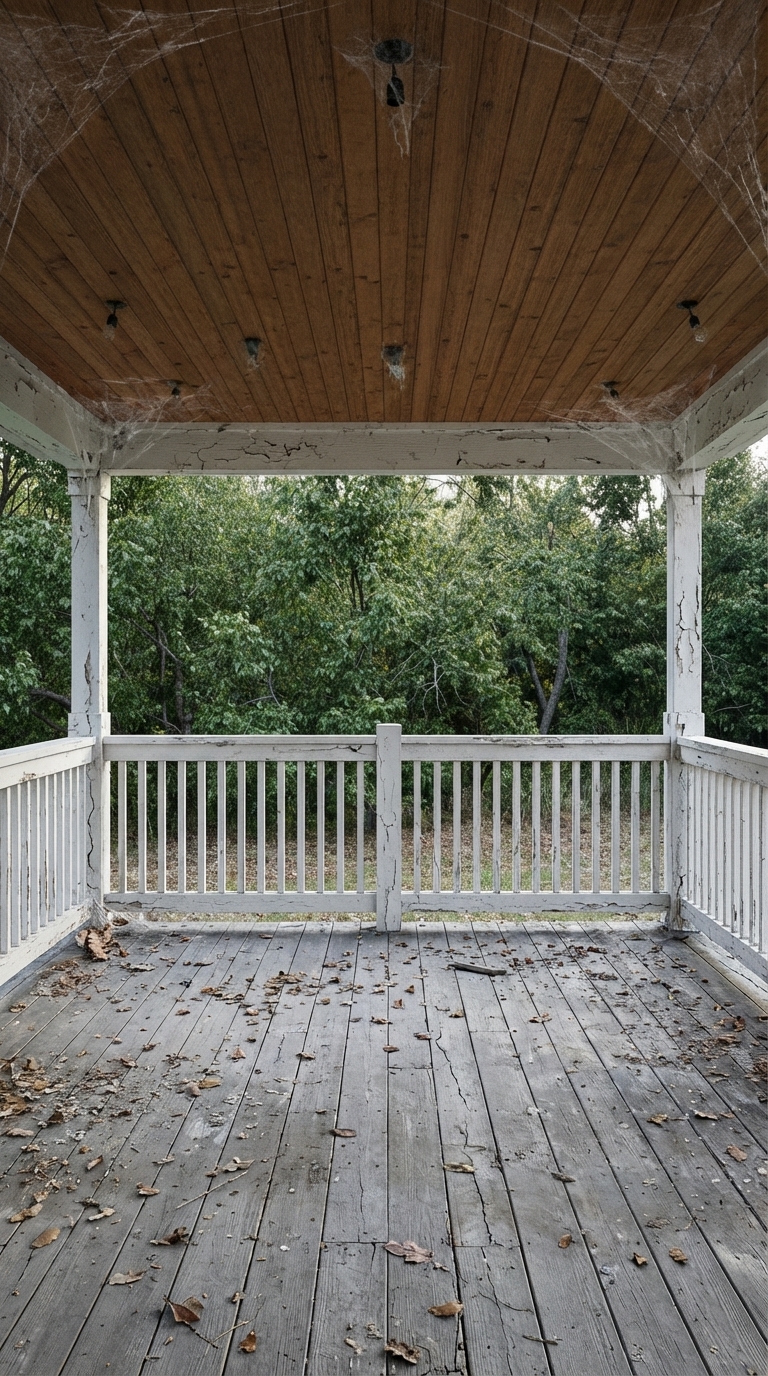
This starting condition featured weathered deck boards, peeling railings, and years of neglect. The structure remained solid but all cosmetic elements required replacement. Demolition was the logical first step.
Stage 2 — Demolition: Clearing Everything Out
Every rotting board was removed, damaged railing sections torn down, and years of grime cleared away. The key to successful renovation is being thorough in demolition — replacement is preferable to patching compromised materials.
Stage 3 — Structural Rebuild: Fresh Framing
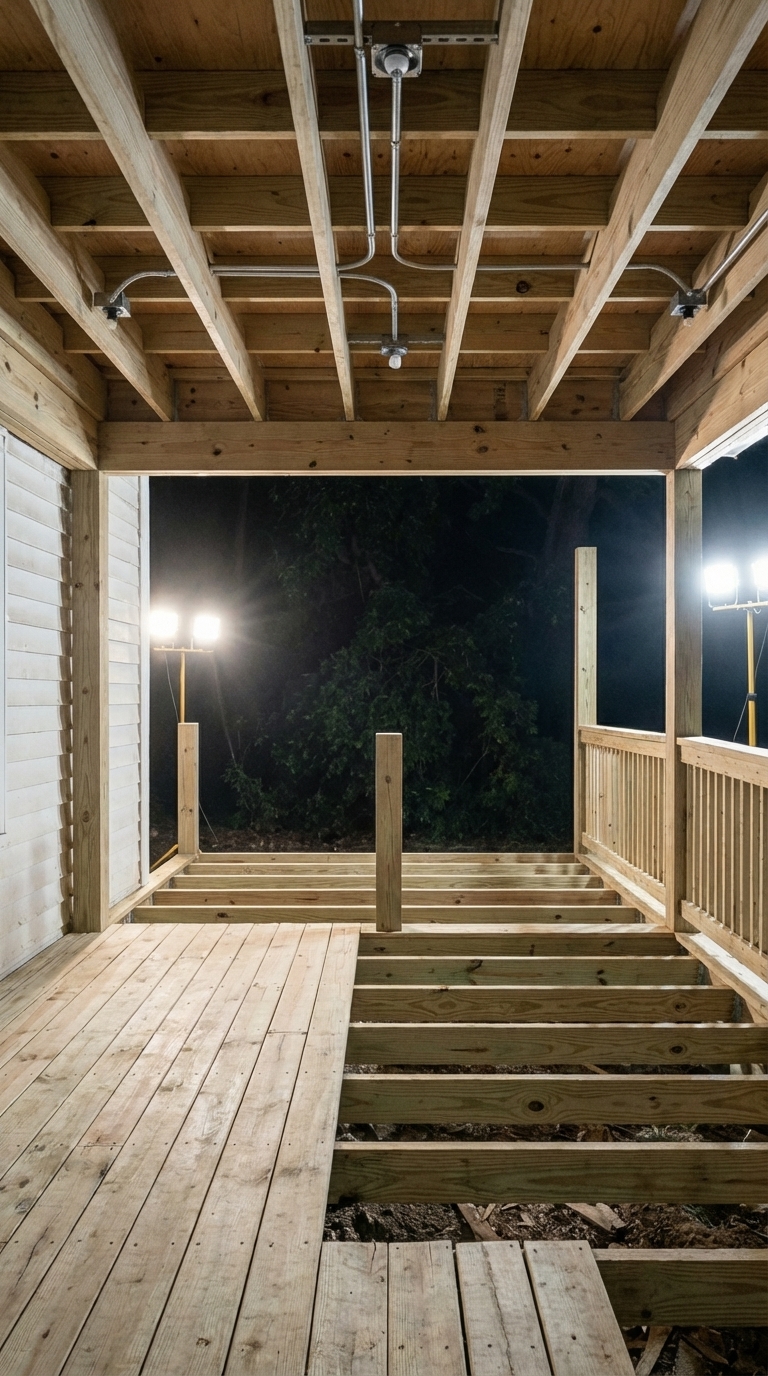
Fresh pressure-treated framing, new joists, and electrical conduit were installed along the ceiling beams for the string lights. This stage is critical — solid framing ensures a porch that performs for decades.
Stage 4 — New Composite Decking Going Down
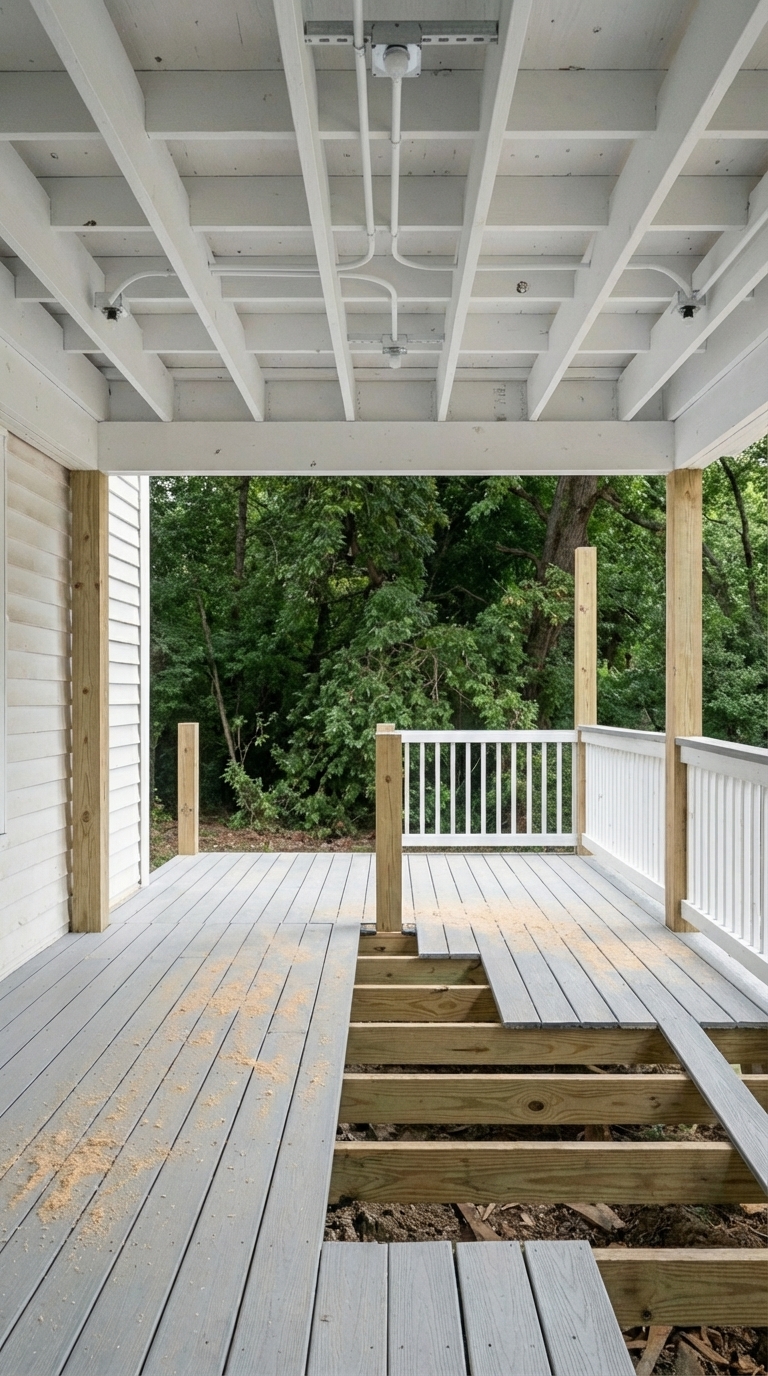
Light grey composite boards were installed row by row over the fresh framing. Composite resists fading, splintering, and moisture — no annual sealing required. This upgrade delivers long-term value through reduced maintenance costs.
Stage 5 — Deck Complete, Ready for Finishing
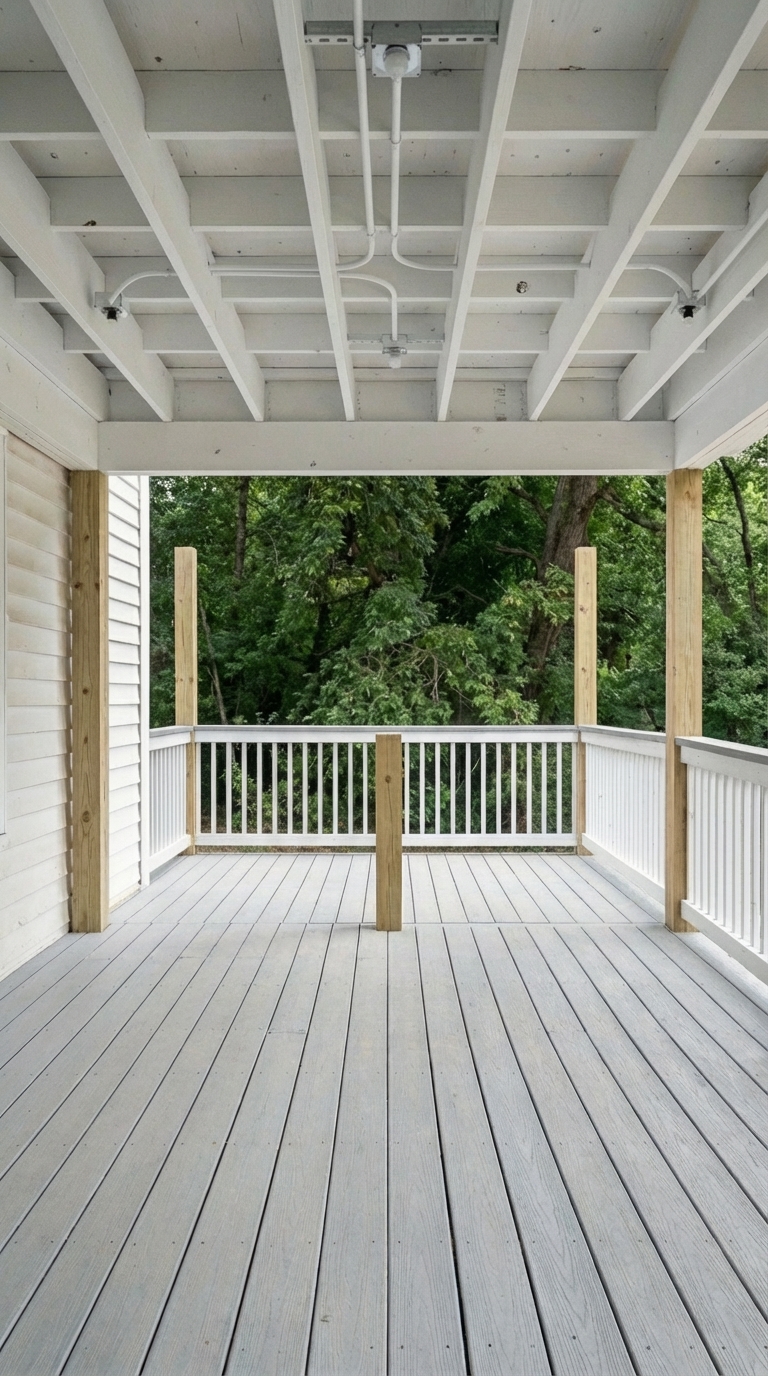
Every board was positioned, railings assembled, and electrical boxes mounted. The porch reached structural completion — clean, solid, and ready for paint, trim, and styling.
Stage 6 — Paint and Trim: Setting the Mood
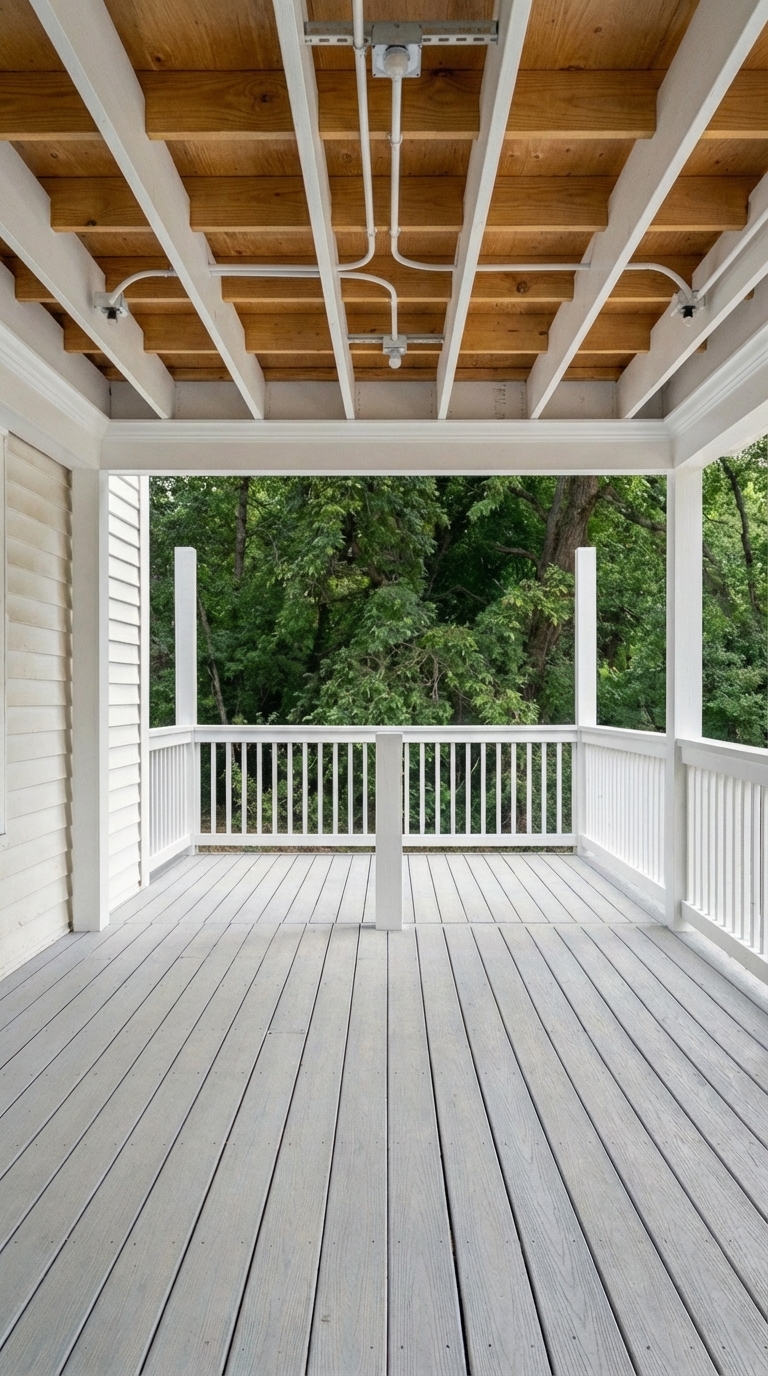
Crisp white railings, warm honey-oak stained ceiling beams, and decorative trim along the ceiling edge define the space’s personality. A coastal modern aesthetic was achieved through clean whites paired with warm natural wood tones.
Stage 7 — Final Installations: Almost There
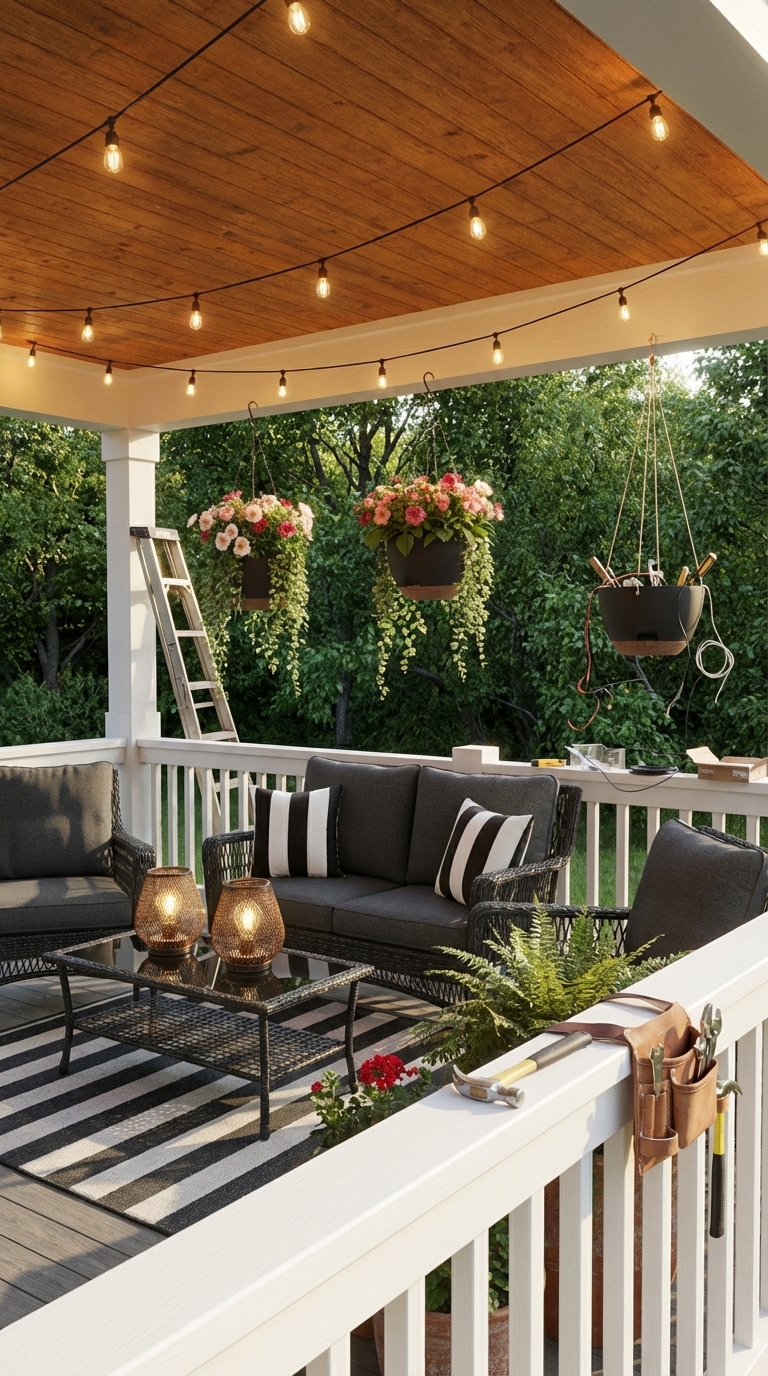
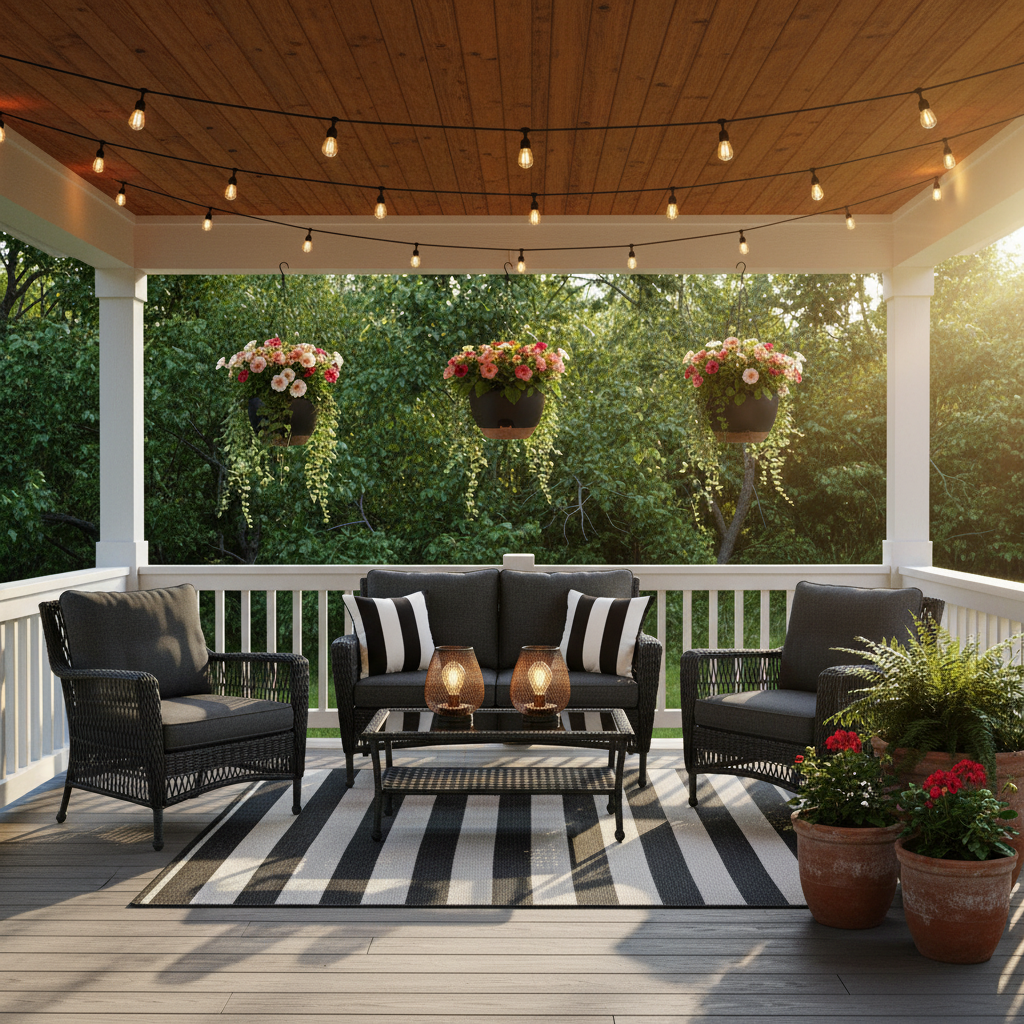
String lights were installed, hanging planters positioned, and lanterns placed on the table. At 90% completion, the golden-hour atmosphere the space will provide each evening becomes evident.
Design Tips: How to Style a Coastal Modern Porch
Start with a rug to anchor the space. An outdoor rug is the most important styling decision for a porch. It defines the seating zone and creates intentional design. Waterproof and reversible options handle rain beautifully and fold flat for storage. The black and white 5×8 rug performs exceptionally well in wet conditions.
Layer the lighting. String lights overhead combined with tabletop lanterns on the coffee table provide two levels of warm ambient light. This layering technique separates a styled porch from a basic one. Battery-operated vintage lanterns require no wiring at all.
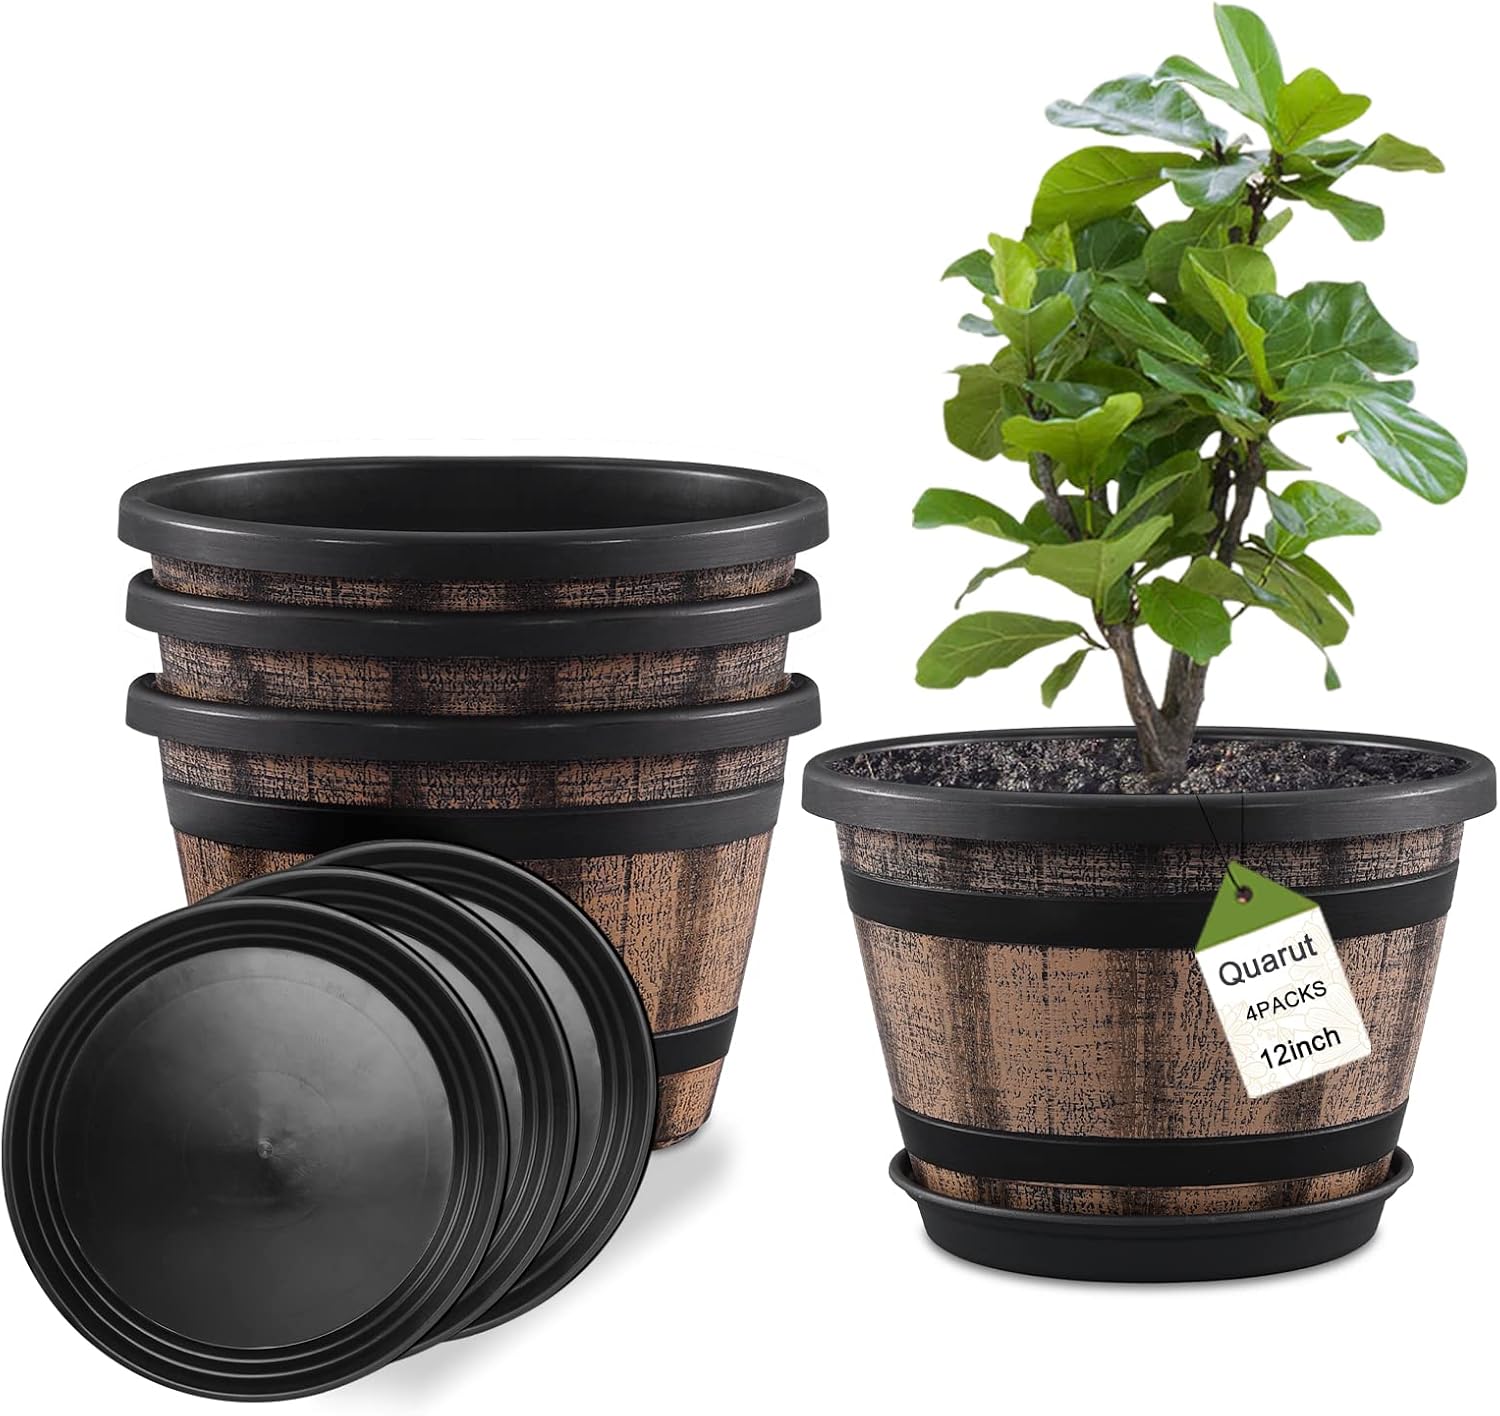
Vary plant heights. Hanging planters suspended from ceiling beams paired with terracotta pots at floor level create visual depth and lush aesthetics. Auto-watering hanging baskets are particularly effective for low-maintenance greenery.
Keep the color palette tight. This porch design runs on three tones: black, white, and warm naturals (wicker, terracotta, wood). Every product reinforces that palette. When shopping outdoor decor, filtering by color first ensures cohesion and a designed appearance.
Frequently Asked Questions
How much does a porch renovation cost?
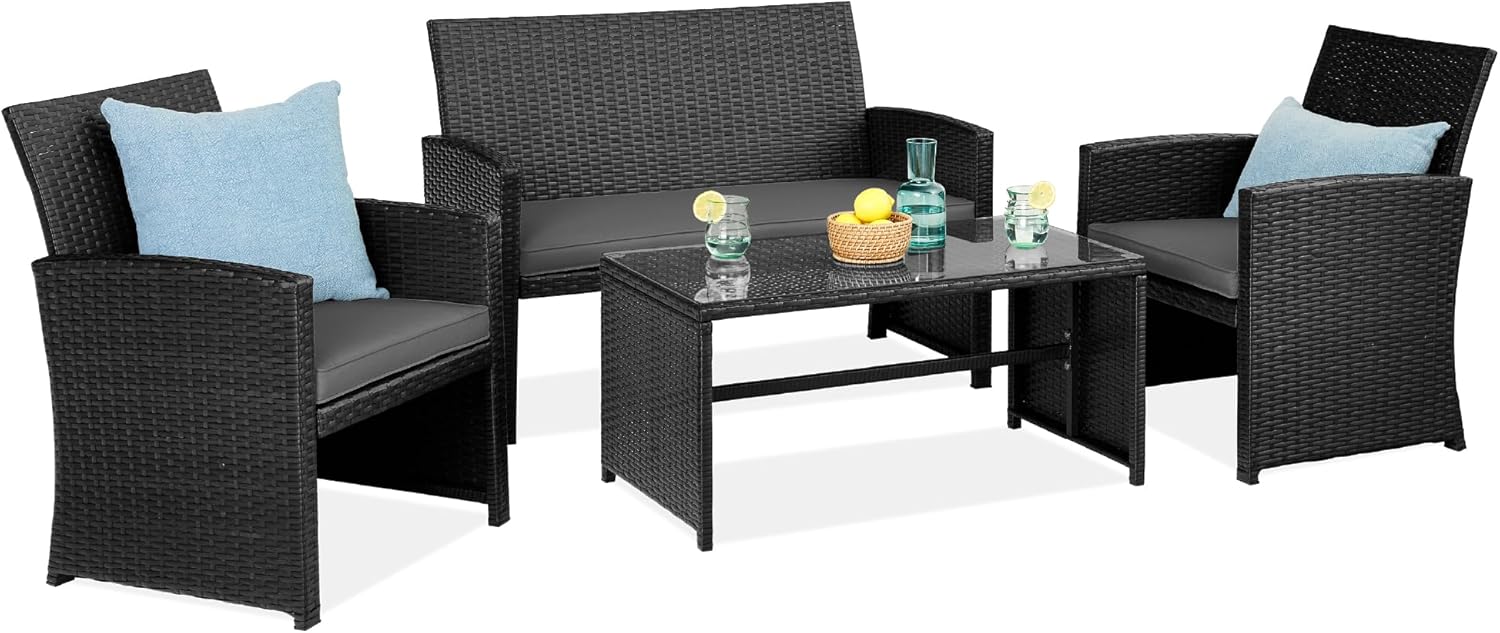
Structural renovation (demo, framing, composite decking, paint) typically ranges from $3,000–$8,000 for a 200–400 sq ft covered porch with professional contractors. The complete decor for this design totals under $500 from Amazon: furniture set ($329.99), rug ($38.99), string lights ($18.99), pots ($46.98), pillows ($15.99), lanterns ($24.29), and hanging planters ($26.99).
Is composite decking worth the extra cost?
Composite decking offers significant advantages. It resists splintering, warping, fading, and rot. Zero annual maintenance means no staining or sealing required. Though the upfront cost exceeds pressure-treated pine, the 25–30 year lifespan with minimal upkeep makes it far more economical over time. For high-use outdoor spaces, composite is the optimal choice.
What outdoor furniture holds up best in all climates?
All-weather resin wicker over a steel frame performs exceptionally well — it handles rain, UV exposure, and temperature fluctuations without cracking or fading. Machine-washable cushion covers simplify maintenance. For very humid coastal climates, powder-coated aluminum is another excellent option. Natural rattan and untreated wood should be avoided for outdoor applications.
How do I hang string lights on a covered porch?
Screw-in eye hooks can be installed directly into ceiling beams without drilling when using a starter awl. Lights should be run in a relaxed S-pattern between hooks with a slight droop for the bistro aesthetic. For 50ft light runs, plan 3–4 anchor points per run. Connection to a weatherproof outdoor outlet or smart plug allows for scheduling.
Can a porch renovation be DIY?
Structural work (framing, decking, electrical) benefits from professional expertise if experience is limited — mistakes at this stage affect safety and longevity. However, everything from Stage 5 onward — paint, trim, and all styling — is highly DIY-friendly. A practical approach involves hiring professionals for structural work and handling finishing work independently. Decor and styling can absolutely be managed without professional assistance.
Ready to Start a Porch Makeover?
A porch transformation doesn’t need to feel overwhelming. The process begins with solid structure, then layers in decor: a rug to anchor the space, furniture scaled appropriately, string lights for evening ambiance, and plants at multiple heights. Every product in this guide is linked on Amazon — available with fast delivery for weekend projects.
The transformation shown here — from a crumbling abandoned porch to a luxury outdoor living room — is completely achievable. All it requires is a structured plan, the right products, and the vision to see a space’s potential. The porch awaits transformation.
Leave a Reply